Creative and Practical Ways to Use Your Finished Punch Needling Project
Congratulations! You’ve completed your punch needling project, and now you’re probably wondering what to do with this beautiful creation.
Whether it’s a stunning wall hanging, a cozy pillow, or a stylish rug, your punch needling masterpiece deserves to be showcased and enjoyed. Here are some creative and practical ways I have done to make the most of your finished punch needle project.
Display It as Wall Art
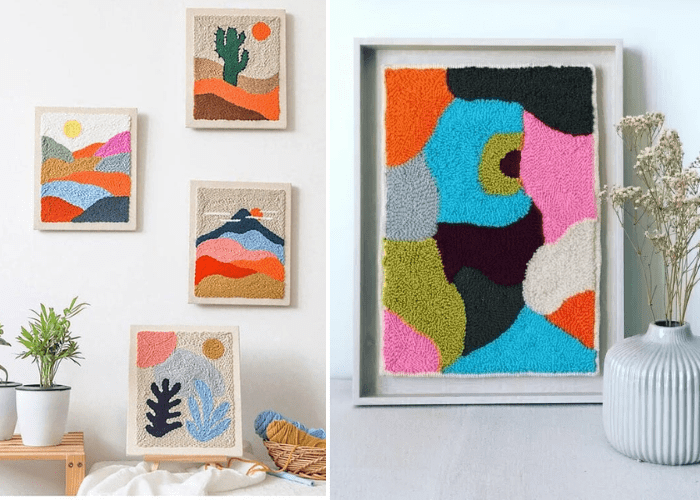
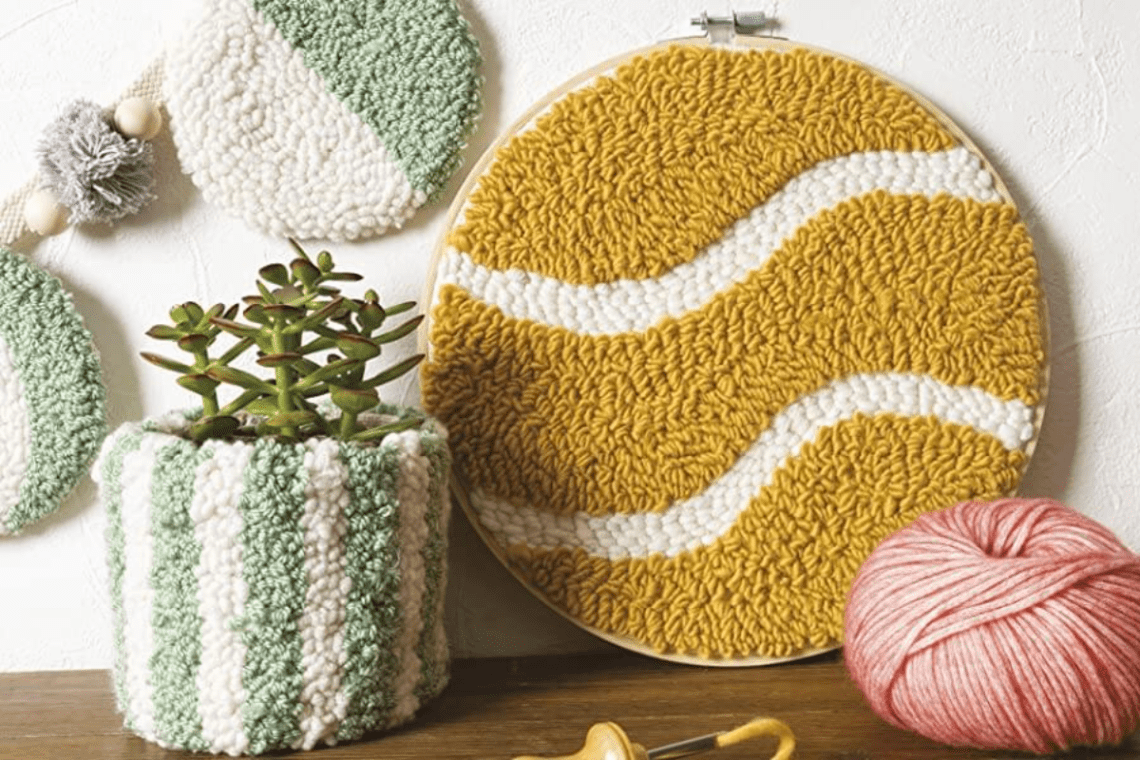
One of the most obvious and visually appealing ways to showcase your finished punch needling project is to hang it up as wall art. Choose a prominent spot in your home that complements the color and design of your piece and where it can take center stage, such as above a sofa, bed, or in a hallway.
You can frame it, stretch it on a canvas, or hang it using a dowel or a decorative rod. Not only will this add a unique touch to your living space, but it will also serve as a conversation starter when guests visit.
Create Decorative Pillows
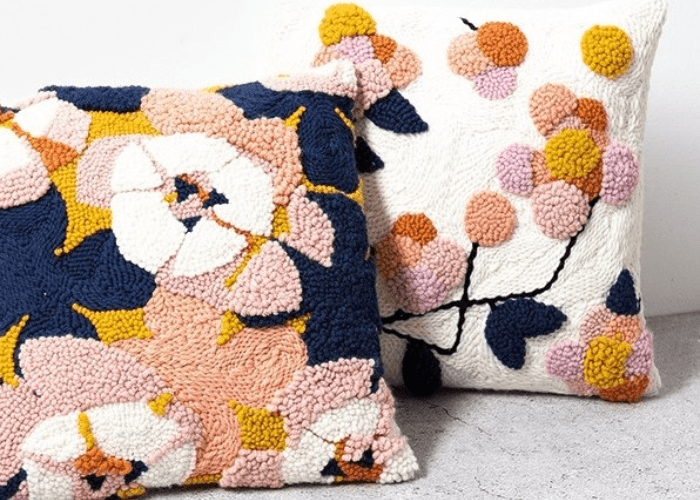
Transform your punch needling project into a stunning decorative pillow to adorn your couch, bed, or accent chairs. Sew the punch needled fabric onto a plain pillowcase or create a new one using complementary fabrics. This way, you can enjoy your punch needling creation in both wall art and functional forms.
Check out this video on making your very own (DIY) punch needling pillow tutorial.
Not only do these decorative pillows showcase your creative talents, but they also bring a cozy and inviting atmosphere to your living spaces. So, give your finished punch needling project a new life as decorative pillows and enjoy the delightful blend of art and comfort in your home.
Craft Stylish Tote Bags
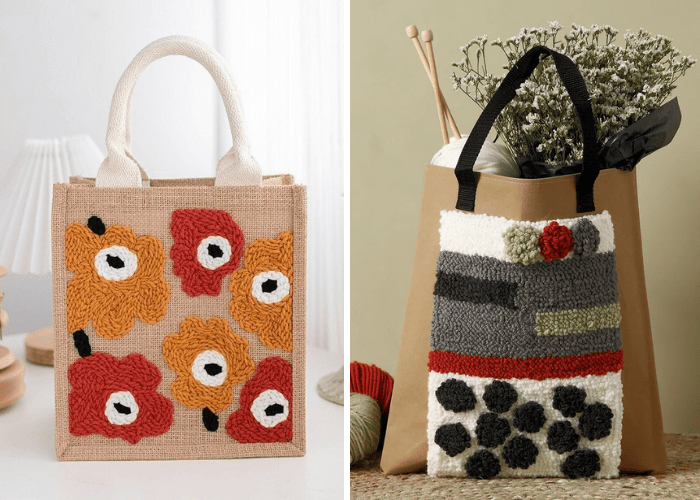
If you have created a smaller punch needling design, consider turning it into a stylish tote bag. Add a lining and sturdy straps to transform your piece into a functional accessory that’s not only eye-catching but also eco-friendly. You’ll love carrying your handcrafted tote bag around town, and it will surely draw compliments from admirers.

I recommend finishing your project on monk’s cloth, trimming and gluing the edges and either sewing it or gluing onto a tote.
Some tutorials suggest using Burlap Jute fabric to punch needle on, especially since you can find totes made with this material. However, keep in mind that Burlap Jute is more brittle. With a sharp threading needle, jute is more prone to punctures so you’ll have to work carefully not to make too many holes.
If you do decide to try with Burlap Jute fabric, check out some of these Burlap Jute totes.
Fashion Unique Coasters
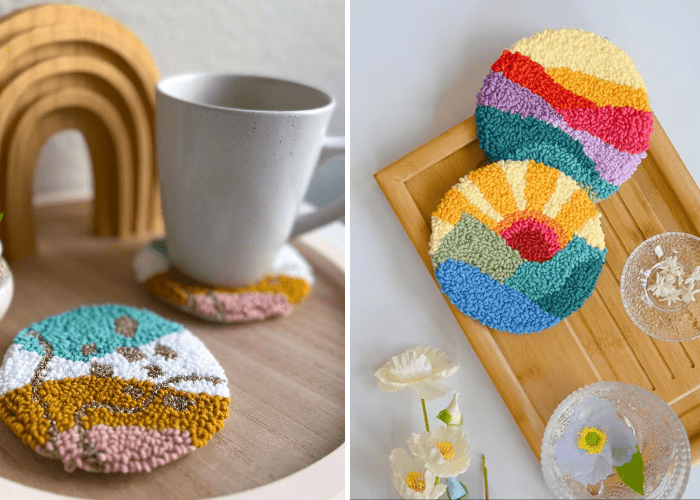
If your punch needle project is on a smaller scale, such as a circular or square design, turn it into unique coasters for your coffee table or dining area. Attach the piece to cork or felt backing to protect your furniture from unsightly water rings while adding a touch of artistry to your home décor. Your coasters are ready to bring a touch of handmade elegance to your coffee table or dining area. These coasters not only make a practical addition to your home but also serve as conversation starters, allowing you to share your passion for punch needling with friends and family.
Making coasters out of punch needling projects are one of the easiest starter projects you can do to get you started on this crafting hobby. There are many easy-to-do and inexpensive starter kits that you can purchase to familiarize yourself.
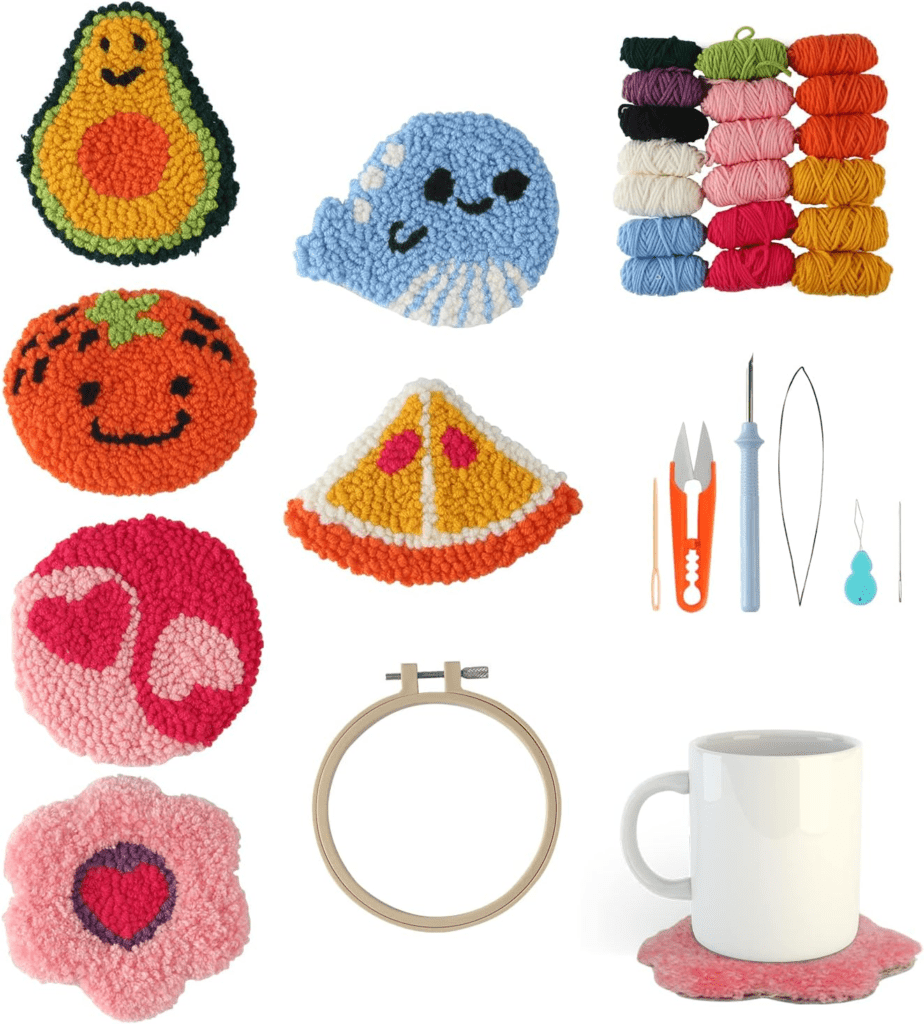

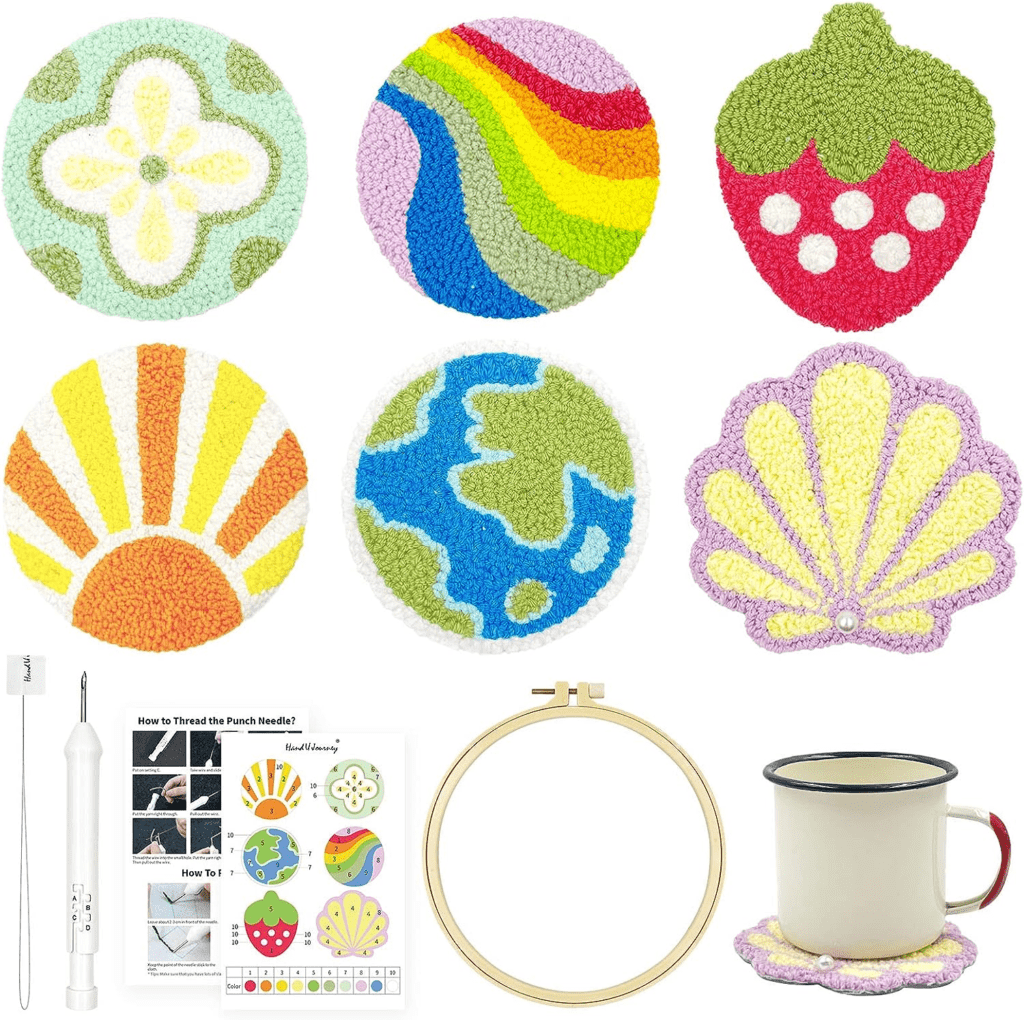
FROM LEFT TO RIGHT
Craft Punch Needle Coaster Kit 21 Pcs
6 Coasters Easy Punch Needle Embroidery Kit
Craft Punch Needle Coasters Kit – 6 Patterns with Adhesive Felt, Yarns, Embroidery Hoop
Make a Small Rug
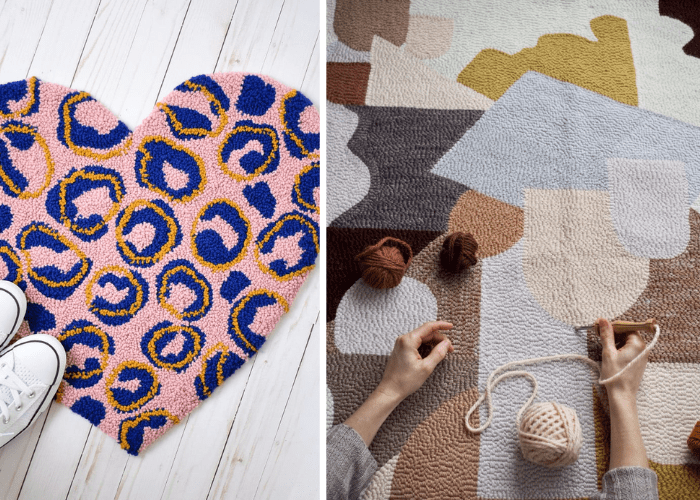
Transforming your finished punch needling project into a small rug is a wonderful way to add a touch of handmade charm to your living space.
To create your mini-rug, start by securing the edges of your punch needling design using a whip stitch or a blanket stitch to prevent fraying. Next, choose a non-slip rug pad or backing that fits the dimensions of your project and attach it securely to the back using adhesive or stitching. This will ensure your rug stays in place on the floor without slipping.
Voila! Your punch needling masterpiece is now a stylish small rug, ready to add warmth and personality to any corner of your home. Whether you’re placing it in an entryway, bathroom, or under a chair, your DIY rug will be a testament to your creativity and craftiness.
Not quite sure how to get started with Punch Needling? Check on my blog post on everything you need to get you started with this craft!
Finishing a punch needling project is a remarkable achievement, and now you have a variety of exciting options for what to do with it. What will you do with your finished punch needling project? If you’ve got other punch needle project ideas, please comment and share them below!

