Everything you need to get started on Punch Needling (For Beginners)
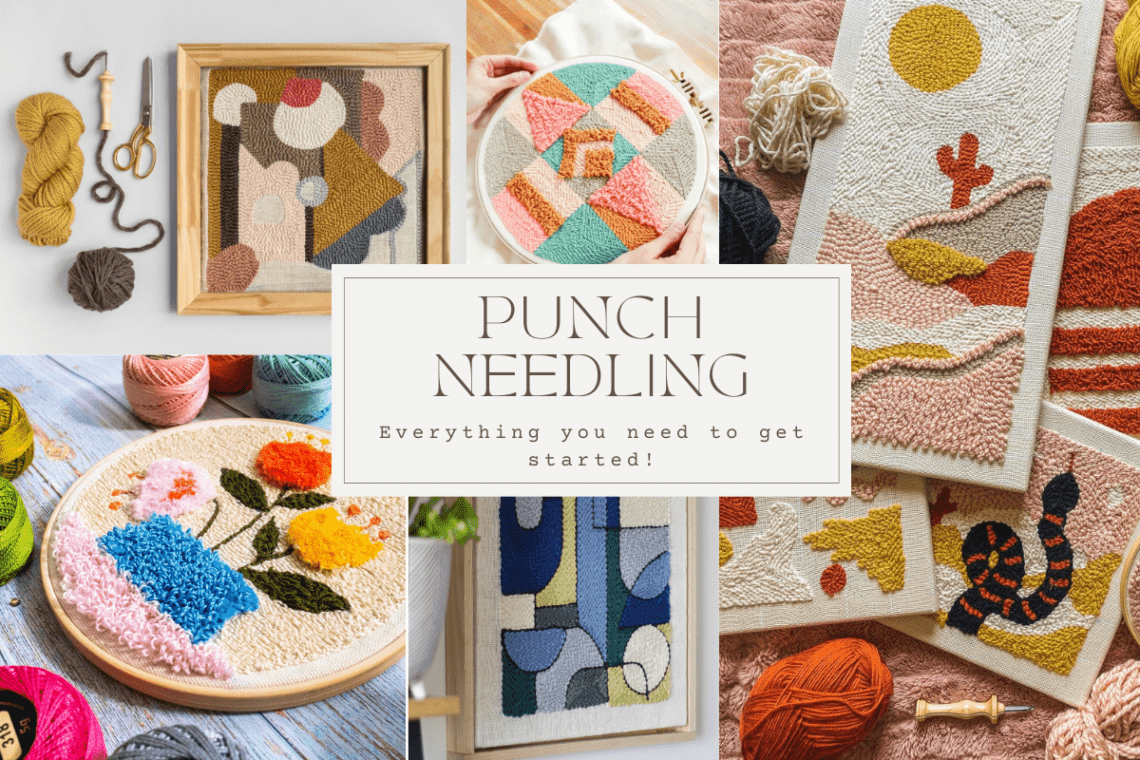
Have you heard of punch needling before? Neither have I until just a few months ago. And now it has become one of my staple crafting hobbies this year!
I am always on the lookout for new and exciting hobbies, and this year I stumbled upon the fascinating world of punch needling—a versatile and creative craft that allows you to create beautiful textured designs using colorful yarn or thread.
If you’re curious about this art form and want to get started on your punch needling journey, I’ve put together a comprehensive punch needling for beginners guide to walk you through the essential items you’ll need, where to find tutorials, where to buy products, the associated costs, and how long it might take to become proficient in punch needling.
Essential Items for Punch Needling
Before you get started on your punch needling adventure, you’ll need to gather a few essential items:
Punch Needle: The heart of this craft, a punch needle resembles a pen or a pencil with a hollow end that allows the yarn or thread to pass through. I recommend at least one yarn punch needle and one wooden handle embroidery pen. You’ll also need at least one long wire thread to pull the yard/thread through the needle and pen. Here’s a starter set I recommend that help you get going on your needling journey:
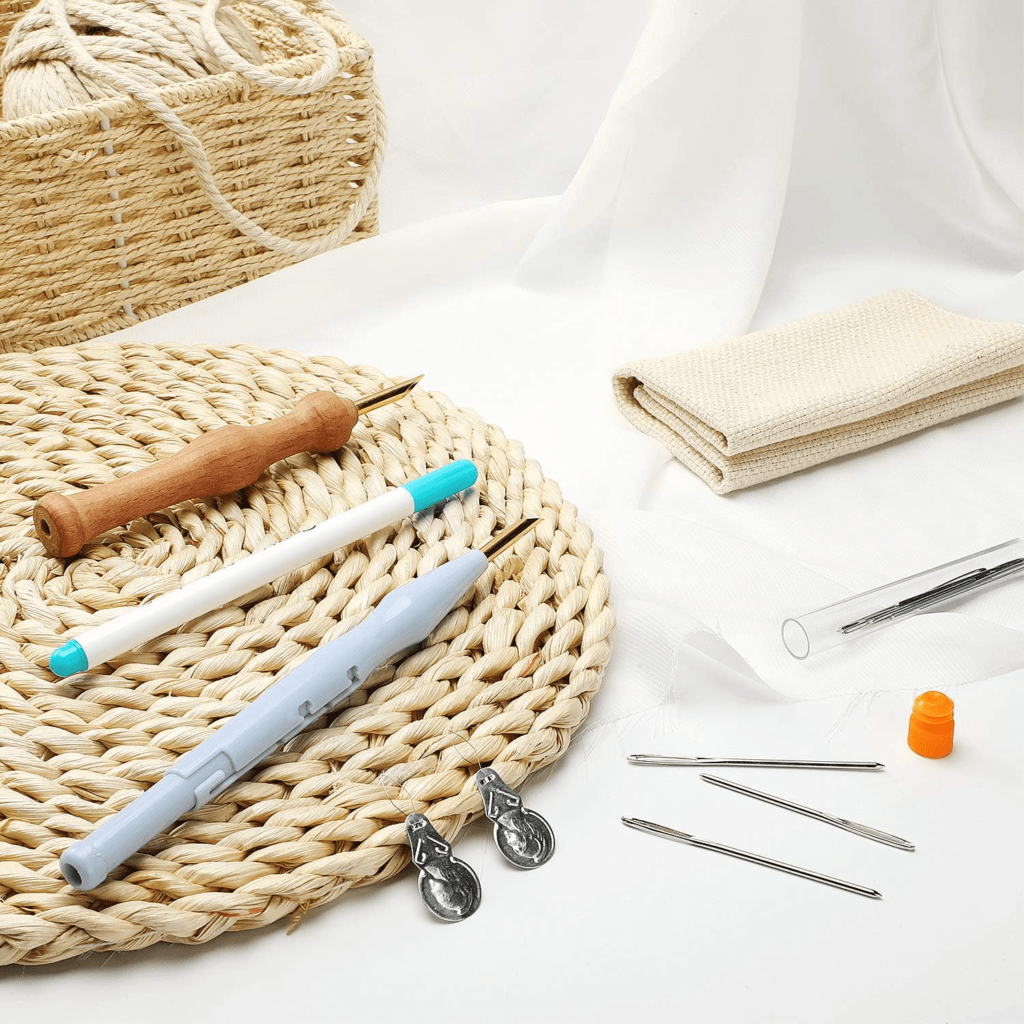
PURCHASE HERE
PURCHASE HERE
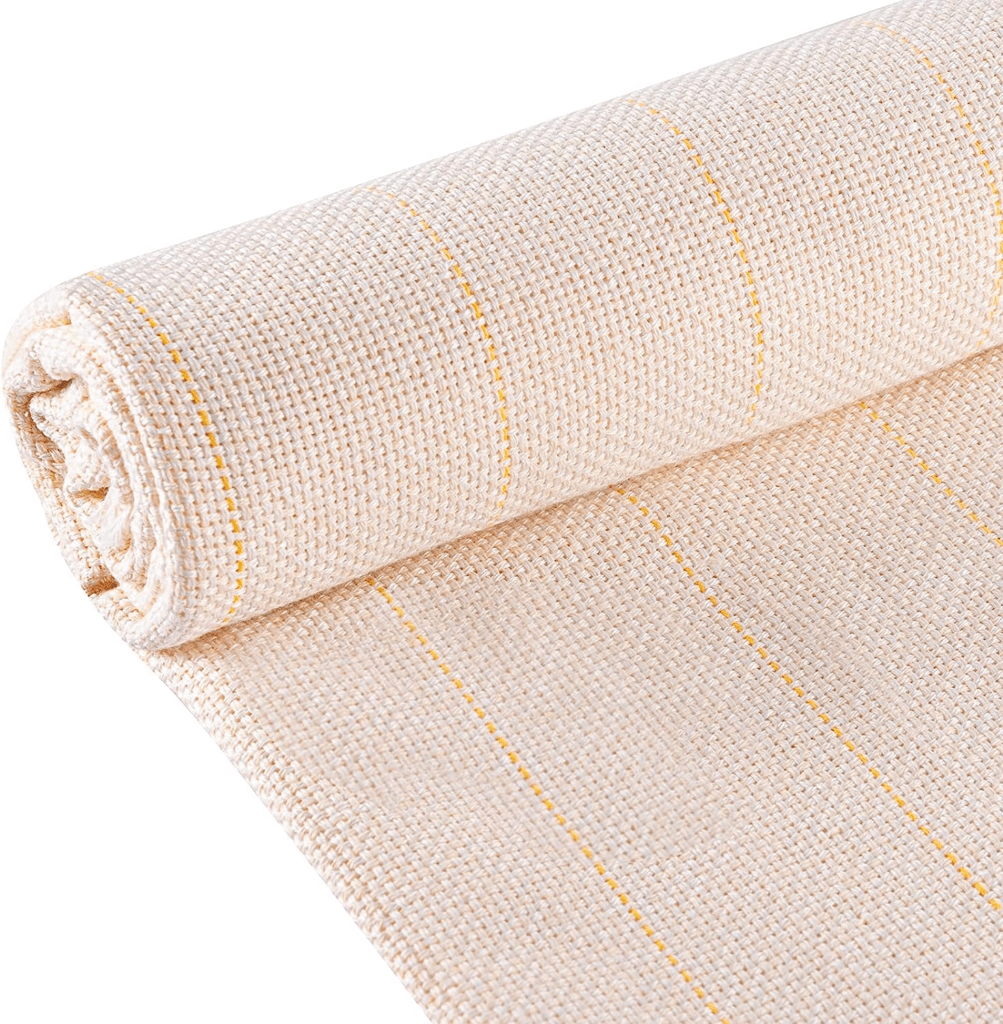
Fabric: Select a suitable fabric for punch needling, such as monk’s cloth or punch needle fabric. The fabric should be sturdy enough to handle the tension of the yarn. If you decide to go with a starter kit (like in the link I mentioned above), a lot of them already come with square of needling fabric. My favorite to work with is monk’s cloth as it is sturdy yet easy for you to puncture your yarn through. Also, the cloth has a good “grip” for yarn you punch through making needling really seamless and fast. You’ll quickly get into the rhythm of it with good quality cloth and a needle fit for the yarn thickness you’re working with.

PURCHASE HERE
Yarn or Thread: Choose colorful yarn or embroidery floss in the thickness that fits your punch needle size. The yarn’s texture plays a crucial role in creating the desired effect. If you decide to work with a wooden handle needle, you’ll want to work with thicker yarn. The adjustable yarn punch needle is a very common tool that features a plastic handle and 4 slots for the various yarn sizing: A-53 mm, B-43 mm, C-34 mm, D-24 mm. MY recommendation for a beginner would be work start with thicker yarn which will be easier to “grip” onto the fabric. Here’s a bundle of assorted colored yarns to get you started:
Hoop or Frame: Use a hoop or a frame to secure your fabric tightly, creating a taut surface for smooth punching. Lots of starter kits come with a round or rectangular hoop. However, if you want something more robust that frees both your hands (so you’re not having to hold on to the hoop with one hand while using the other to punch through the yarn), I HIGHLY recommend an adjustable wooden stand with a rotating arms. You can also use this for embroidery as well! There are many styles to choose from, so pick one that best suits your needs and the size of your punch needling projects (for bigger projects, I recommend one with two adjustable rotating grips).


From left to right:
Adjustable Rotating Embroidery Cross Stitch Stand With two grip handles
Adjustable Cross Stitch Hoop Holder, Natural Beech Wooden 360 Degree Embroidery Stand,
Table-Type Wooden Embroidery Stand (20cm x 24cm)
Scissors: A good pair of scissors will help you trim excess yarn and tidy up your finished design. Any pair of scissors will do!
Where to Find Tutorials
Learning punch needling is fun and there is an abundance of online resources to help you get started. From step-by-step written tutorials to video demonstrations, you’ll find various platforms to help you get going:
YouTube: YouTube is a treasure trove of punch needling tutorials, offering visual guidance to master various techniques and create stunning projects.
Craft Blogs: Many talented crafters share their punch needling experiences, tips, and tricks on their blogs, providing valuable insights for beginners.
Online Courses: Some platforms offer comprehensive online courses taught by experienced punch needling artists. These courses can take you from beginner to advanced levels.
Where to Buy Products
To get your hands on punch needling supplies, you can explore both online and local craft stores:
Online Retailers: Websites like Amazon, Etsy, and dedicated craft stores offer a wide range of punch needles, yarn, fabrics, and frames.
Local Craft Stores: Visit your nearby craft stores to explore their selection of punch needling products and get a feel for the materials in person. Also be sure to check out Michaels and even Dollar tree for affordable yarn and cloth.
Specialty Needlework Shops: Some needlework or embroidery stores might also carry punch needling supplies, providing you with a more specialized shopping experience.
Cost to Getting Started
The cost of starting punch needling can vary depending on the quality and quantity of materials you choose. As a beginner, here’s what to expect for the cost of materials needed:
Punch Needle Tool: The heart of punch needling, a basic punch needle tool can cost between $10 to $30. Some advanced models with additional features may be priced slightly higher.
Yarn or Thread: The yarn or thread you choose will play a crucial role in the appearance and texture of your punch needling projects. The cost of yarn can vary significantly, ranging from $5 to $20 per skein. For beginners, a few skeins should be sufficient to start with.
Fabric: Selecting the right fabric is important for a successful punch needling experience. Punch needle fabric or monk’s cloth are common choices. The cost of fabric can be around $10 to $15.
Hoop or Frame: To keep your fabric taut while working on your punch needling project, you’ll need a hoop or a frame. These can cost around $5 to $10, depending on the size and quality.
Overall, the cost of getting started with punch needling can be roughly estimated as follows:
Punch Needle Tool: $10 – $30 Yarn or Thread: $15 – $60 (approx. 3 to 6 skeins) Fabric: $10 – $15 Hoop or Frame: $5 – $10
Total Estimated Cost: $40 – $115
It’s worth noting that the cost can vary based on factors like the quality of materials and the brand you choose. As a beginner, it’s recommended to start with basic supplies to keep the initial investment lower. Also, there are plenty of starter kits that have everything you need to get your going so that you don’t have to buy everything separately. Here’s a few of my favorite ones:
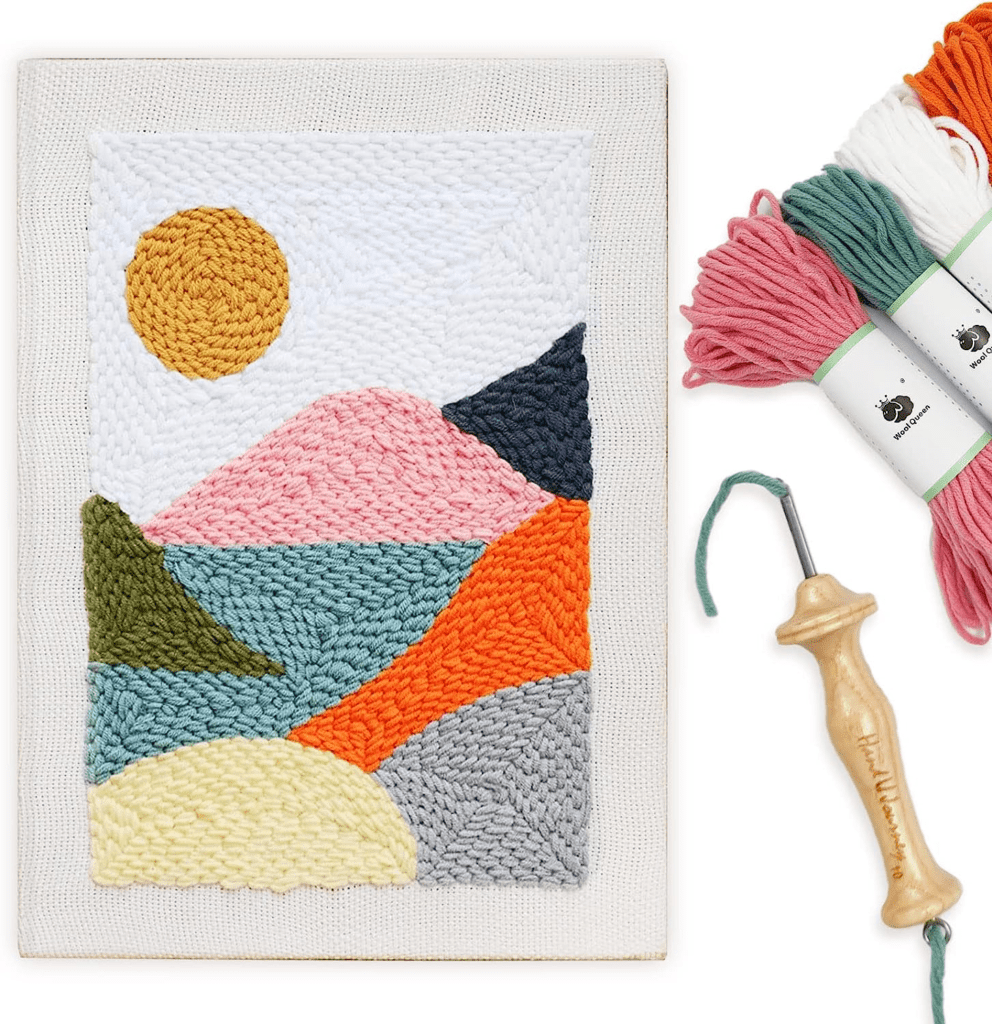
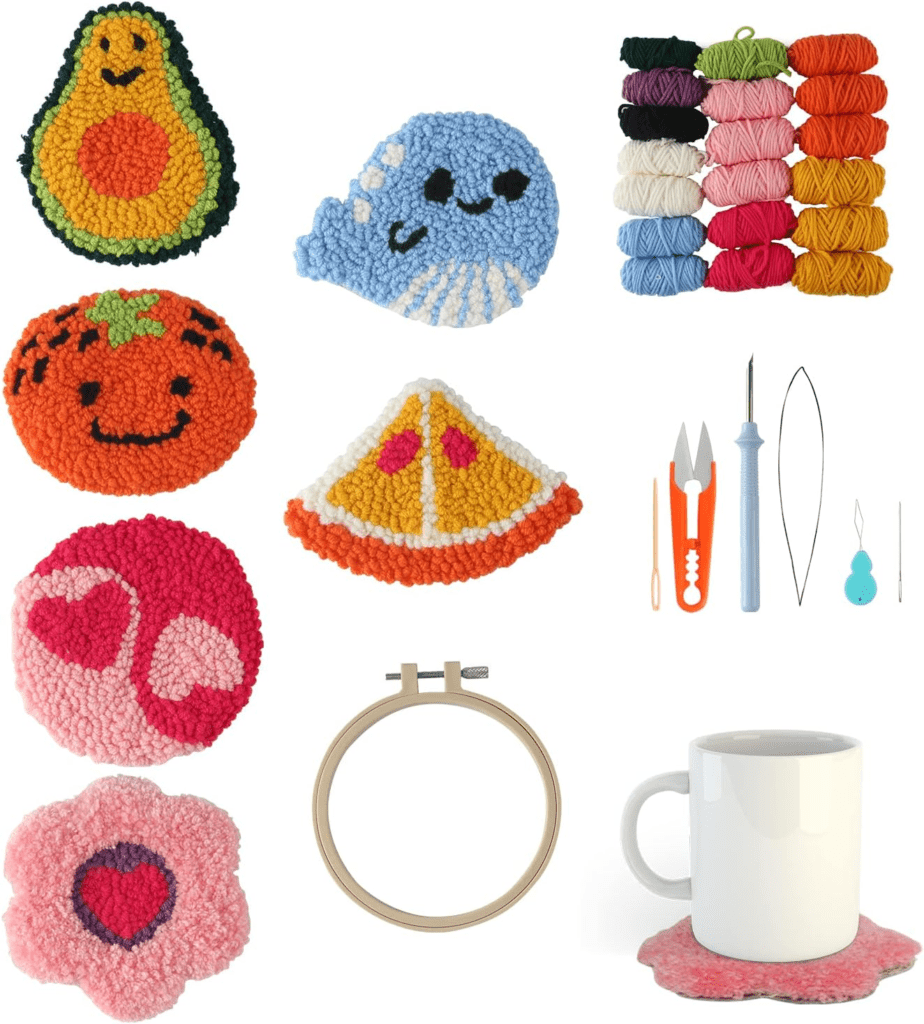
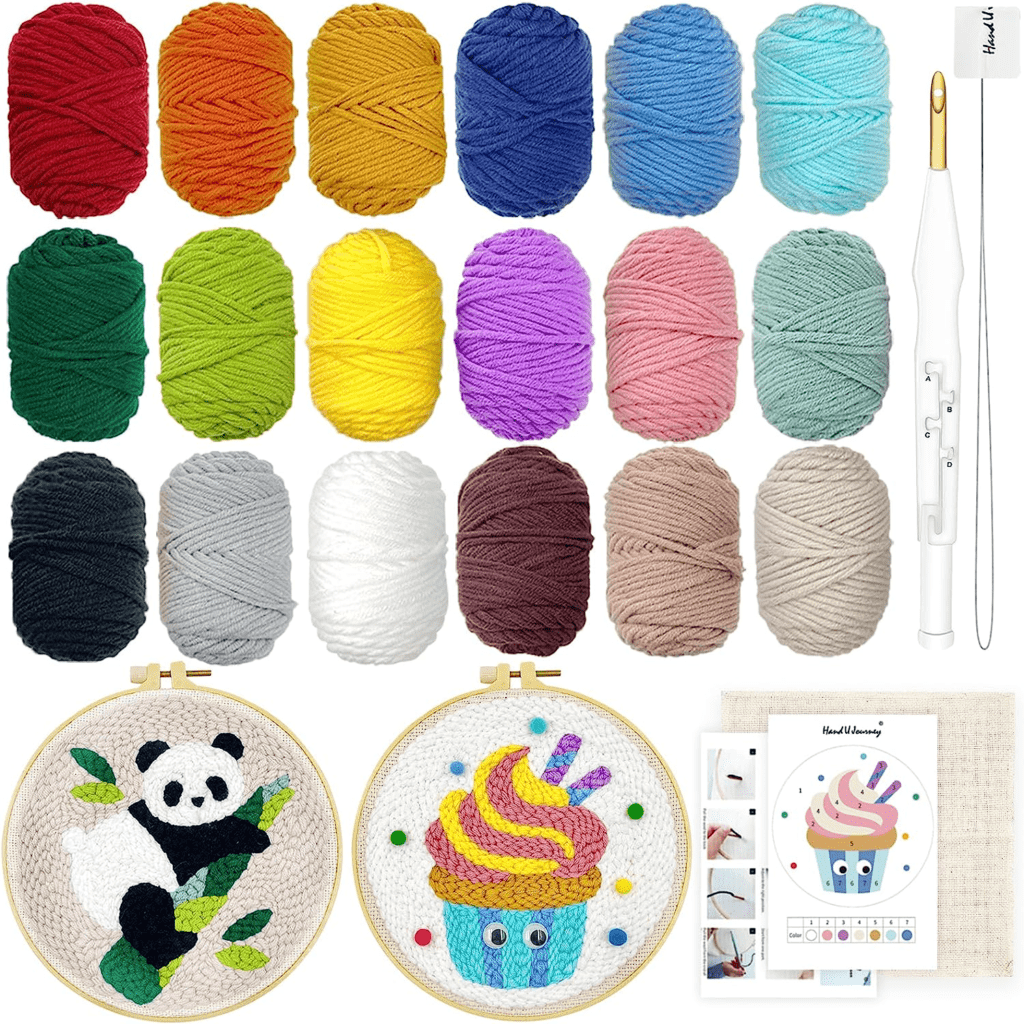
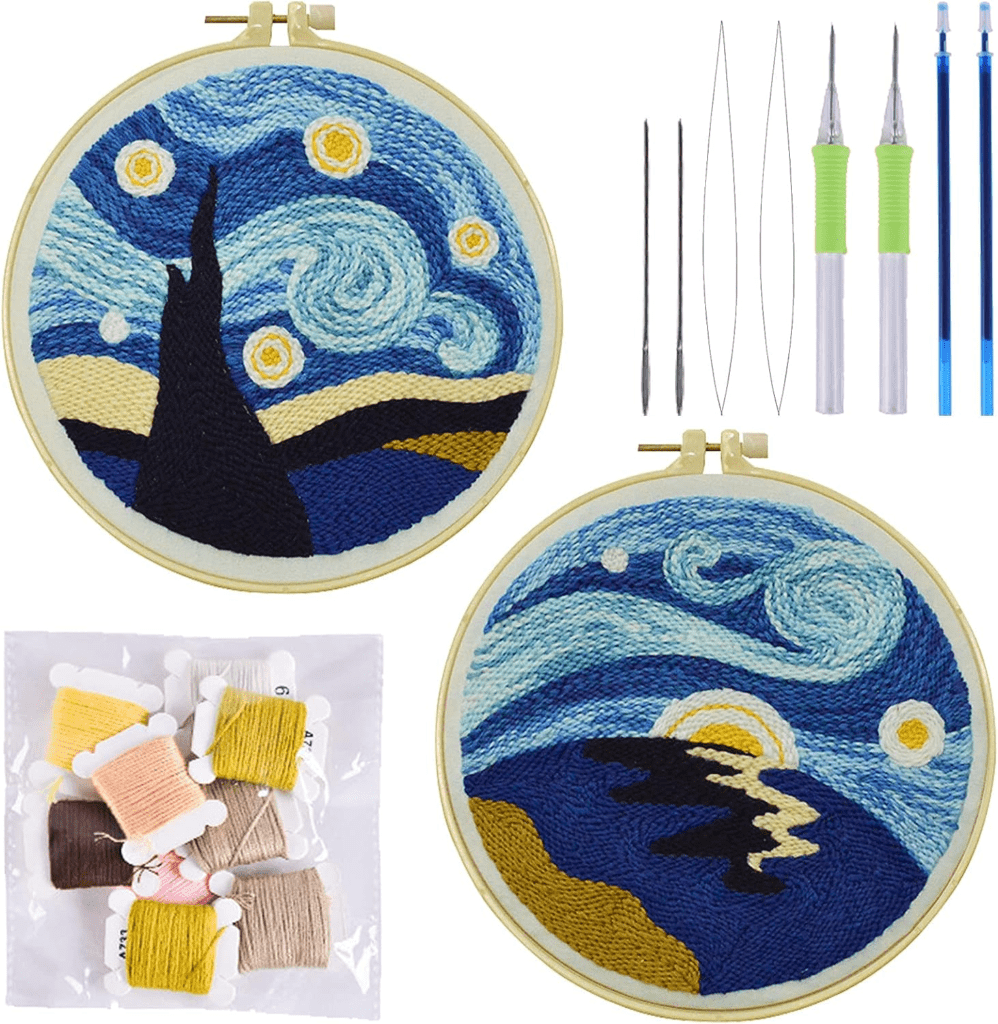
FROM LEFT TO RIGHT:
Punch Needle Kit/Landscape Rug Yarn Beginner Kit 14”x10” with Wooden Punch Pen
Punch Needle Coaster Kit 21 Pcs 6 Pattern Tufted Rug Pads with Adhesive Felt Yarns.
1 Punch Tool /18 Colors Yarn/Two 8.4” Wood Hoops (Panda & Cupcake)
2 Sets Punch Needle Embroidery Starter Kit with Pattern & Instructions (Van Gough)
Punch needling is not only a fun and creative hobby but also a therapeutic way to unwind and create beautiful artwork. With a modest investment in the essential supplies, you’ll be well on your way to exploring the world of punch needling and enjoying the joys of this delightful craft.
Learning Curve & Progress

Punch needling is a relatively easy craft to pick up, but like any skill, it requires practice and patience to achieve proficiency. Most beginners can create simple designs within a few hours of practice. As you become more familiar with the techniques and experiment with different textures and colors, your punch needling projects will evolve beautifully.
Becoming mildly good at punch needling might take a few weeks or a couple of months, depending on how much time and effort you dedicate to the craft. Embrace the learning process, enjoy the journey, and let your creativity flow freely!
Not sure about punch needling as a starter crafting hobby? Here’s a few more suggested crafting hobbies for adults to try out!
Punch needling is a delightful and rewarding craft that allows you to create stunning textured designs with yarn or thread. Armed with the essential items, a willingness to learn, and the abundance of online resources, you can dive into the world of punch needling and enjoy a therapeutic and creatively fulfilling hobby. Hopefully you’ve found my punch needling for beginners guide useful! And if so, gather your supplies, find a tutorial that resonates with you, and let the rhythmic punching lead you to a world of artistic expression!

