
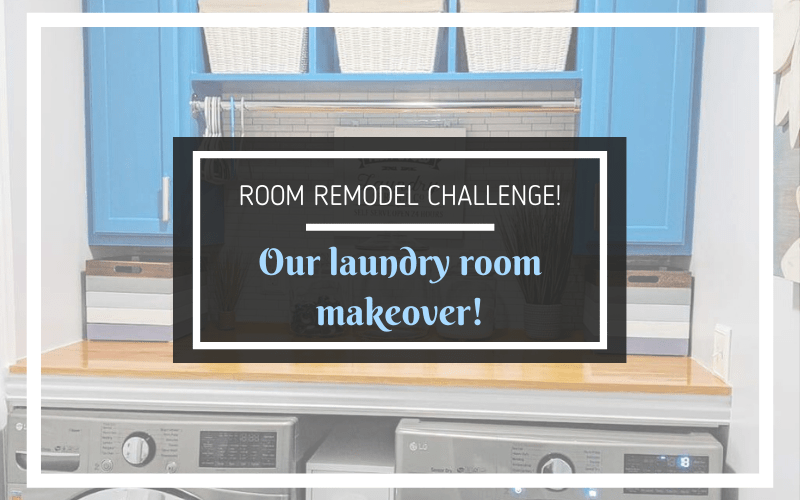
Room Remodel Challenge – Laundry Room
I’ve always been a fan of remodeling. It’s a lot of hard work but there is something to be said about seeing a finished room and knowing that you put in the time and effort to make it your own. I get a lot of satisfaction putting in the work in a room renovation – I guess it’s the engineer in me.
A little over a year ago, Jason and I moved from Boston, Massachusetts to Plano, Texas. And just a few months ago we purchased a fixer-upper home with a lot of potential in a really nice neighborhood.
The entire home really needed a makeover and not just cosmetically speaking. I mean, we found tons of problems as we started demoing and taking things apart. At times it felt pretty overwhelming and we seriously contemplated whether we had gone in over our heads – but we persisted.
The key to renovating is to take things slow. Tackle projects one at a time so that you don’t feel overwhelmed. Small accomplishments make a big difference and it can be really rewarding seeing small improvements made.
Our first project was the laundry room. We had a few months to go before we officially moved in, and we knew we needed to wash and dry our clothes as soon as we moved in, so getting this room done first was our top priority on our list of rooms to tackle.
The Before Laundry Room:

This room is seriously depressing to look at. It was bare, dingy, old, and just… yuck! I couldn’t wait to get the demo started.
The first thing I did here was sand down the walls so that they were smooth enough for me to mud over them. I had initially tried to see if i could scrape off the excess paint and the “crows feet” texture but that was a no-go. Sanding took a few hours with my little Dewalt orbital sander.
Next, I moved all the old baseboards out of this room with just a hammer, crowbar and some elbow grease. This lead to our first setback…
Setback 1: Termites!
Yup! I should’ve seen that coming, especially with the condition of the house. We took out the back baseboard where the washer and dryer were supposed to be and found LIVE termites! Obviously we had to stop our demo and call a pest company to come over and assess the situation.
This took a few days. They ended up putting traps around the perimeter of the house, and drilling into the concrete of our back garage area (the laundry room is adjacent to the garage), and spraying a chemical into the termite infestation. We then had to wait for a few more days before we could continue as we didn’t want to disturb the termites.
Once everything was sanded down well enough and all baseboards removed and the termite problem fixed, I got to mudding my first coat of joint compound. Then second. Then third. Then followed with sanding the walls down for a smooth finish.
Next we hired a local company to put down new tiles. The existing ones were old and I just didn’t like the color. I wanted something patterned mosaic style in black and white. Similar to these ones I was inspired by:

I ended up going with a nice mosaic Della Torre 8 x 8 inch tile from Lowes and these really nice 6 1/2 inch tall House of Fara baseboards from Home Depot.
Bring in the appliances!
Before the appliances arrived, I wanted to make sure I had the floors, baseboards, and the back portion of the room squared away and painted.
I then wanted to build some sort of shelving and counter-top system to maximize the space of this room. This got me thinking and I ultimately decided to build a floating counter-top with hanging cabinets and a clothes rack for hanging damp clothes.
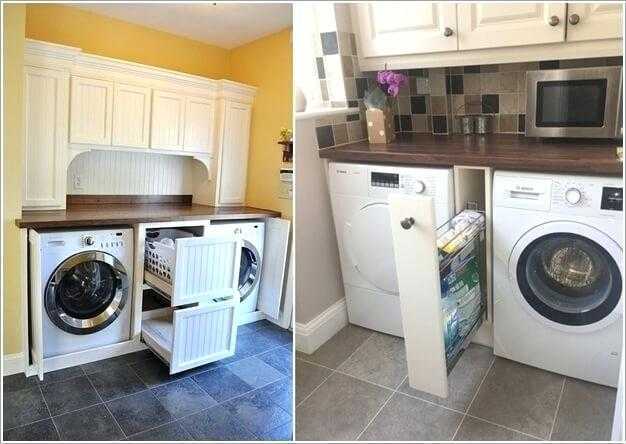
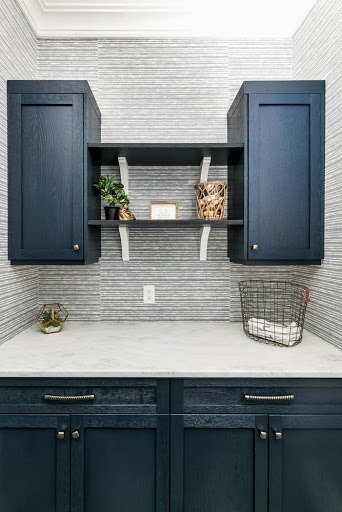
I started looking for inspiration and really liked the blue cabinets. I also wanted a countertop- initially in granite, but decided to make one from scratch to save money – that was the length of the appliances. Here are some images of beautiful laundry rooms from which I drew inspiration:


We started with the countertop base which we decided to appear floating. The cabinets came later. Initially I wanted to extend the cabinets from wall to wall but opted to keep cabinets on either end and build shelving units in between them. The dimensions of this room were a little off so we couldn’t get the exact pre-built cabinets to fit the width of the room perfectly.
I thought we did a pretty good job getting this going!
Setback 2: Door to the garage in the way!
So to the left (if you’re facing the washer & dryer) of the washer is a door to go to the garage. It had originally swung inward (left-hand outswing) which meant that the door knob barely passed the washer. If you had the washer door open, you had to close it in order to open the garage door. And the little detergent dispenser ALWAYS got in the way. I knew this was going to be an annoyance going forward.
So I decided to get this headache out of the way by flipping the door around so that it swung out into the garage from left (right-hand inswing). It was like night and day when we fixed this!
Setback 3: No extra Outlets!
Unfortunately, after enclosing the back of the wall with our appliances, we really had no other outlets for this room. If we wanted to use our steamer we had no outlet to plug it in.
Since we were having an HVAC system completely intalled and a new electrical panel replaced, we figured we’d also get a few new outlets installed as well. So glad we added that in! It’s been such a lifesaver.
Let the touch-ups begin!
Now that we had those setbacks out of the way, I started “prettifying” the room.
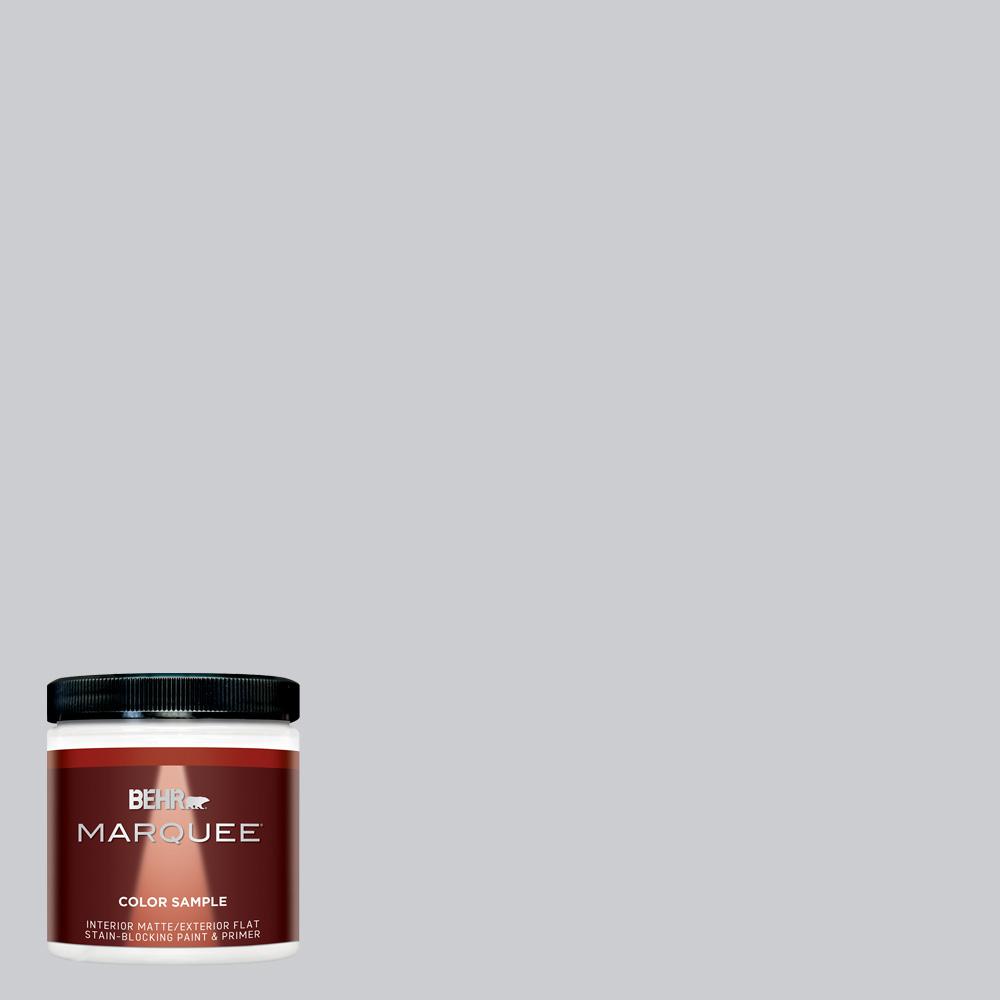
I painted the cabinets and custom shelving unit a blue paint color from Home Depot’s Behr collection. It’s called Hemisphere. For whatever reason, it came out a little lighter than I had intended. Oh well, I thought it still looked pretty nice. The unfortunate thing though is that it made my walls look like a light blue (the wall paint is actually a gray color – also from Behr – called Hush). And the cabinet hardware I purchased from Overstock.

I didn’t like the back of the wall exposed and I knew i wanted to cover it up somehow with a tile of some sort. However, I didn’t want to deal with the hassle of cutting tile and grouting. Instead, I chose a peel-n-stick tile-look option and the results turned out fantastic! It was a little difficult to get started initially and I wound up having to redo some sections but it was still much easier to work with because the plastic tiles were easy to cut.
Then I purchased a nice hanging wall art. I found this beautiful piece at Pier 1 Imports. It gave off a modern, farmhouse style vibe.

With the wall outlet clothes rack, and the peel-n-stick tile look installed, the laundry room was coming together! The last thing we had to do to complete the room was install a counter-top over the washer and dryer.

Initially, I wanted to go with a white-gray granite slab. But many granite places around me required a minimum purchase of 25 sq ft of granite and our counter-top only needed about 15 sq ft. And as you may already know, granite is NOT cheap, so having to pay for an additional 10 sq ft in which we weren’t going to us was a huge waste of money. At about $50 per sq ft on average, that would’ve been an extra $500.00 we would’ve thrown away!
So instead, I got to thinking of (MUCH) cheaper alternatives because there was no way I was willing to shell out nearly $2000 for a slab + installation.
On to the DIY Counter-top!
Some of my inspiration photos above had laundry rooms with wood counter-tops. I did not want one huge wood slab, but instead, a slab made up of narrow length wood pieces joined together to form a random wood pattern.
So I went to my local Home Depot and purchased 2 dozen 1 in x 2 in x 6 ft pine wood slabs, a can of polyurethane coating, some fine grit sanding paper, a can of wood conditioner, and a can of Golden Pecan color stain.


Here’s our attempt at putting the boards together. We started piece by piece and glued the pieces together followed by using a nail gun to nail each two pieces together. We also randomly made cuts to some of the wood and reattached them to give the DIY counter-top a random pattern look


Finally, completing the counter-top with the depth we needed, I sanded the board down, added the wood conditioner and let it sit for a few hours.
I added two coats of stain because i really wanted a dark golden look. And finally for the polyurethane finish, I added three thick coats to really try to make it as scratch resistant as possible.
We let it dry overnight and throughout the next day. Then came for the installation! This part was difficult because the board was so big and awkward. We realized we couldn’t put the board in sideways over the floating wood shelf so unfortunately, we had to cut out a piece of the door trim – as cleanly as possible since we were going to reinstall the same trim – that was in the way. This allowed us to slide the board in pretty easily.
I then caulked around the edges, cut just a sliver of the bottom of the wall switch outlet cover and I was pretty much done!
Here’s the finished room:

The final touches include some decor I purchased from At Home, Target, and Walmart:


From Left-top to Right-bottom:
Blue Wood Basket from At Home.
20 in Onion Grass In Cement Pot from At Home.
Anchor Heritage Glass Jar – 1 & 2 Gallon from Target.
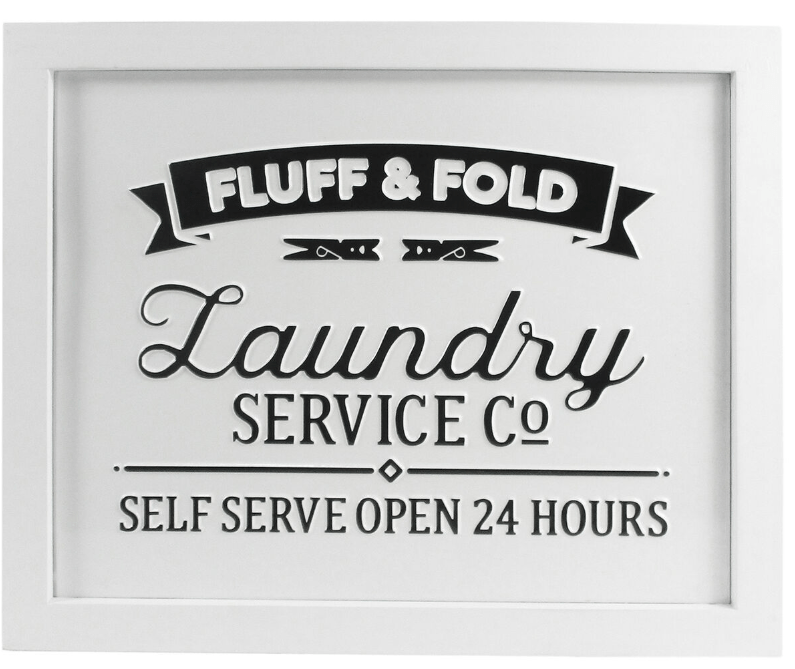
Fluff and Fold Enamel Laundry Service Co Wall Art from At Home.
Hope you guys enjoyed our laundry room makeover! Please be sure to like, comment and share! We truly appreciate it <3
You May Also Like

Boost Your Work-from-Home Efficiency with These 6 Home Office Must Haves

Room Remodel Challenge – Foyer – Part 2
