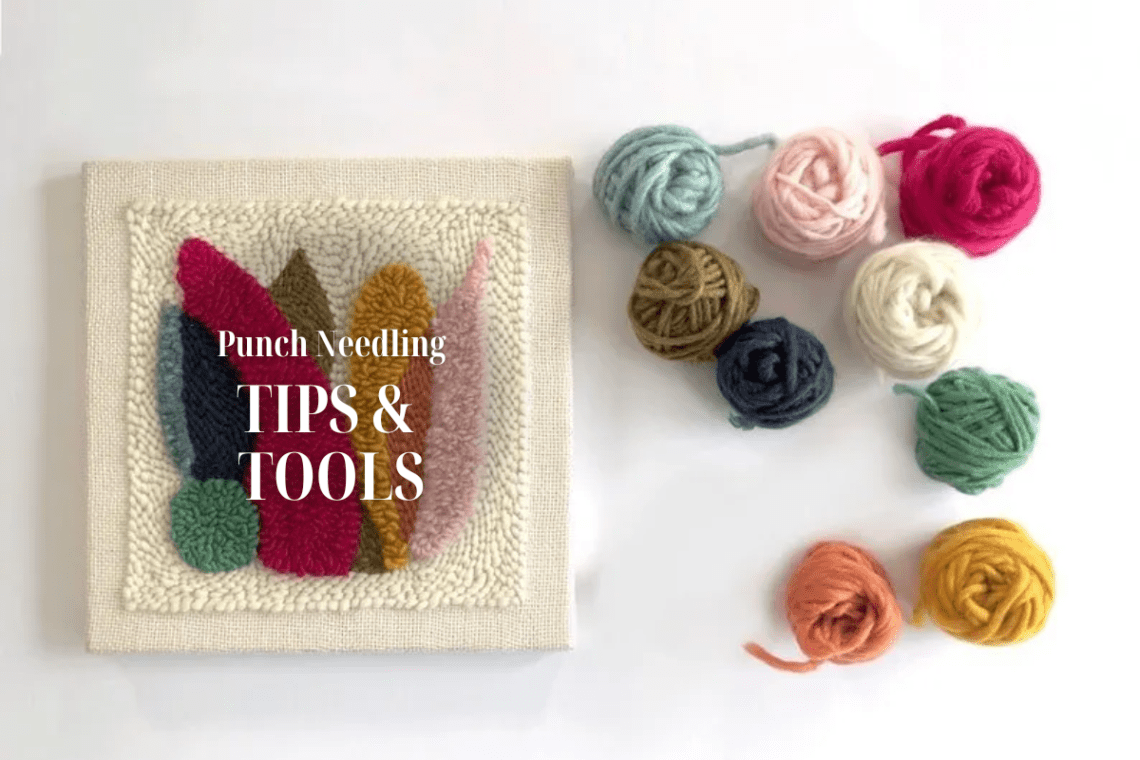
Tips & Tools to make your Punch Needling project easier
In the last year, I’ve fallen in love with the art of punch needling as I find it therapeutic and rewarding. But even though it’s a super fun craft, there are times when a little extra help can make the process even smoother. Throughout my punch needling journey, I found tips and tools that have helped make this craft more enjoyable. I want to share some of my tips and tools that have turned my punch needling projects easier. Here’s are few tips for punch needling that have helped me greatly.
Start with a WOODEN Punch needle

First things first, let’s talk about the star of the show: wooden punch needles. Wooden punch needles, with their ergonomic design, offer a comfortable grip that makes those long crafting sessions a breeze. Plus, the smooth surface ensures your yarn glides effortlessly, reducing any snags or friction.
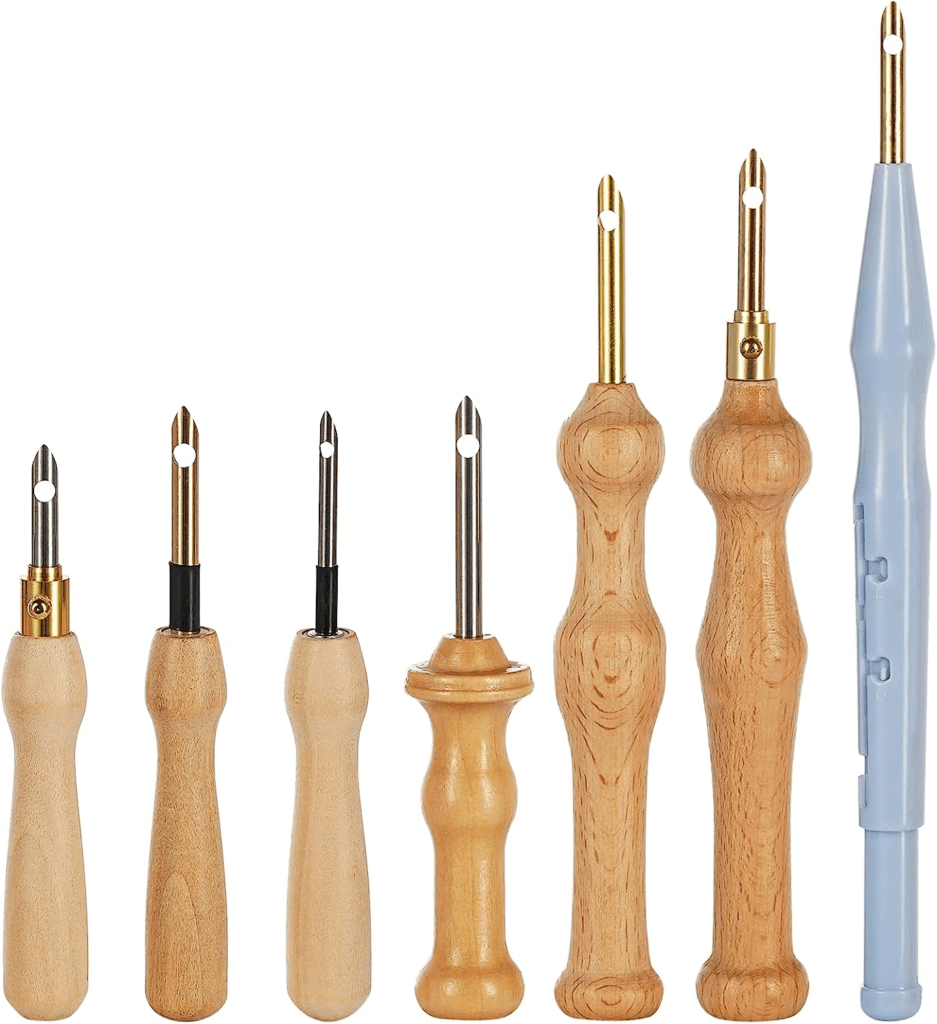
I prefer wooden needles over the mechanical ones with different settings. Why? Because I find that the mechanical ones are cumbersome in that the setting it’s set to will “un-set” itself, causing the yarn to be pulled back into the pen. I can’t tell you how many times I’ve had this happen to me. The settings on these pens (and the needle pens are pretty universal) all seem super flaky and the settings do not set in place while you are working. Especially when pushing the yarn in and out of the monk cloth, the setting oftentimes clicks off and retreats back into the pen. I’d have to pause my project, re-set it along with the yarn and sometimes backtrack on my work.
If you’re looking for a more streamlined project where you can “punch” in and out quickly without stops, stick to a wooden punch needle, at least to start off with. This way you get used to the momentum. And just because the wooden needle only has one “setting”, that does not prevent you from making creating depths and pulls on the yarn for your project – you can simply pull the needle out a bit further from the cloth.
An Adjustable Hands-Free Wooden Hoop Stand
Now, picture this: you’re carefully working on your punch needling masterpiece, but holding that hoop for hours? Not the most comfortable experience, right?
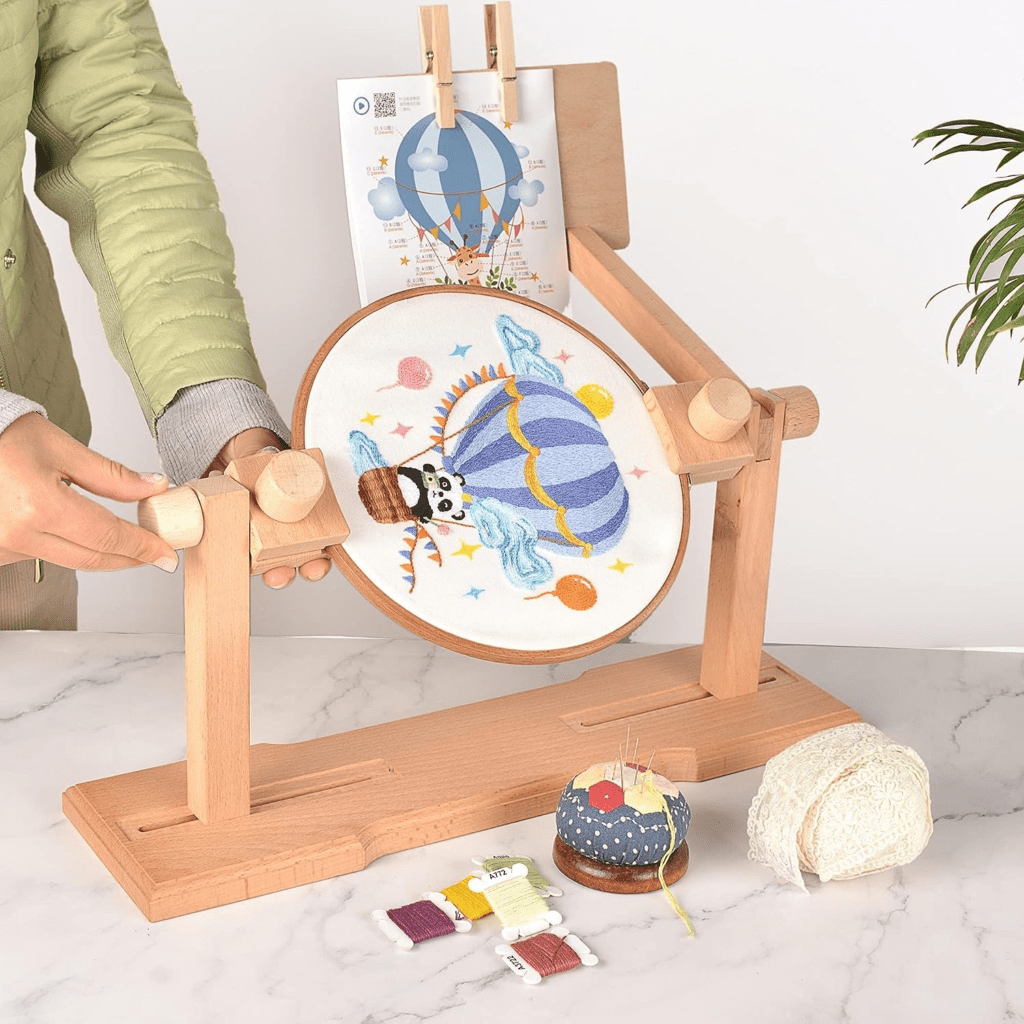
BUY HERE: Wooden Embroidery Hoop Stand, Adjustable Cross Stitch Stand
The adjustable wooden hoop stand is my new crafting BFF! This nifty tool not only frees up your hands but also helps maintain consistent tension, which is crucial for achieving those picture-perfect loops.
These are normally used for embroidery hoops but you can use them for punch needling as well. I personally like one that is adjustable width-wise and has two grips – one on either end. This is useful if you work with rectangular projects. Whether you’re working on a small coaster or a larger wall hanging, you can customize the height and angle of the stand to suit your project. It’s like having your very own crafting assistant, minus the coffee-fetching duties.
Prep Your Yarn
Prepping your yarn before you start your punch needling project will save you tons of time and headache. If you don’t unravel your yarn, you’ll end up having to stop your project many times in between to unravel or untangle it. When I first started, I’d unravel it just enough to get going, but I’d grow increasingly frustrated because I would stop many times when my would tug, causing the yarn to not stick in the monk cloth. I’d have to spend a few minutes untangling the yarn that got tugged and sometimes knotted.

Also, remember that different punch needles work better with different yarn thicknesses. Before you dive into your project, make sure your yarn is the perfect match for your punch needle. This will save you frustration and give your project a polished finish. If you stick to a wooden punch needle (as I mentioned above), you can get away with using just about any type of yarn out in the market.
Tension is your best friend in punch needling. Too loose, and your loops sag; too tight, and you risk breaking your yarn or damaging your fabric. The adjustable hoop stand will be a massive help in this department.
Need some inspiration? Here are some fun ideas on what to make with punch needling.
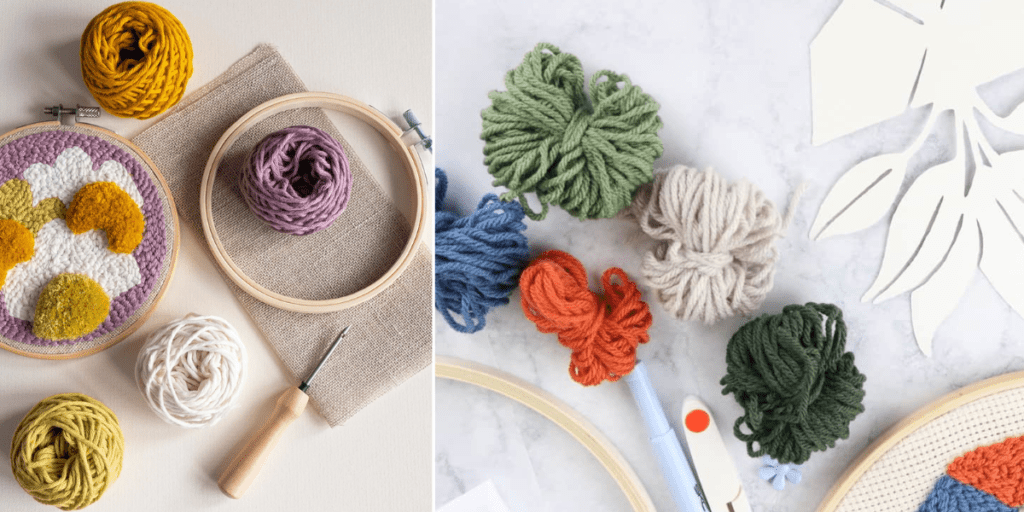
If you’re new to punch needling, start with a straightforward design and incorporate some of the tips and items I’ve mentioned in this post. This will help you get up to speed a lot quicker. As you get comfortable with the technique, you can experiment with more intricate patterns.
With wooden punch needles and an adjustable hands-free hoop stand in your arsenal, your punch needling projects are about to reach a whole new level of awesomeness. Remember, crafting is about enjoying the journey, so take your time, savor the process, and relish in the joy of creating something beautiful with your own hands. Hopefully tips for punch needling will help you get better acclimated to this fun and addictive craft. Happy punch needling!

