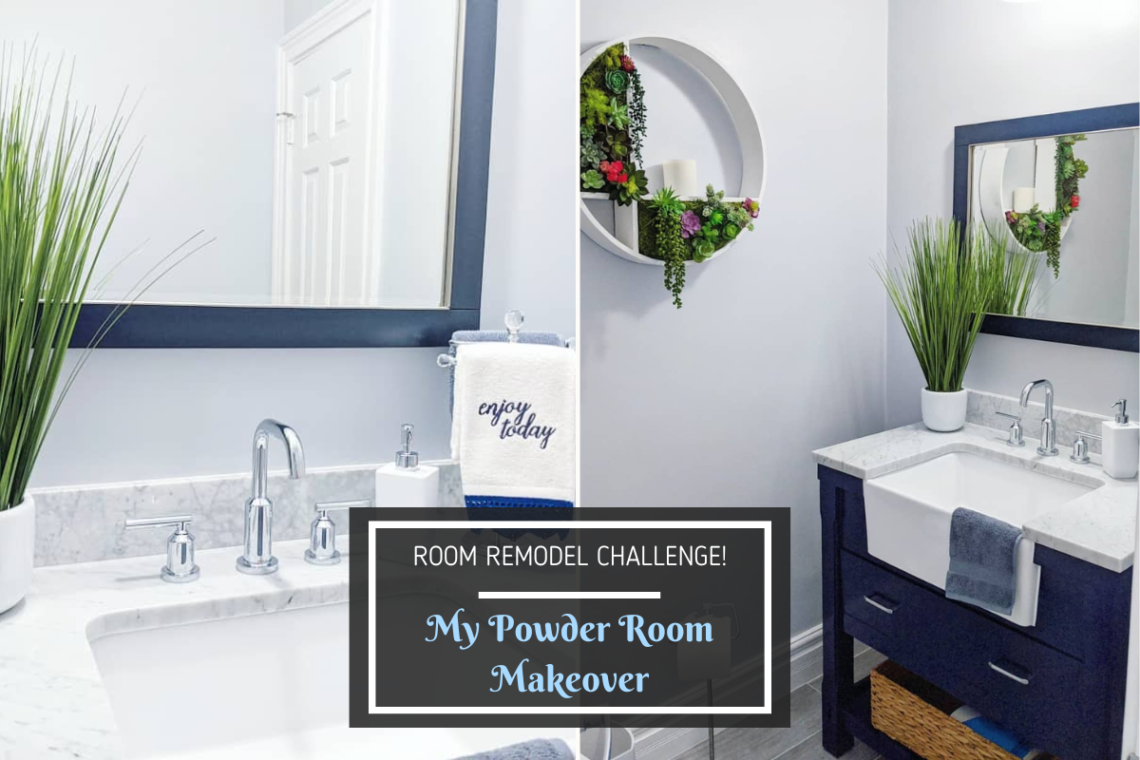
Room Remodel Challenge – Powder Room
Bathrooms are one of the most expensive rooms in a house to remodel. You’ve got electrical and plumbing work involved and all of the fixtures and tiles to purchase and install which can really add up.
Our house has three bathrooms. Well, more like two and a half. The half bathroom is just a powder room with a sink and toilet and is our only downstairs bathroom.
We decided to tackle this one first because we really wanted a finished bathroom – and a working bathroom, especially for our downstairs area which we were going to spend most of our time at.
Unfortunately, I completely forgot to take any sort of before pictures but to paint a picture at how awful it looked: The walls were this yellowy-beige paint with crows feet texture. And the walls themselves were poorly done. There were paint tape marks that weren’t fully disguised with joint compound and patches galore with crows feet texture horribly re-done which made the patches pretty obvious. The walls were bowed and the toilet did not work 100%. It was just an absolute mess and needed a makeover!
Here’s what our half-bathroom looked like when completely gutted:
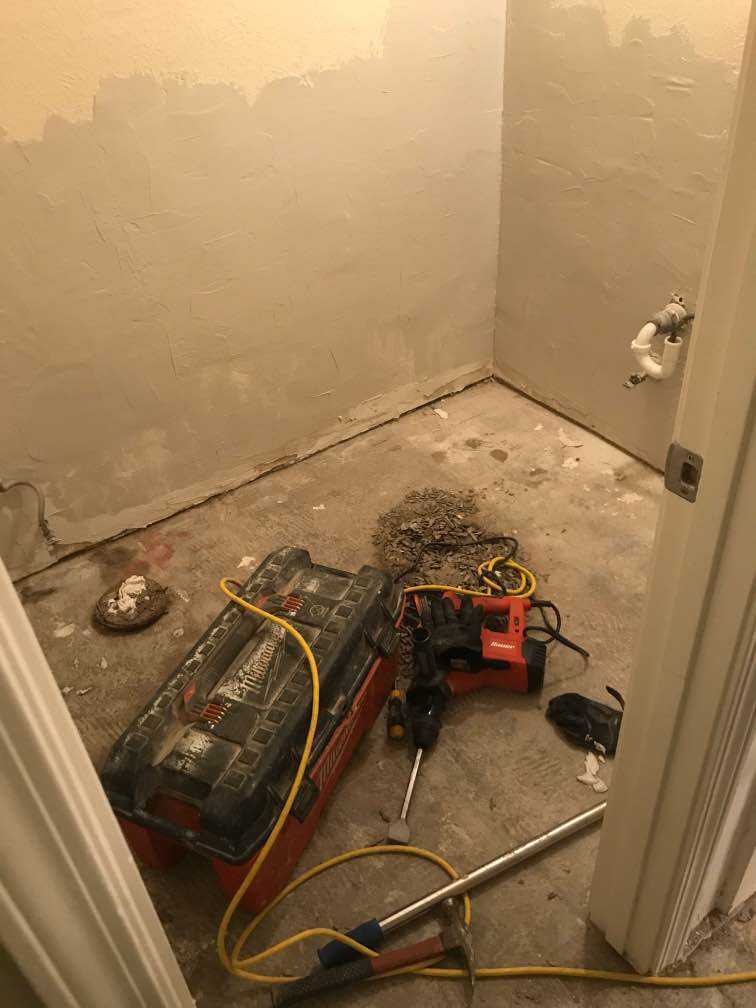
The toilet and vanity were removed along with the old tiles. We also scraped down the old texture and started applying a layer of joint compound. Eventually we also replaced the door trim, but ended up keeping the existing door there.
For the remodel, I wanted to keep this powder room simple, but not so empty so that one felt like they were in a prison cell, since this room had no windows.
Tiles!
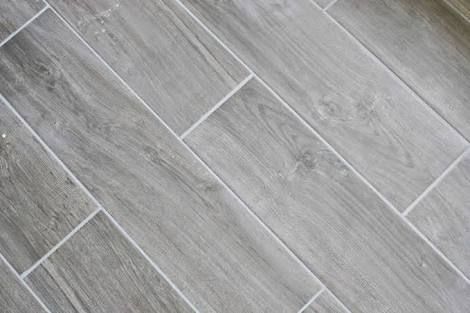
I have been looking for a nice, sturdy wood-look tile in gray. This was actually going to be used throughout the downstairs to replace the old beige tiles (kitchen, foyer, hallway, breakfast nook, and this bathroom). My inspiration included some of these tiles:
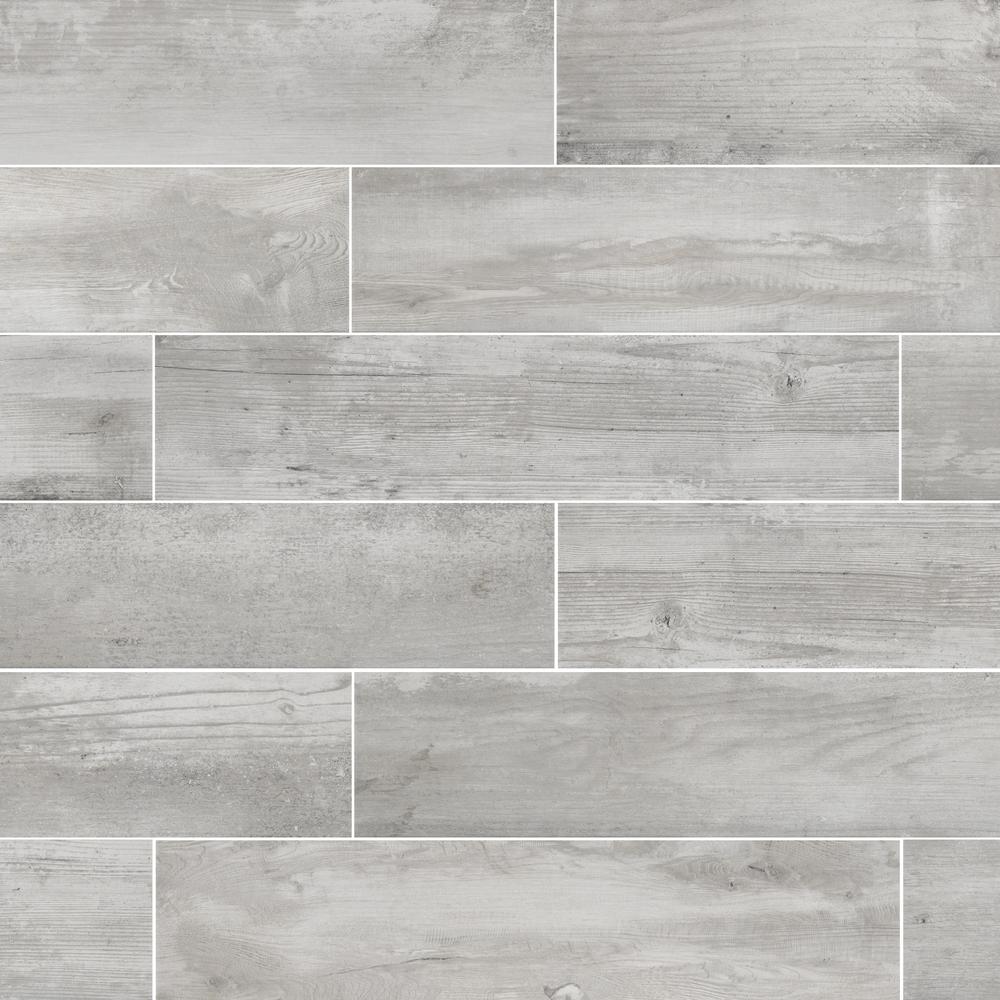
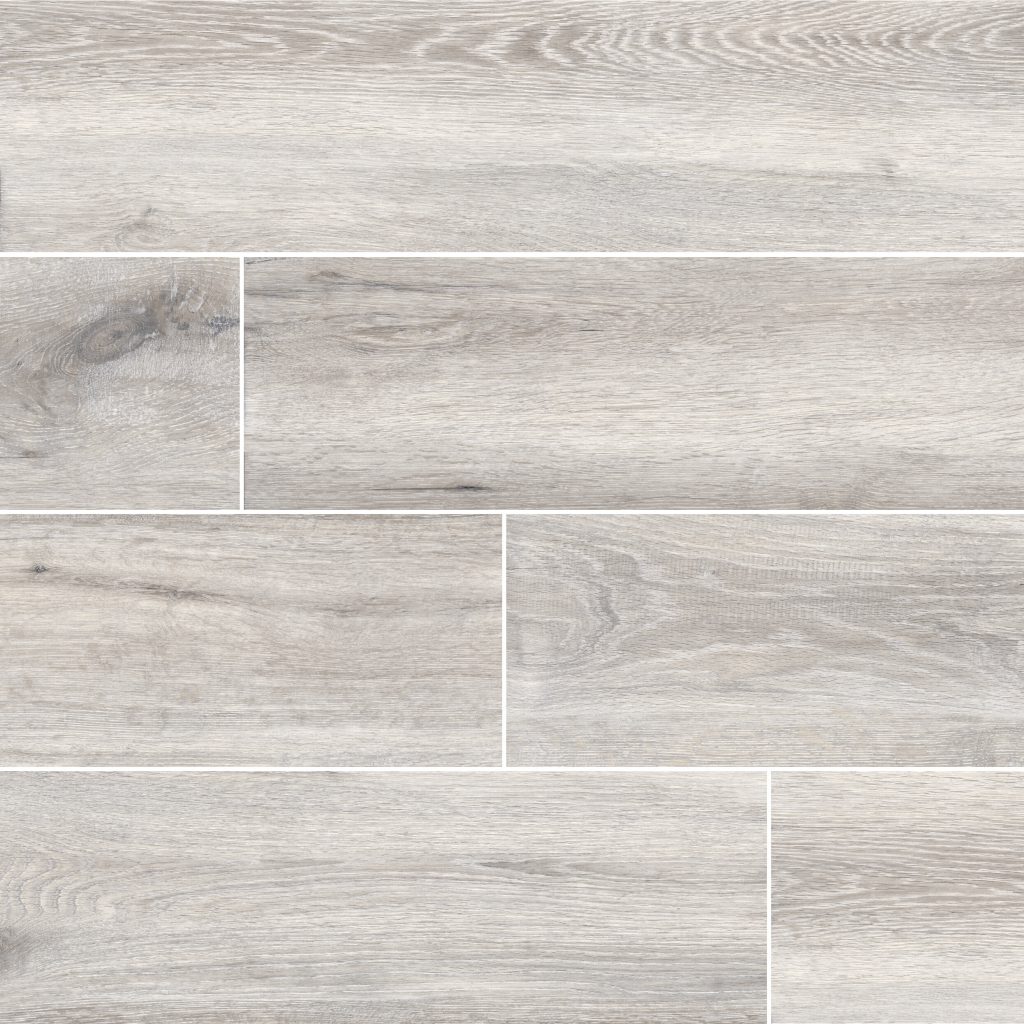
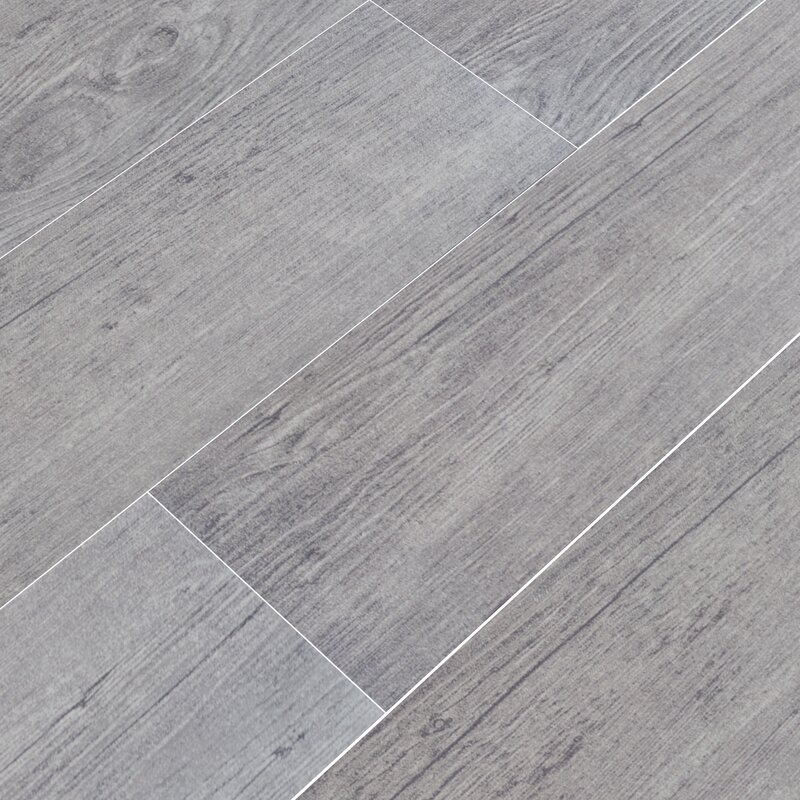
I wanted a gray tile with a very defined grout line. Some people might disagree with me on this and I can understand why. If you’re going for a wood look but in either ceramic or porcelain, you’re going to want it to look as if you have hard wood floors placed which means as minimal a grout line a possible. That, and white grout tends to get dirty over time.
I’m totally OK with this. In fact, it’s recommended to clean and grout touch-up at least once a year. Hardwood floors were way out of my budget and my goal is to do a complete remodel as frugally as possible.
So what did I ultimately decide on? I went with Lowe’s CERAMICAS TESANY Acadia Grey Floor Tile.


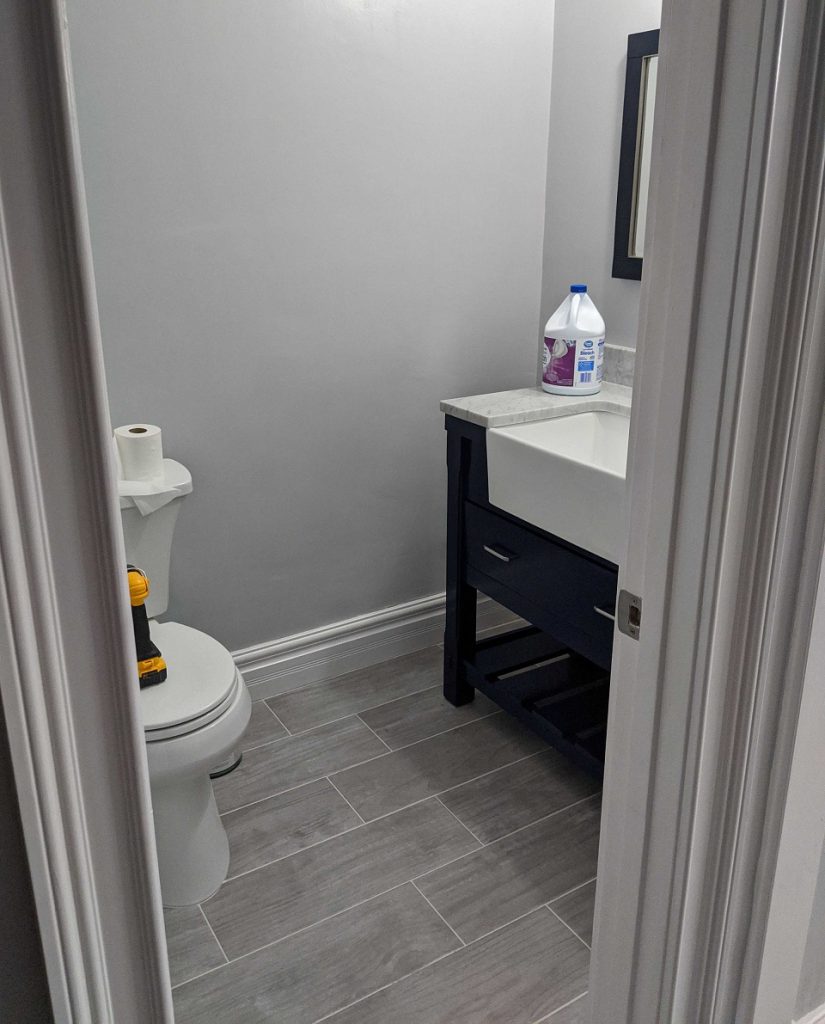
I was actually quite surprised by the look of this tile once placed on the floor. It’s lighter in person and surprisingly sturdy. We’ve dropped countless things on the tile and have had no dings whatsoever. And best of all, I wound up buying these when they were on sale for $0.79 a PIECE! They’re currently selling at $1.07 a square foot so I definitely got lucky there!
And here’s how they turned out!
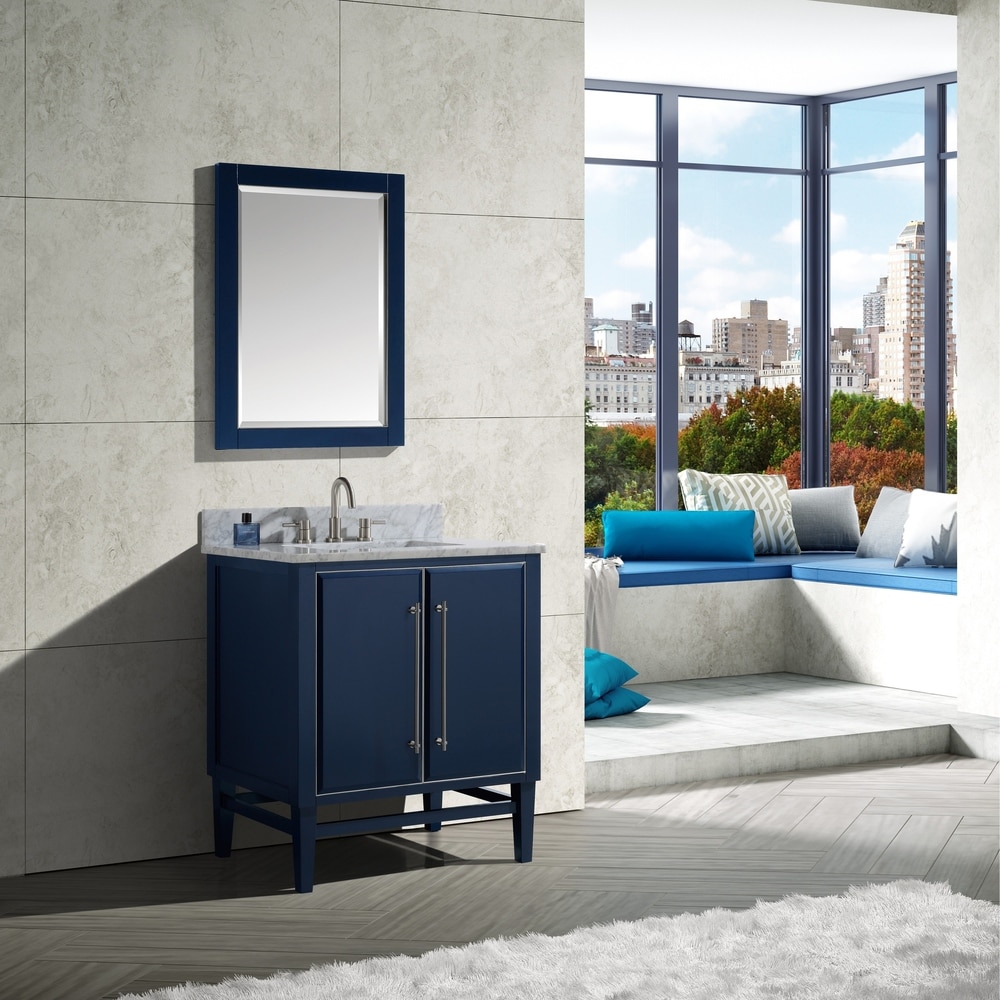
My dream vanity
For the longest time, I really loved the farmhouse style sink and had been eyeing this bathroom vanity for months. I finally pulled the trigger when the bathroom was at a good enough shape, and purchased this beautiful royal blue 36 inch width vanity with just the sink I was looking for.
I purchased this particular one at Wayfair, however, I don’t think they have it in stock anymore. But this style and color is pretty popular and there’s always slight variations to it. Here are a few others that Wayfair currently have for sale:


From left to right:
1. Highland Dunes Skelly Single Sink Bathroom Vanity Set
2. Highland Dunes Skalski Single Sink Bathroom Vanity with Backsplash Set
3. Breakwater Bay Ruthanne Single Sink Bathroom Vanity Set
They sell different widths so be sure to know ahead of time and take careful measurements before purchasing your vanity. Our vanity was perfect width-wise but was a huge hassle getting it into the room itself because the door was only 24 inches wide and the vanity was just under 23 inches (not including hardware)!
TIP When buying from Wayfair

Alright, so I tend to purchase large ticket items from Wayfair but I don’t normally do so very often. If you’re in the neighborhood of purchasing something expensive, make sure you’ve got a 10% off your FIRST purchase for FIRST TIME USERS ONLY. Wayfair occasionally sends you these 10% coupons so be on the lookout. Sometimes they can be found in those Velpac coupon envelopes, or USPS may have them as well during a change of address. So be sure to save them and stock pile them because they’ve got a long expiration date!
And I probably shouldn’t be saying this BUUUUTTTTT…you can always create new accounts on Wayfair with different emails so that you’re able to use those 10% off coupons. I’ve saved hundreds just by doing this!
Hardware, Mirror & Toilet
Nothing too special about these things except that I am a loyal Moen Fan and usually buy my faucets, shower heads, etc from them.
This particular Moen faucet I got a really great deal! It came with the valve and all other hardware needed to install with a vanity. I liked the sleek, modern-ish look to it and complemented well with my farmhouse sink. One issue we ran into with this sink and faucet fixture was that due to the dimensions and overall size of the sink, the faucet stopper rod was not long enough to reach the drain. We actually had to bend the rod a bit so that it bent toward the drain and could be linked up properly. Obviously, as with any vanity, cuts had to be made so that the pipe would fit well into and under the vanity sink/drawer. And lastly, the P-Trap also did not quite fit perfectly in place and we had to finagle a bit and come with a hacky somwhat P-trap solution, LOL. But I think this is due to our house’s pipe sort of being in an awkward place on the wall and not the vanity itself.
For the toilet, we chose a standard Kohler toilet with a soft close lid and a flushing handle that was visible and accessible at the front of the toilet. Otherwise, this was a great toilet for the price and water efficient to suit our needs 🙂
It took me a while to find a mirror that I liked and mirrors are surprisingly very expensive. In addition to the vanity, I also did splurge a bit on the mirror. I wanted a blue-edged mirror that complemented the sink.
I ended up purchasing a mirror in blue on Overstock (my go-to place to shop for home decor and furniture):
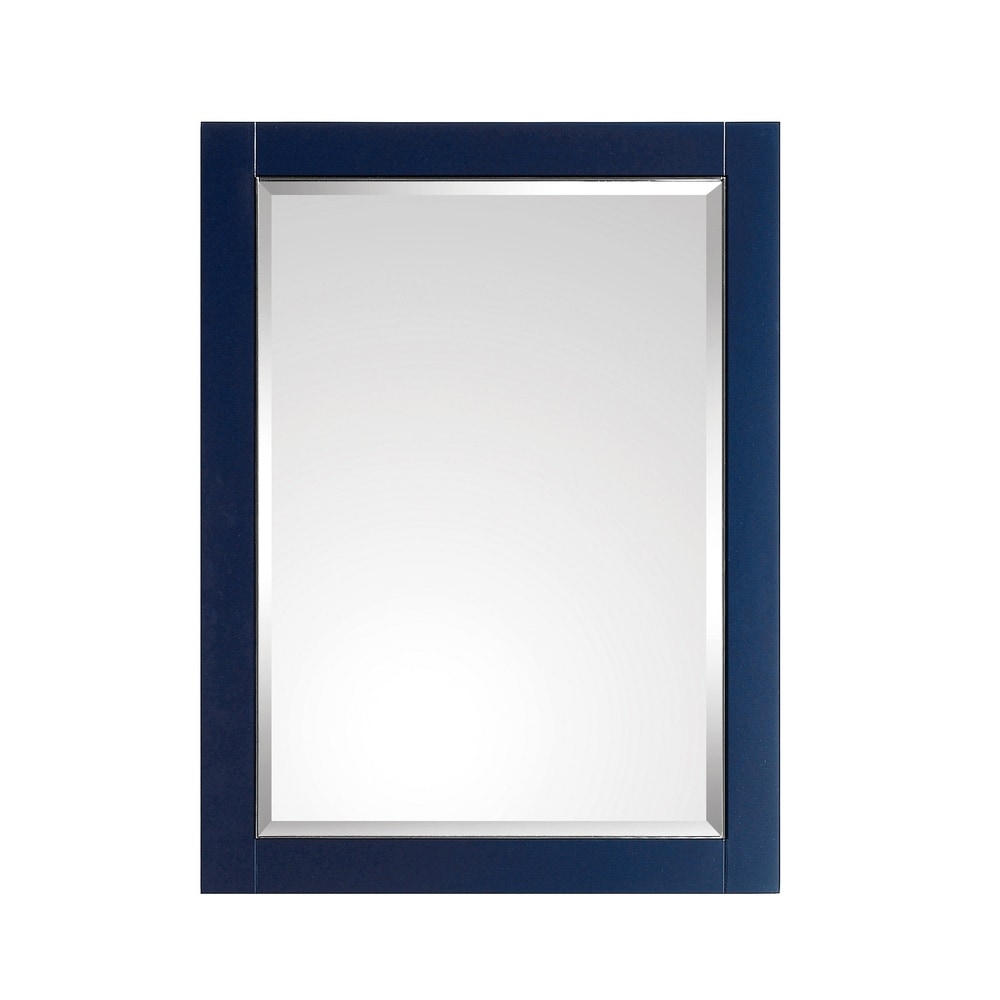
It’s quite a heavy mirror yet sturdy and blended pretty well with the royal blue vanity.
Now for the fun part: Decorating!
This is my favorite part after remodeling any room in a house. Picking out the decor and wall accents to make the room represent you and your likes.
As I mentioned earlier, I wanted to keep this simple, elegant, and modern. Not too much color but not overly boring either. I’ve got a green thumb but I’m horrible with plants, so I went with a faux long grass table planter in a sleek white pot.
They’re ubiquitous and you can usually find some variety at your local HomeGoods store, or an At Home store if you’ve got one near you. Target also may have a decent selection as well.
Here’s some cute ones currently on sale:


From left to right:
Faux Botanicals Planter Pot from West Elm.
Artificial Grass Arrangement In Pot Green/White – Threshold from Target
Grass Plant in Round Cement Pot from Big Lots
I also went ahead and got the necessities for any bathroom such as a soap dispenser, hand towels, toilet bowl cleaner, trash bin, and a toilet paper holder.
I’m a big fan of white and sturdy bathroom accessories. My go-to is white with a bit of silver accents and usually in concrete or heavy plastic material if i can find it. Here’s a few I found:


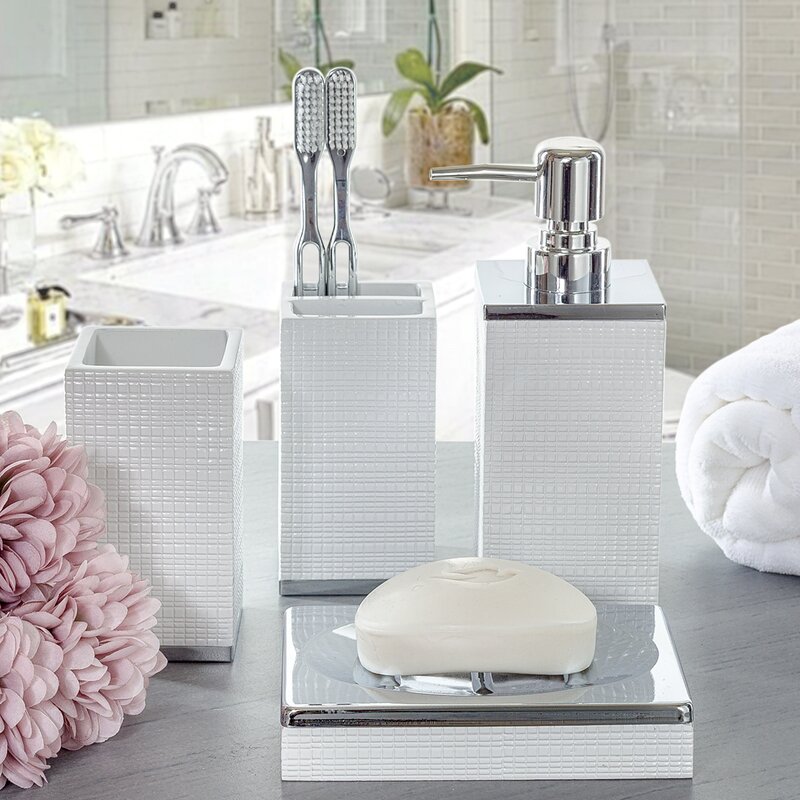
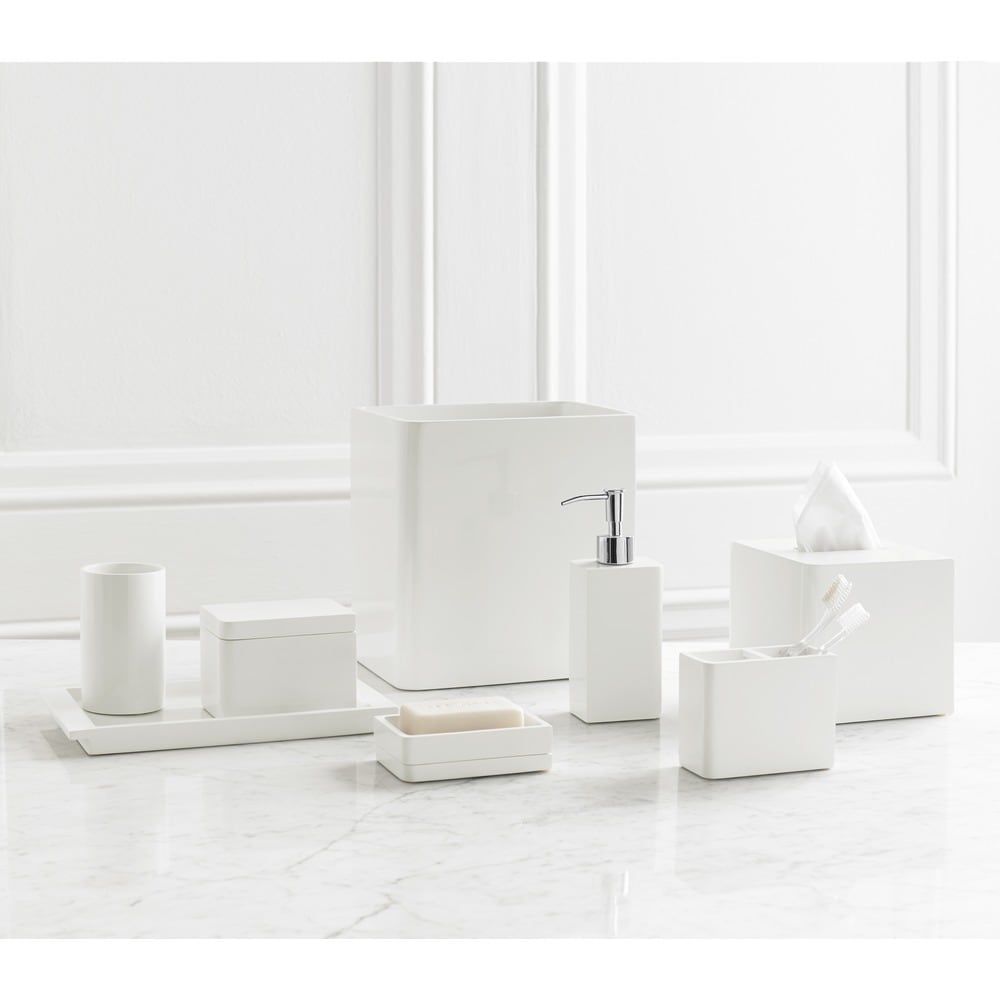
From left to right:
Metro Cement Soap & Lotion Pumps from West Elm
Faceted Porcelain Bath Accessories – White from West Elm
Despain 4 Piece Bathroom Accessory Set from Wayfair
Solid Lacquer White Bath Accessory Collection from Overstock
✂️ DIY Time! ✂️
For the final piece of my powder room, I decided to take the DIY route and build a wall hanging planter shelf.
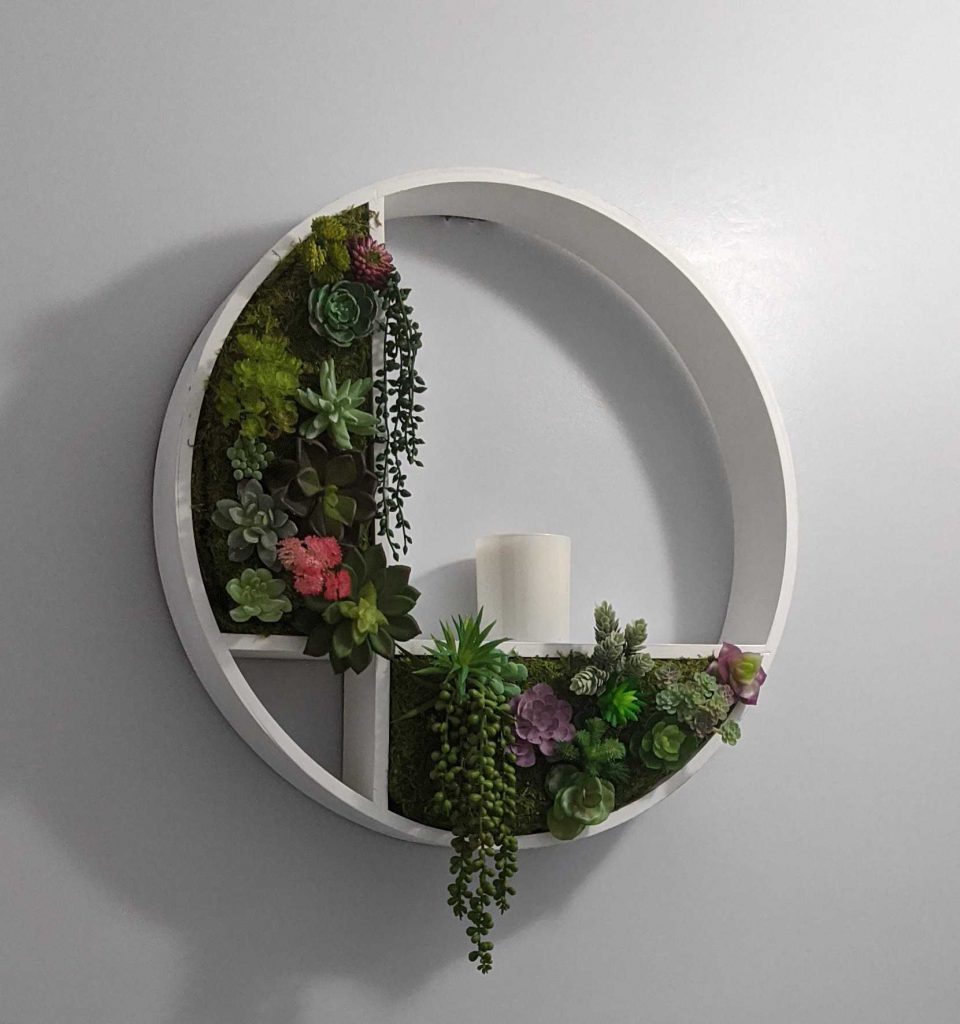
Want to know how to build one yourself? Check out my post here on the materials I used and a step-by-step guide in creating one yourself!
That’s it! My bathroom is fully functional and ready to enjoy!
If you liked this post and found it helpful, inspiring or insightful, feel free to leave a comment!

