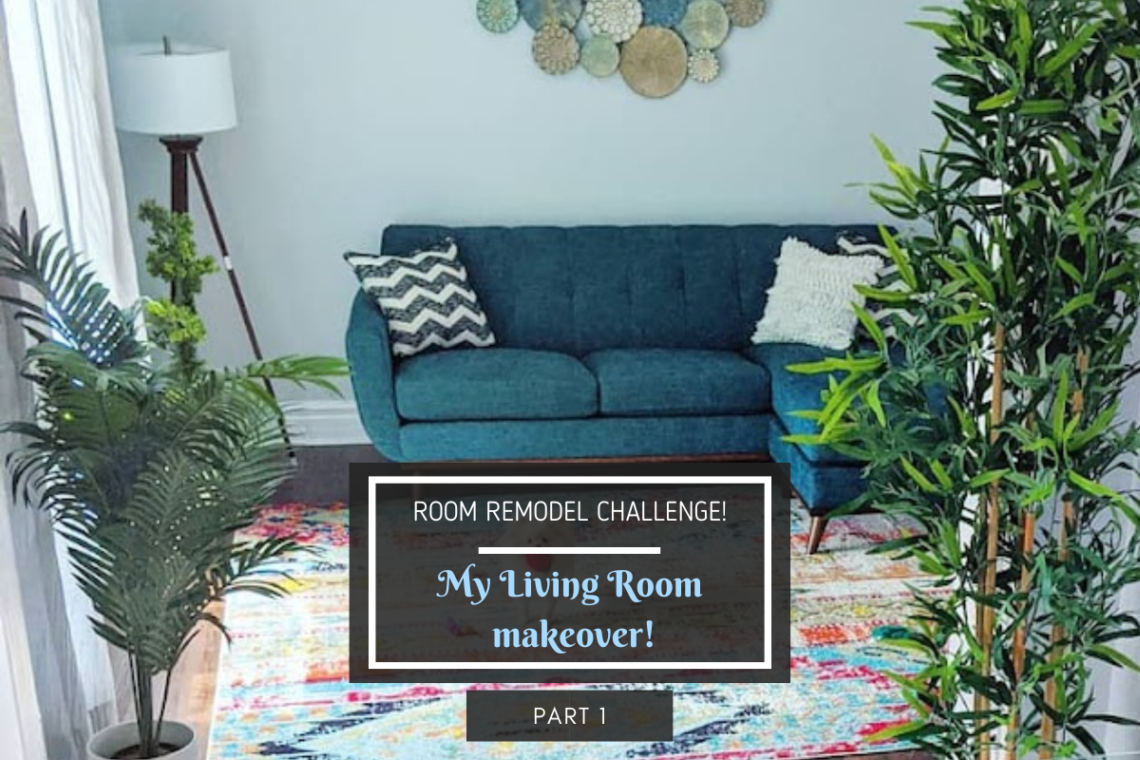
Room Remodel Challenge – Living Room Remodel – Part 1
Up next on my renovation list is my living room! I actually worked on my living room remodel in conjunction with my dining room since the two rooms are adjacent and it just made sense to update it all at once. But in this set of posts, I’ll be focusing solely on my journey renovating the living room.
To start off, the living room didn’t look too bad – its only downside was that it was bare bones and needed a resurfacing of the walls and a few extra added touches of molding here and there.
I actually hated the walls of my home – it had what is known as “crows feet” texture which is bumpy and sometimes even painful to touch or lean against. Here’s what I mean by “crows feet”:


Imagine having to patch up an area of a wall with crows feet texture and then trying to recreate the texture on that patch. It’s a nightmare and will result in a very noticeable patch. This is why I stick to smooth wall and why I would rather make the initial time investment in the beginning of my renovations to achieve smooth walls than to quickly apply some sort of texture.
With smooth wall textures, although they take many more iterations of joint compound to apply and sand and smooth down, maintenance and patches are a lot less complicated because they’re easier to recreate. Whereas with textured walls – they’re quick to apply and initially a good way to conceal blemishes – but good luck with those patches!

The Prep Work
Working with joint compound can get really messy. Scooping it up from the bucket and lathering it onto the walls is bound to leave clumps of compound all over your floors. I made the mistake in an earlier renovation of not putting anything on the floors that would avoid me having to deep clean the floors once I was done.
The easiest thing I can suggest is to lay down layers of painters plastic and secure it on the floor with painters tape. In fact, you may want to double layer the plastic because it does tend to rip when walking over the plastic while you work.
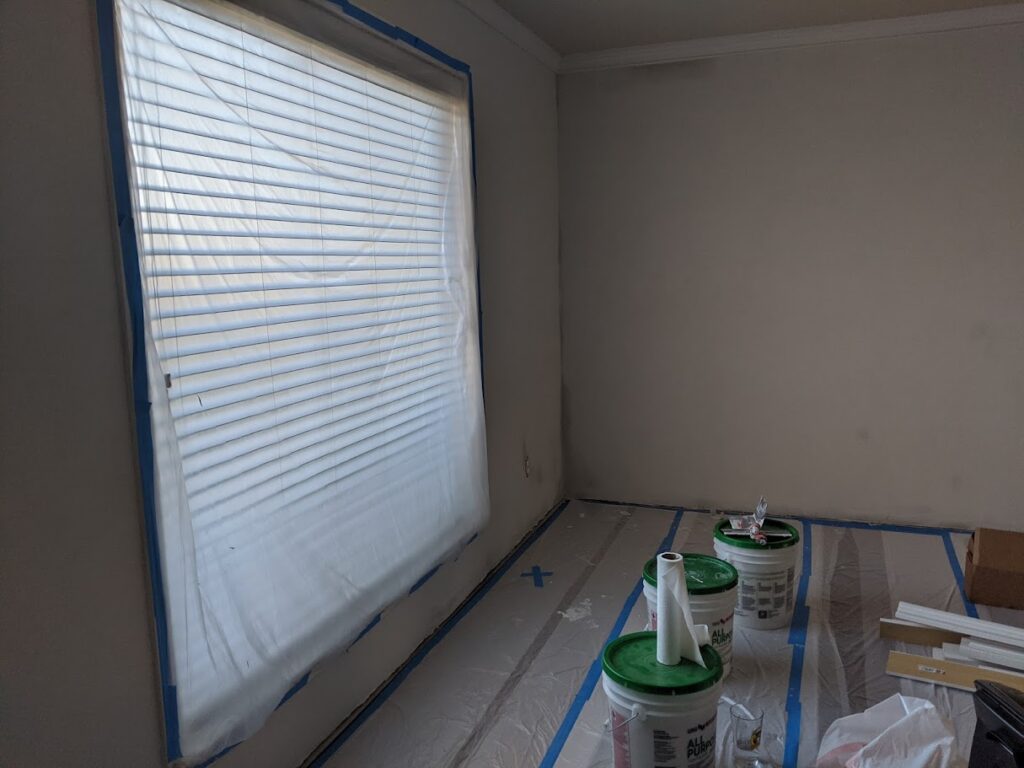
This is a corner of the living room facing the picture window (front of the house). Here I’ve already removed and threw away the existing baseboard (it was gross and old!) before laying down the tape.
Also, there were parts of the bottom of the drywall that were falling apart and got damaged when I was removing the baseboard with my prybar. I had to use joint tape (also called sheetrock or drywall paper) to repair the bottom and apply a bit of joint compound to keep it intact. I made sure that this layer dried prior to me adding more joint compound onto the walls.
Lastly, I covered the window with painters plastic as well. I had just installed all new, triple-paned windows throughout my entire home (uggghh,, expensive) and wanted to preserve the newness for as long as I could.
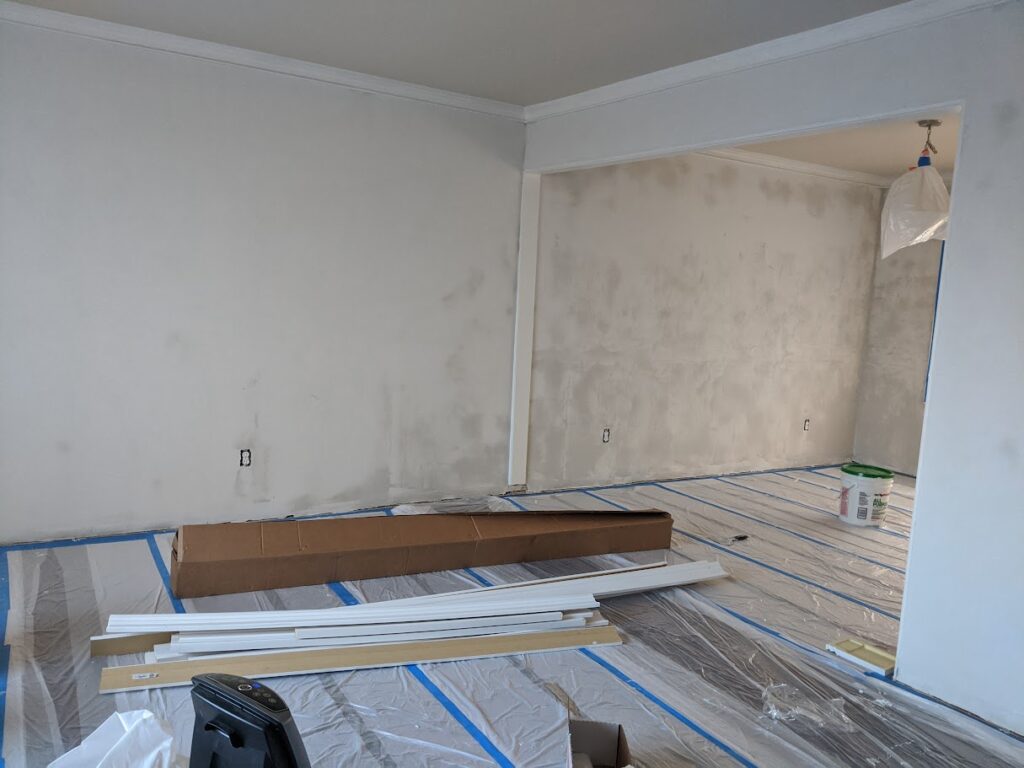
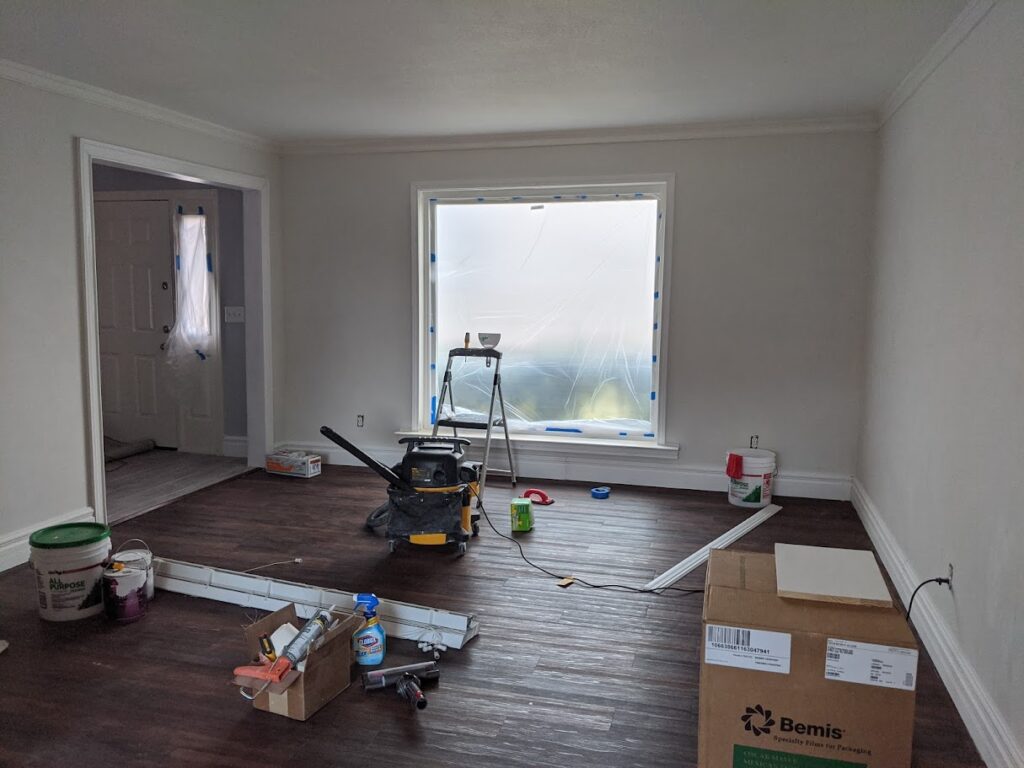
Here’s the other end of my living room, which is adjacent to the dining room (which I was also renovating together. I’ve got my new baseboards and molding placed in the center of the room, which was ready to be installed once everything dried and was sanded down.

Sand, Mud, Dry, Wait, Repeat
Basically this! First thing I did was peel off as much of the existing paint as I could from the walls. This house had been painted many times over throughout its lifetime, I guess, and so it created this thick layer which made it easy to peel off – thank goodness!
Whatever was left over, the crows feet texture was put on pretty thick, which means some textured parts were really raised up against the wall. I had to sand down as best I could. because the smoother I made it, the less joint compound I needed to sort of “fill” the crevassed areas to get it all uniform and smooth. Also, the more mud the longer the drying time, and the more layers needed!
After that, it’s time to mud an initial thick layer which is really to get it as filled in as possible. I wasn’t looking for smoothness and perfection here, but just a base, even layer instead. Mudding is so much fun for me! I put on some music or a podcast and go to town! I can work on this for hours!
Once you get that initial layer on and applied as smooth as possible, wait for it to dry entirely! I was renovating in the middle of winter and so my house was cold, which means that the joint compound takes way longer to dry (hence, the space heater in the room).
Then, I did as follows:
Apply a second layer of mud. But with this layer, I essentially scraped it on so that was thin and filled in any small cracks or crevices. Also the dry time was very quick! Depending on the inside temperature, this layer probably dried within the hour or so.
One more layer! Same as above. And this is just to be sure I did not miss anything.
Once that layer dried, it’s time to start sanding. You can do this a couple of ways, each has it’s own pros and cons.

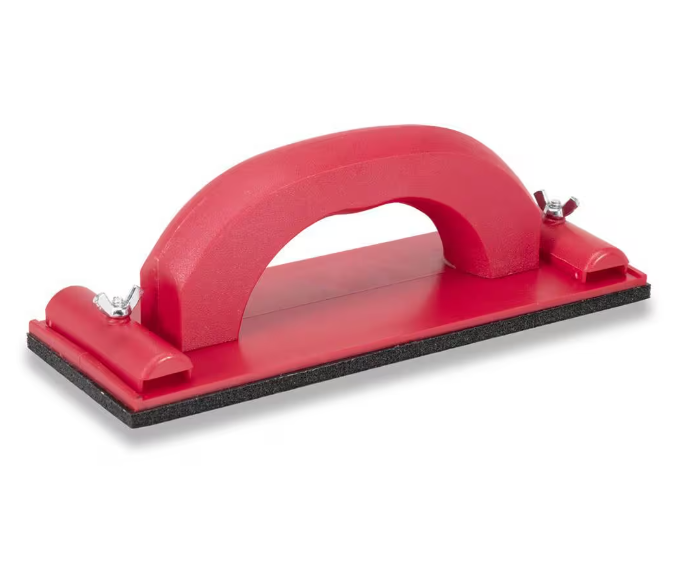
Dewalt 3 Amp Corded 5 in. Random Orbital Hook and Loop Sander
Wal-Board Tools 3-1/4 in. x 9-1/4 in. Plastic Hand Sander
If you go with a hand sander like the Dewalt Orbital sander, BE SURE TO TAPE AND COVER UP EVERYTHING! Once you start sanding with this tool, your room will immediately become really cloudy and hard to breathe. You really need a good respirator face mask when working with this because it’s not going to pick up all the dust. I also recommend taking several breaks and waiting for the dust to settle before starting again.
While it is quicker to go with this Dewalt tool, it’s a headache, messier, and very likely dangerous since you’re breathing in the dust even with a good mask. I personally don’t recommend doing this now that I’ve renovated with this method a few times. I’ve resorted to sanding by hand with a hand sander (link above) and sanding blocks for the corners and such. It takes longer but on the bright side, you come out with super toned arms!

Baseboards and Trim
Not sure why I went in this order, but I installed baseboards and trim around door openings and windows before applying paint on the walls. I think the reason for this was because I hadn’t picked a color out yet that I really liked.
In the picture above, I’ve got the painters plastic all removed except on the window. I added trim around the entrances, window, and baseboards and also prepped the walls for painting.
Here’s some tips I highly recommend doing after you’ve sanded smooth your walls and before painting:
Make sure to run a lightly damp cloth against the surface of the finished walls. This will pick up any loose drywall dust. The last thing you want to have happen is to run a roller or paint brush on your walls and pick up clumps of drywall dust. This will cause crevasses and dimples to appear, which means you’ll need to patch or spackle it later. Applying a damp cloth will prevent this and save you time and headache!
And secondly, I always apply caulk on the corners of the finished dry walls, from top to bottom. The reason for this is that over time, your house may expand or contract from temperature fluctuations which can cause cracking usually around the corners or any angled walls. Apply caulk can help avoid cracks forming when your house expands or contracts. Be sure to apply this on the drywall BEFORE it is painted.
As for the baseboards, I chose a beautiful 7 inch tall House of Fara with an intricate design. I also went with tall baseboards to cover any gaps or holes from the base of the drywalls. And it looked really pretty and expensive!


HOUSE OF FARA 3/4 in. x 6 1/2 in. x 96 in. Primed MDF Baseboard Moulding (1-Piece − 8 Total Linear Feet)
The trim I used around the doors and windows is from a brand called Woodgrain Millwork. You can only find this at your nearest Home Depot Store and cannot be purchased online or shipped to you.
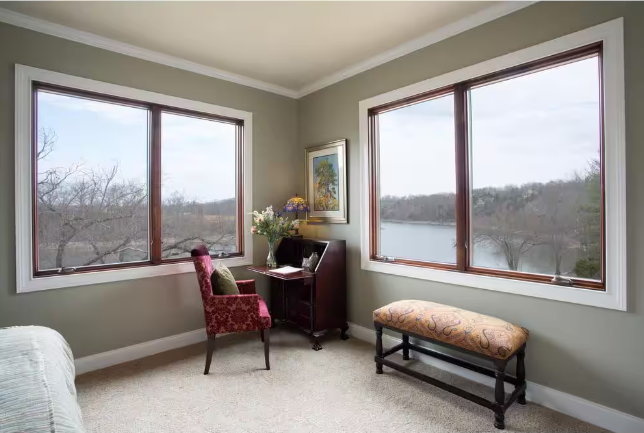
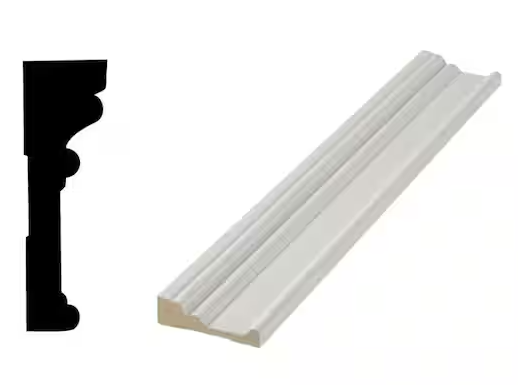
Woodgrain Millwork 3 – 31/32 in. D x 3-1/2 in. W Primed Medium Density Fiberboard (MDF) Door and Window Casing Molding
Up next I’ll go over my paint choices and how I decorated the space! Stay tuned!

