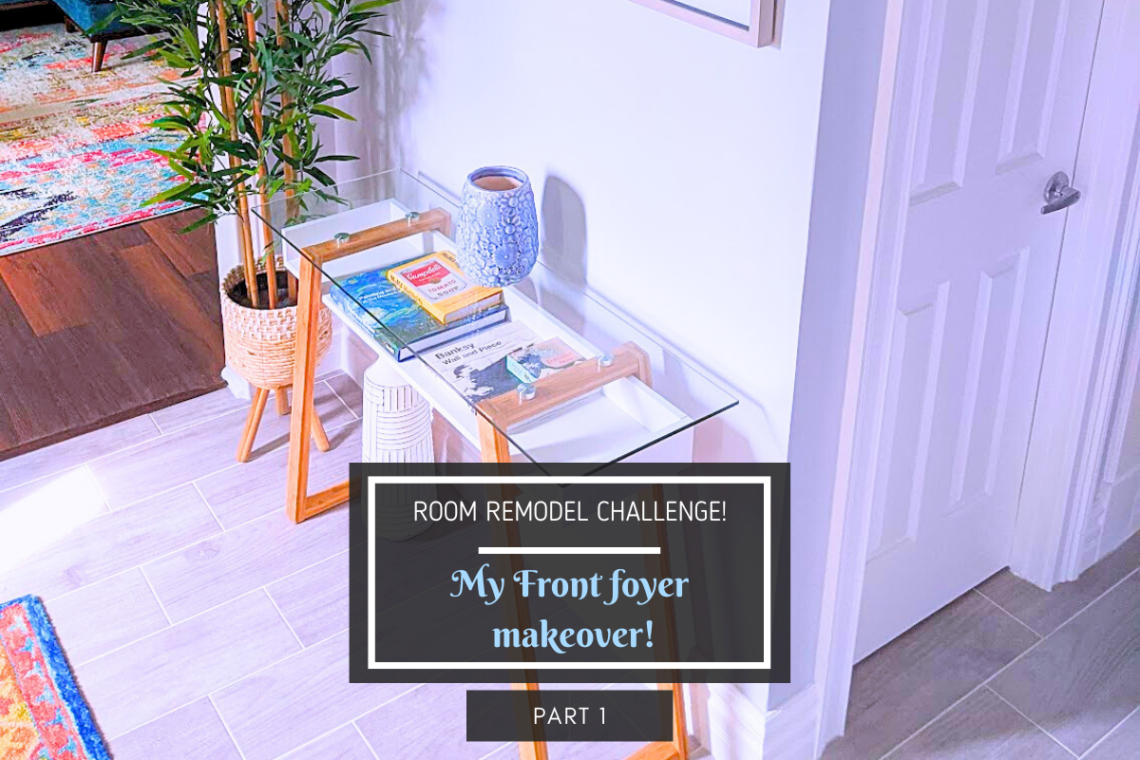
Room Remodel Challenge – My Foyer Remodel Makeover – Part 1
Next up on my home room-by-room remodel journey is the foyer! The foyer is probably one of the most important areas of a home. It is the first thing that a person sees when they walk into your home. Here’s my recap on my foyer remodel!
My home is structured such that I have a one, inward swinging front door with two sidelites. Upon entering, to the left is my living room and to the right of my foyer is the stairs to get to the second floor. And if you take a slight right then go straight, you walk down a small hallway into the kitchen and breakfast nook area.
I love the space so I wanted it to be bright and inviting. I had many ambitious goals for my foyer remodel. For instance, I wanted to add French doors leading into my living room but later nixed that idea since the doors themselves would take up so much space.
French Room Doors Inspiration


The first thing I did was replaced the tiles. These tiles spanned through my kitchen and breakfast nook area. So I just did everything all at once. I wanted a wood looking gray tile with white grout as I like to keep my home with whites and grays for colors. I also think that gray is very versatile and can go with most anything.
Once the floors were set and grout sealed, I started working on the walls. So this home came with a very gross texture which they call crow’s feet here in Texas. And I just do not like texture on my walls. Growing up in the Northeast we don’t usually have texture. I actually prefer smooth walls because they are easier to maintain. For example, if you’ve got a small nail hole from hanging something, having a smooth wall will make it much easier to patch. All you have to do is use a little spackle, wait for it to dry, sand it down and then paint it with a textured paint sponge. Whereas having a textured wall, you’d have to make sure to get as similar of a texture as possible so that it blends in. We all know that’s hardly ever easy to replicate.
This part of the foyer remodel probably takes me the longest to do. Because I have textured walls, I have to sand it down to a workable flatness. Then I start mudding it using joint compound. I buy one of those huge 50lb buckets from home Depot. For this foyer it probably took me about 2 to 3 buckets.


The first layer is a thick-ish layer, just enough to cover whatever texture I could not sand down enough. Once that’s dried then I add a second layer which I practically scrape on. I am essentially filling in any holes, cracks and unevenness. One of my favorite parts to do because it’s so quick to do and you can see the results immediately since it dries pretty quickly. Then I’ll do a third layer which is essentially the same as my second layer. At this point I’ve gotten my walls about 90% smooth out. The rest will be done with sanding.
Because this is an open area I had to sand by hand, unfortunately. Otherwise, I would have needed to tape everything up before I started. I honestly don’t mind it because I get a good workout from this, haha. I end up getting really sore arms and thighs by the time I’m done! Beats going to the gym!
Now here comes the painting! I ended up going with a gray color by Behr called Hush. This is the color I have in my laundry room and my kitchen and to be honest I have mixed feelings about it. I think because I get so much sunlight in my home that the gray gives off a blue tinge. Nevertheless, it’s still a pretty color!
Some examples of Behr Marquee Hush (PPU26-16) paint color


Since I don’t have any baseboards, trim, or crown molding I can go wild and paint as far up as far down as I need to without needing perfection, since the edges will be covered with trim anyway. For this I just use a standard 3/8 inch thickness roller to give me that tad bit of sandpaper texture I want on my walls.

In my next post I’ll fill you in on the remaining touches I made and also the new front door I replaced!


One Comment
Pingback: