Do-It-Yourself Crafts: Pretty Floral Planner
Hey everybody! Happy Thursday!
Today I wanted to write about a simple DIY project which you can do in just under 10 minutes to make a bland planner look like an elegant and expensive one!
I personally love working with anything florals – jewelry, arrangements, crafts, etc! I love the colors, how it sets my mood, and the creativity that comes with it.
So I needed a planner because I wanted to keep a tab of my expenses for my side hobby business and I decided to look for a cute one that would motivate me to write more. Now I’m not going to just go with any regular planner. I do have to put my own creative spin on it, of course 🙂
What I did to start off was look for a cute base planner and one that wasn’t made out of cardboard or paper. I really dislike them. They tend to get dirty and bend fairly quickly so I avoid them as much as possible.
My usual go-to for finding cute things at a fair price is Aliexpress. If you’re willing to wait a little while longer (usually 1 week – 1 month for certain items), you’ll find that items sold here tend to go for much cheaper than on Amazon. However, you do sacrifice time for savings, just something to keep in mind!
Picking the Planner
I ended up going with this super adorable planner made of PU leather.

Buy HERE
I love the feel of this planner. It’s made of pretty good quality and was only $10! It’s got a magnetic clasp closure and lots of room for cards and page inserts.
Planner Inserts
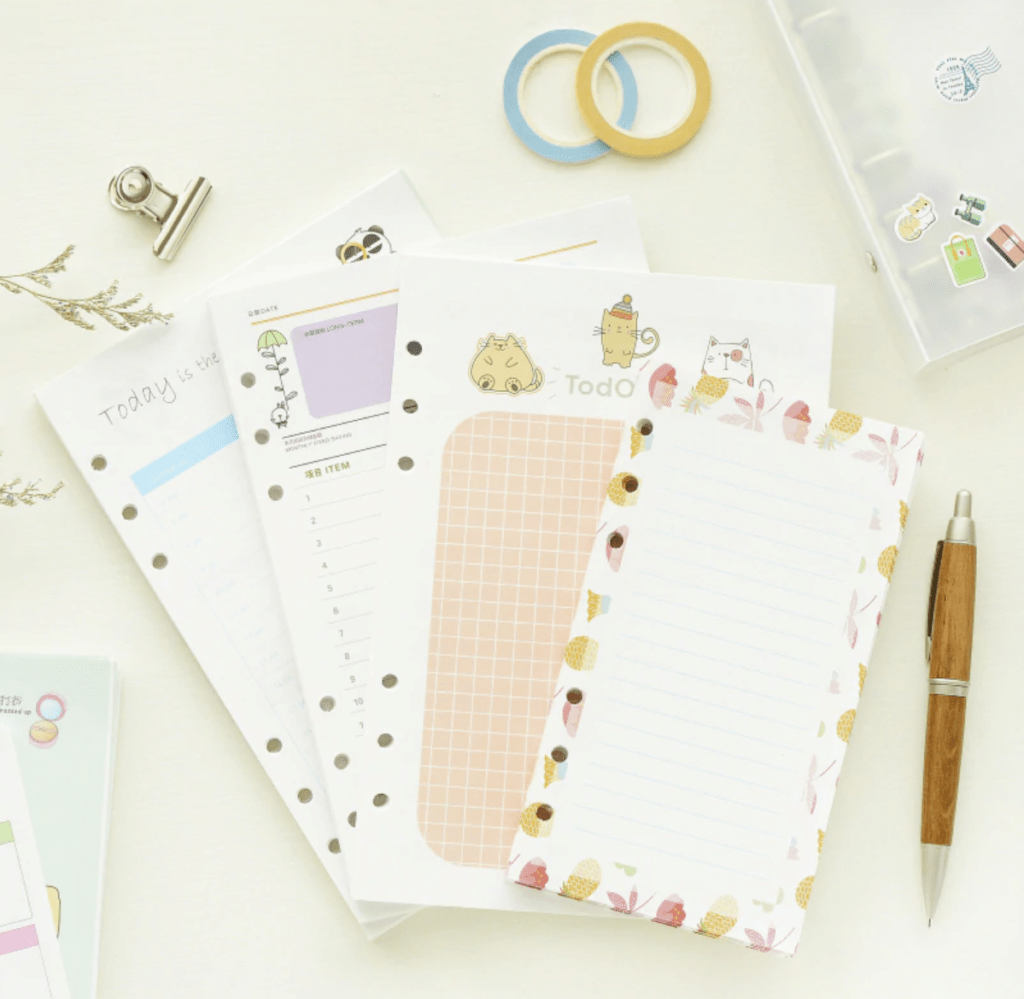
If you’re interested in the extras for your planner, I’ve included a few cutesy items that would fit perfectly with it!
1. You’re going to need page inserts, obviously! Check out these page insert types here:

Buy HERE
2. Planner Dividers anyone? Here’s a few adorable ones!

Buy HERE
3. And of course, lets not forget scrap-booking items for all you scrapbook lovers!
Buy HERE
Faux Decorative Florals
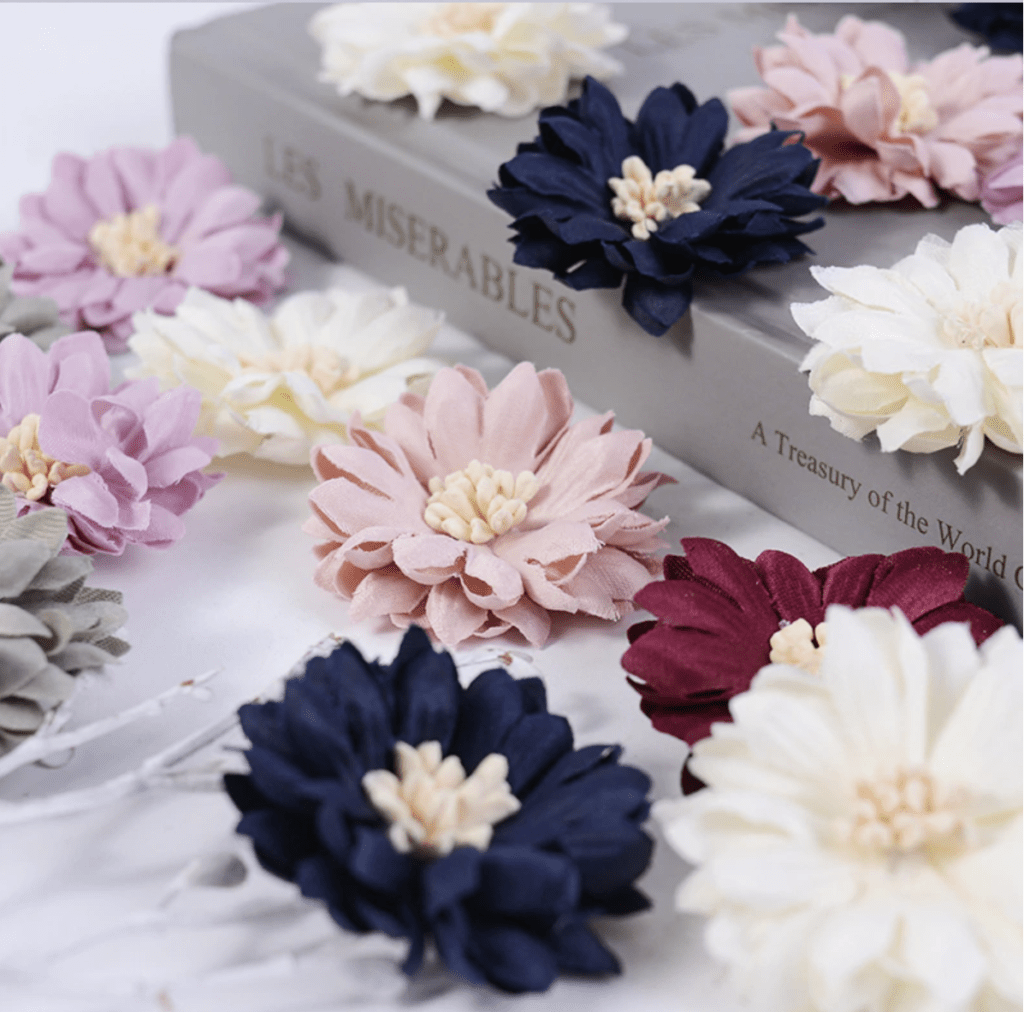
Next, lets take a look at some decorative florals to use to decorate the front of your planners. There’s a ton to choose from, but I recommend selecting ones made of silk or cloth and to stay away from ones having plastic stems. These just make it hard for you to work with and glue onto the page.
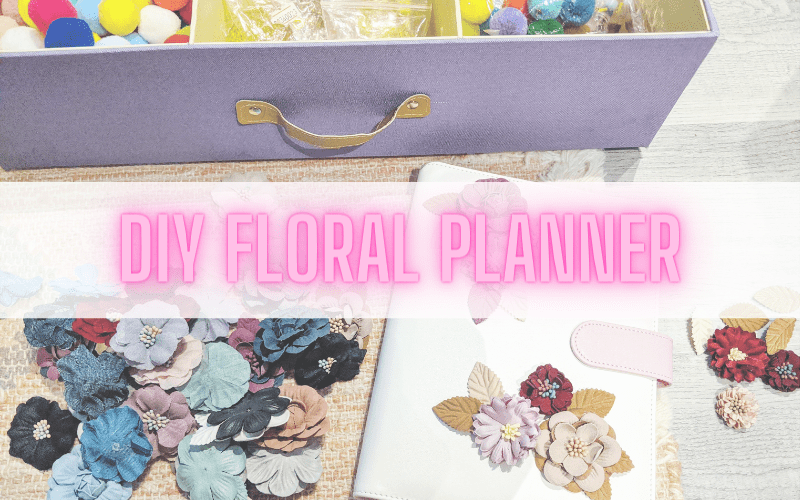
Here’s a few I used for decorating my custom planner:
Buy HERE
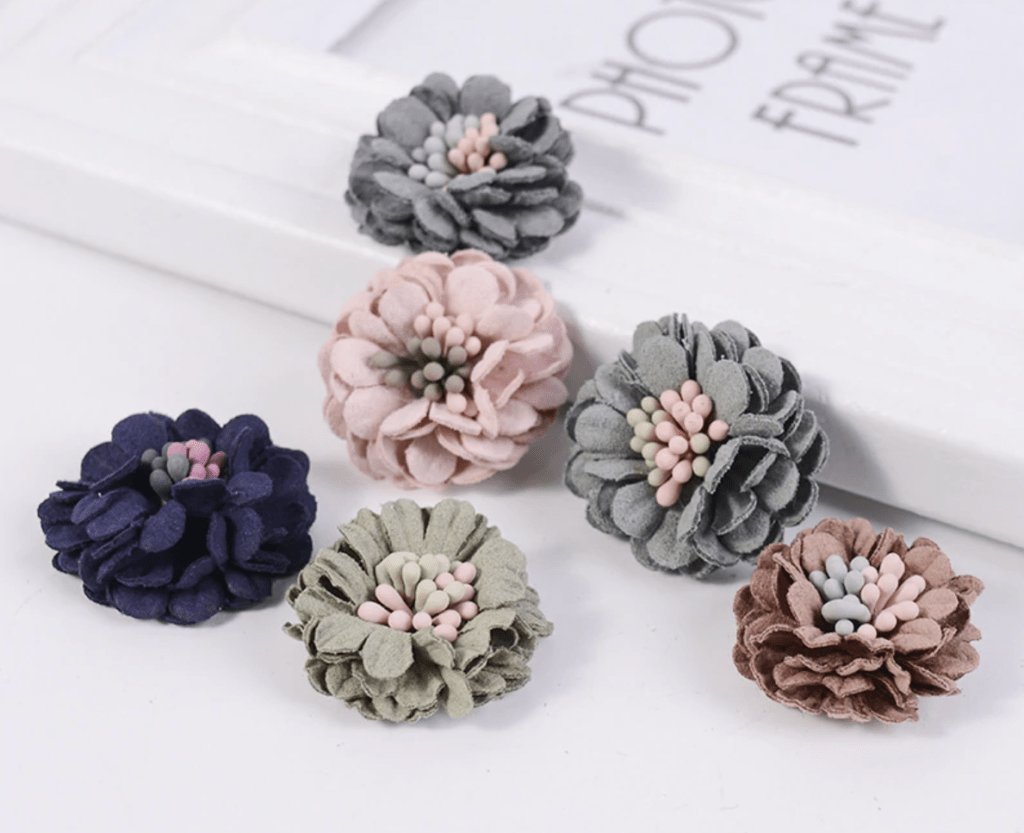
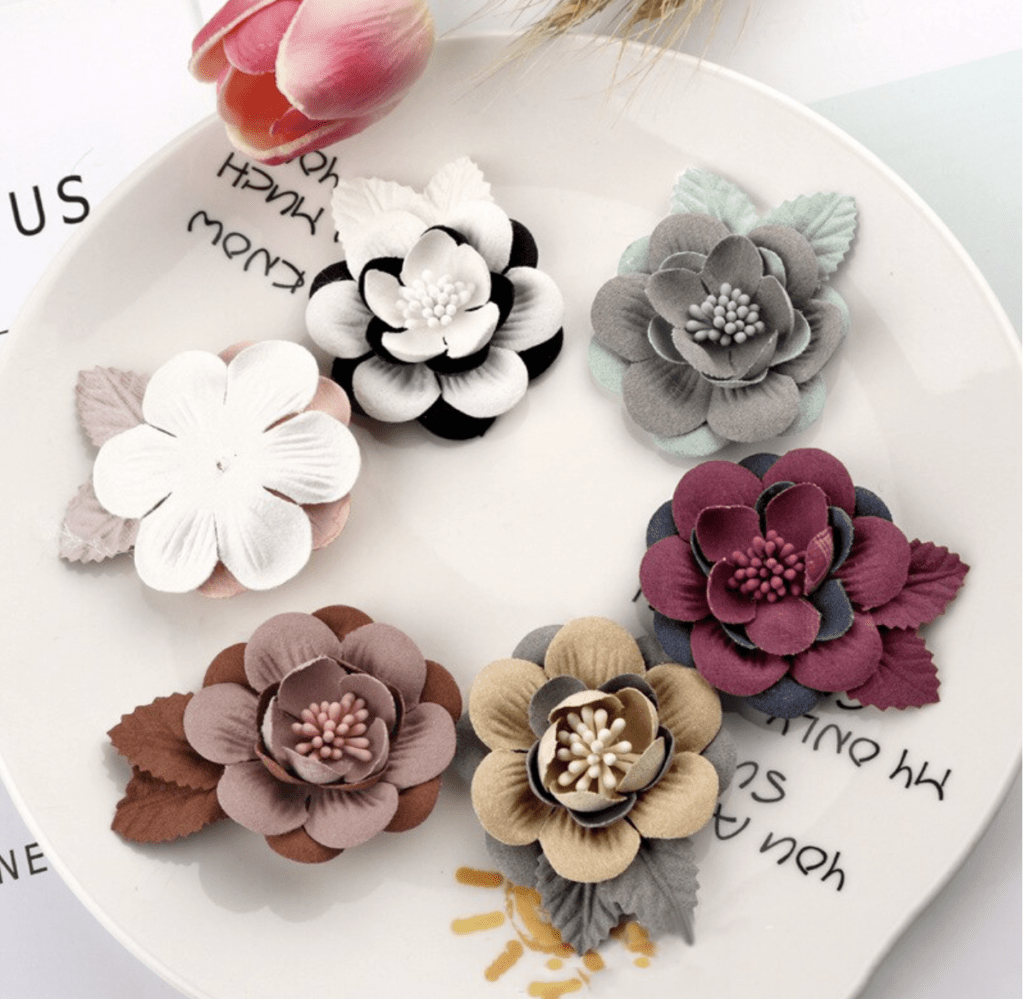
You’ll need a variety of sizes and types to diversify, so here’s a few more types at very reasonable prices:
Buy HERE
Buy HERE
And finally, here are some colorful leaves that match with the flower heads listed above:
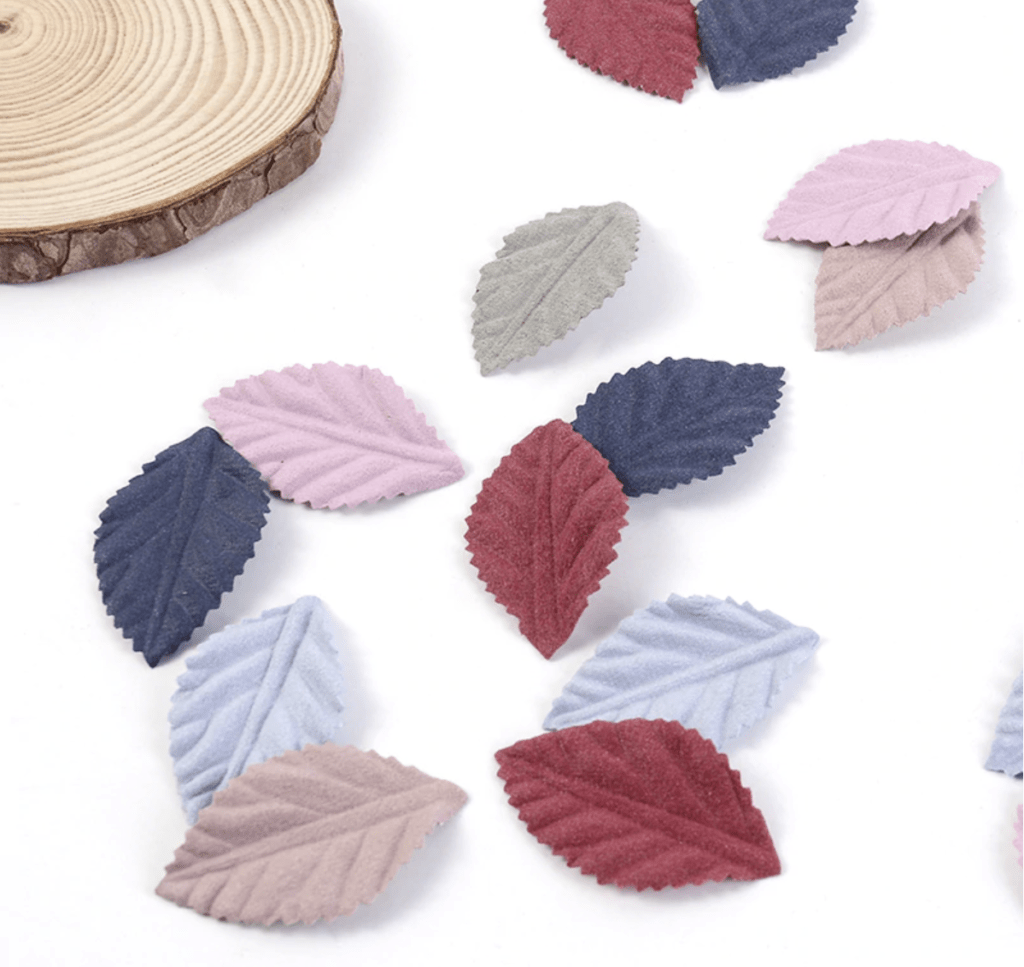
Buy HERE
Once you have all these materials on-hand, you’ll just need a bottle of super glue to stick them onto the PU leather. The great thing about this material is it sticks very well using the super glue and won’t “chip” off once dried. You actually have to tug and pull hard to remove these.


I would suggest laying out the flowers onto the planner first until you have a design you love. Then one-by-one glue the flowers and leaves back into place.
And that’s it! Super simple and so fun to do! I loved making this and even though it only took me 10 minutes max to design this, I’ll be thinking of other items I can decorate using these floral craft finds (perhaps pillows?).
If you loved this post, please consider sharing and leaving me a comment! I would appreciate the love!
Happy Crafting!

