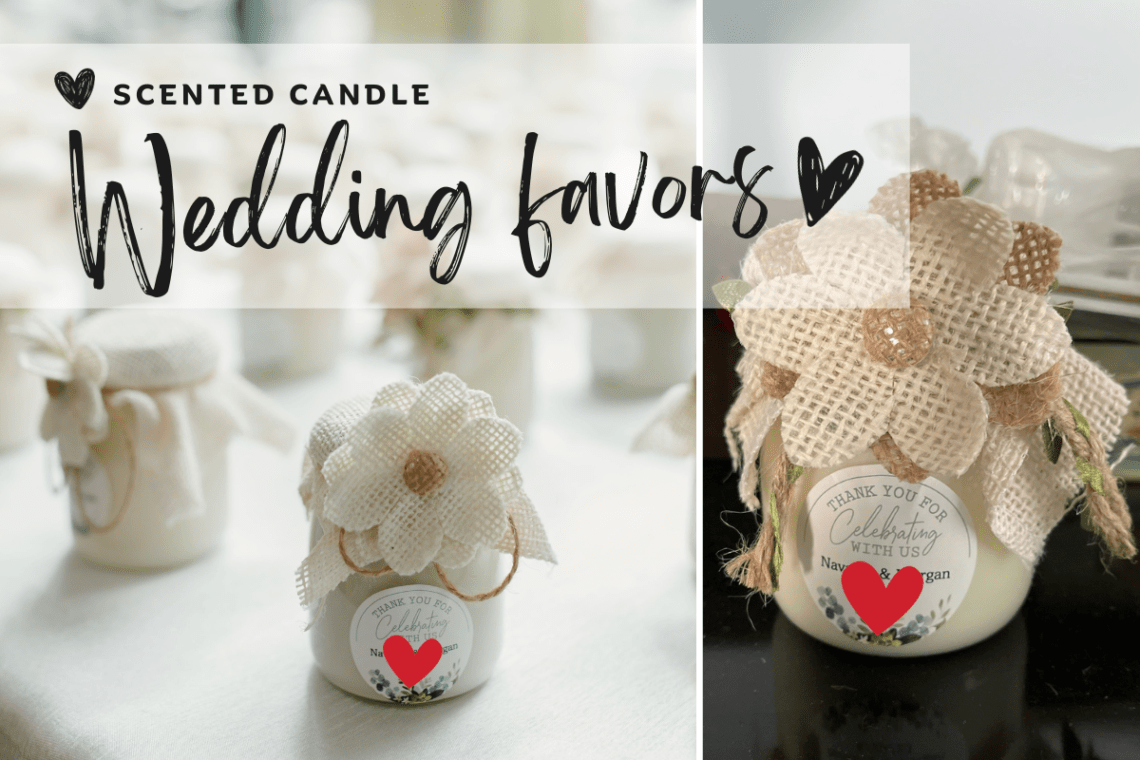
My fun Candle Wedding Favors Craft project!
I’ve been meaning to share a little (or big – it’s all relative) project I took on that brought a touch of warmth and love to my friend’s wedding. She wanted to give out small wedding favors and I jumped at the opportunity to make something elegant and fitting for her wedding. Plus, this was also an opportunity for me to work on my favorite craft – making candles!
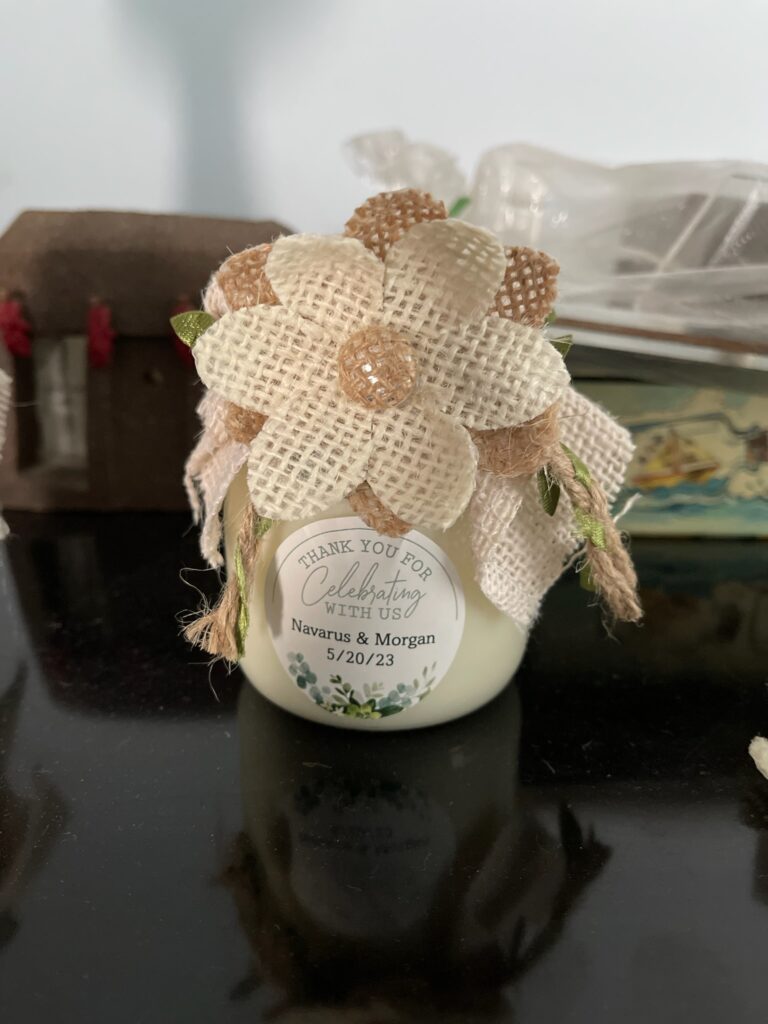
I offered to make her small candles with burlap flowers and yarn and made one as a sample to show her to see whether she liked the design or not. I went with something plain in color but decorative and meshed well with her wedding.
When I asked her how many guests were attending to figure out how many wedding favors I needed to make, my jaw dropped at her response – 160 total in guests! That meant that I really needed to get going on this project!
This craft project was relatively straight forward but it did take some time and the bride, myself and one other friend created a sort of Toyota assembly line to decorate the candles once they were made.

Materials I used
For this particular project, I’ve listed out all the craft items and the tools I used including the jar type. I’ve also linked where to find them if you want to try and make these wedding favors yourself.
Jars & Candles


The jars: Mini Yogurt Glass Jars 30 Pack, 7oz
The Candle Wax: American Soy Organics- 45 lbs of Freedom Soy Wax Beads for Candle Making (I used approximately 2, 45lb bags to make 160 candles!)
In addition to the materials above you’ll also want to pick out a fragrance to mix in with the wax. My friend liked something woodsy so I chose a nice cedar fragrance from Nature’s Garden Candles Co. They also sell candle wax, jars, and coloring if you decide to color you wax. For this project, I decided to stick to the natural color of the soy wax. After all, this is for a wedding so white was very befitting.
Materials & Tools for creating the Candles

The Wicks: Light 100 Piece Cotton Candle Wick 6″ Pre-Waxed
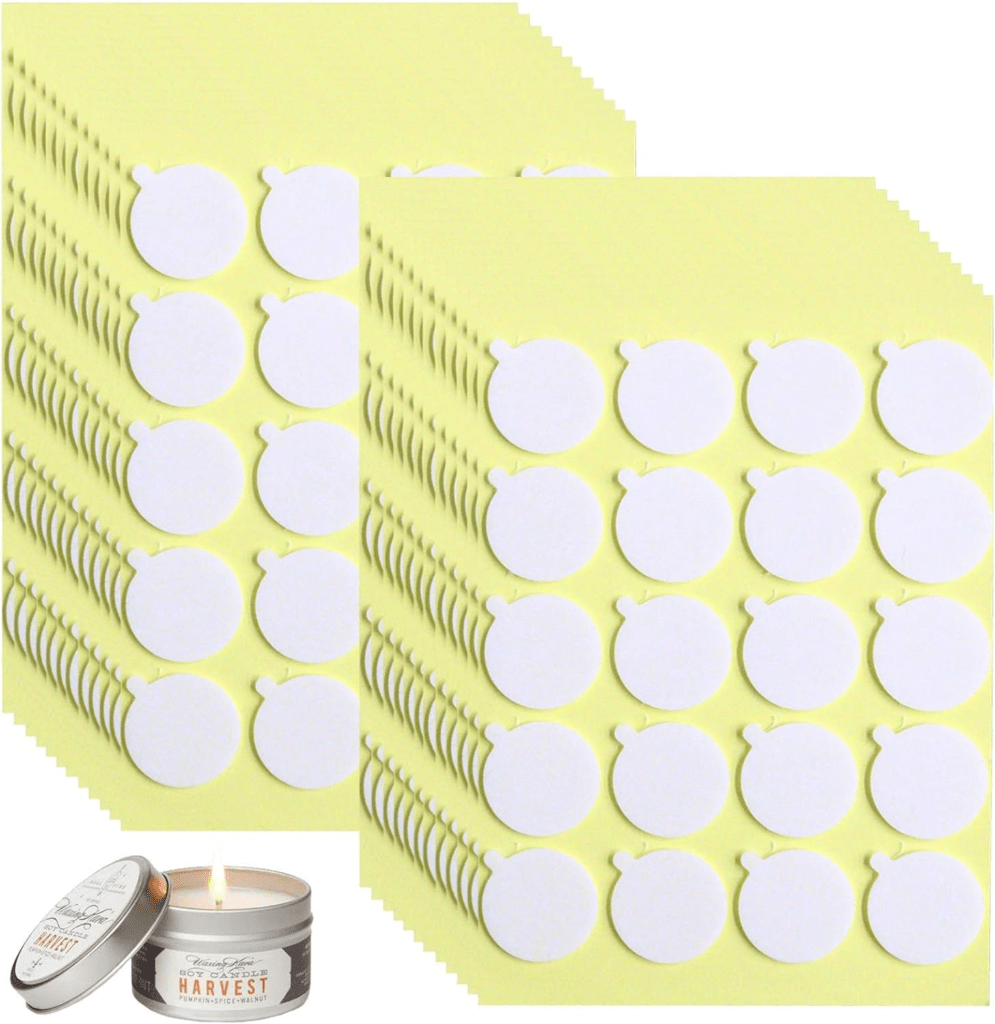
The Stickers to hold down the Wicks: 480PCS Candle Wick Stickers, Heat Resistance
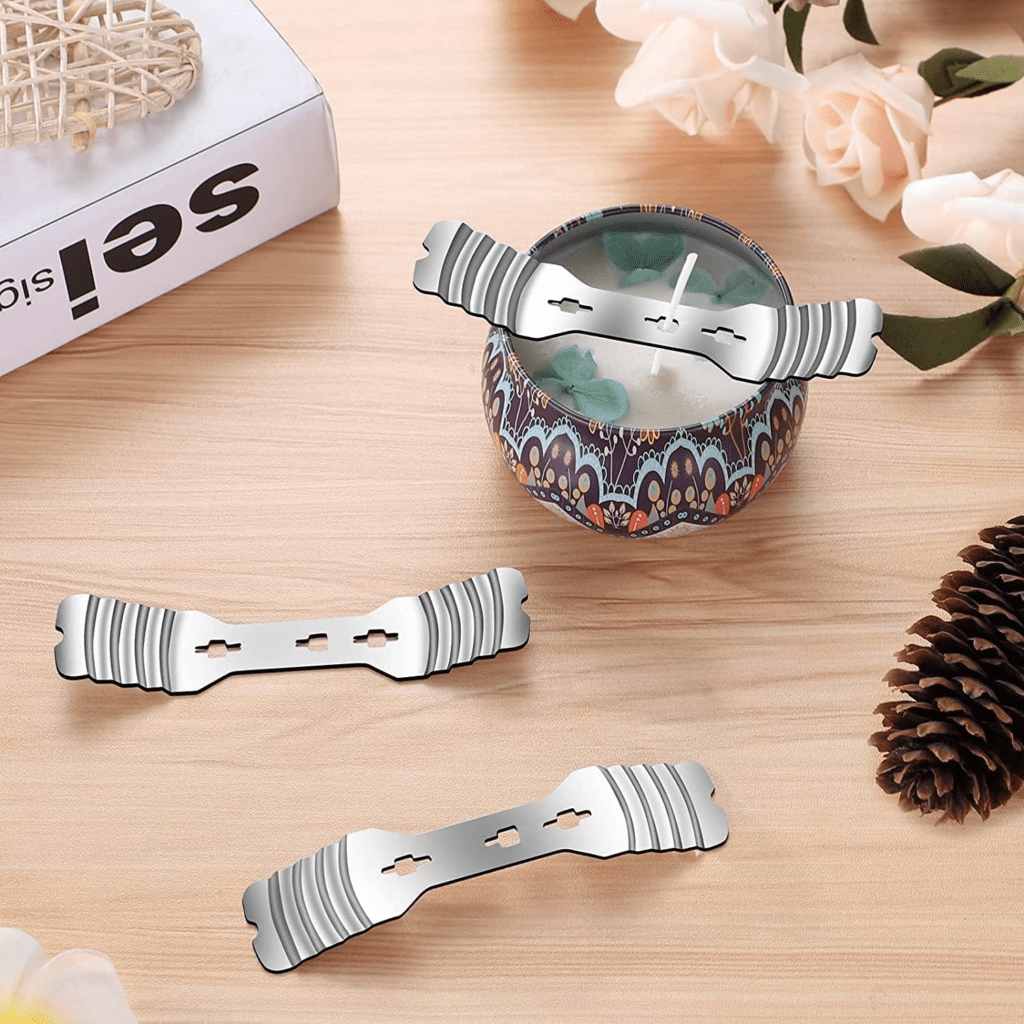
The Wick Holders: 20pcs Metal Candle Wick Holders (the more sets you purchase the more candles you can pour and create in a single batch)
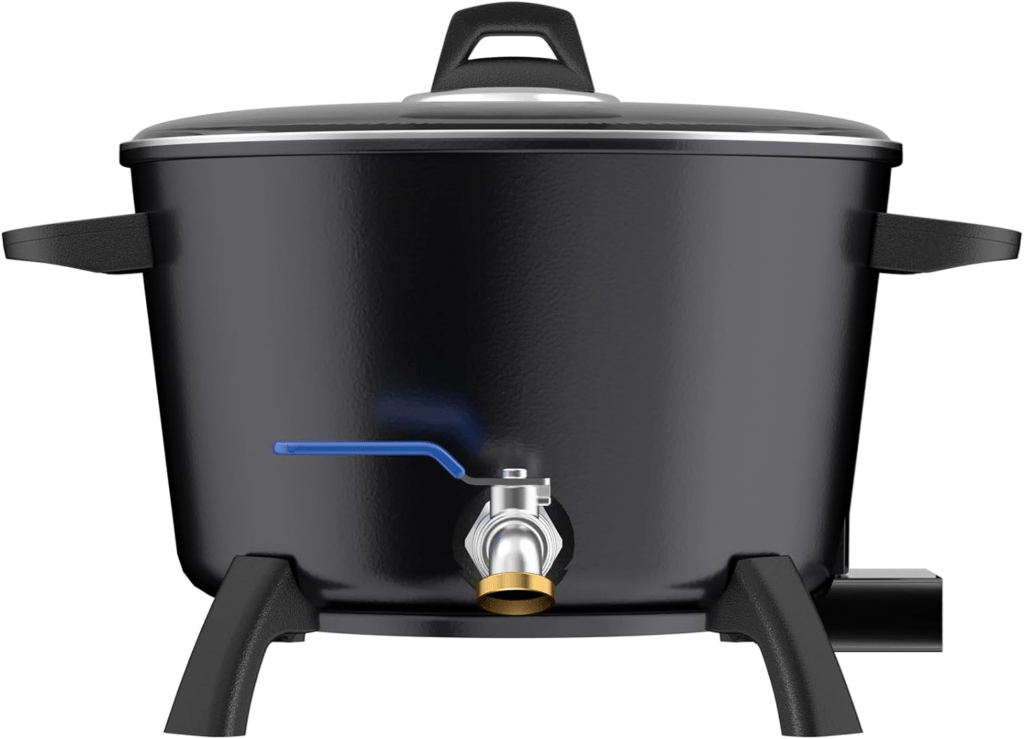
The Wax Melter: Wax Melter for Candle Making, 7 Qts Electric Non-Stick (My favorite, most affordable wax melter!)

The 7 ounce glass jars make for the perfect size for wedding favors. Start by peeling the stickers and placing them under each wick. I try to straighten the wick out before gently putting each one through the center of each jar. This way I can focus on centering the wick as best as possible.
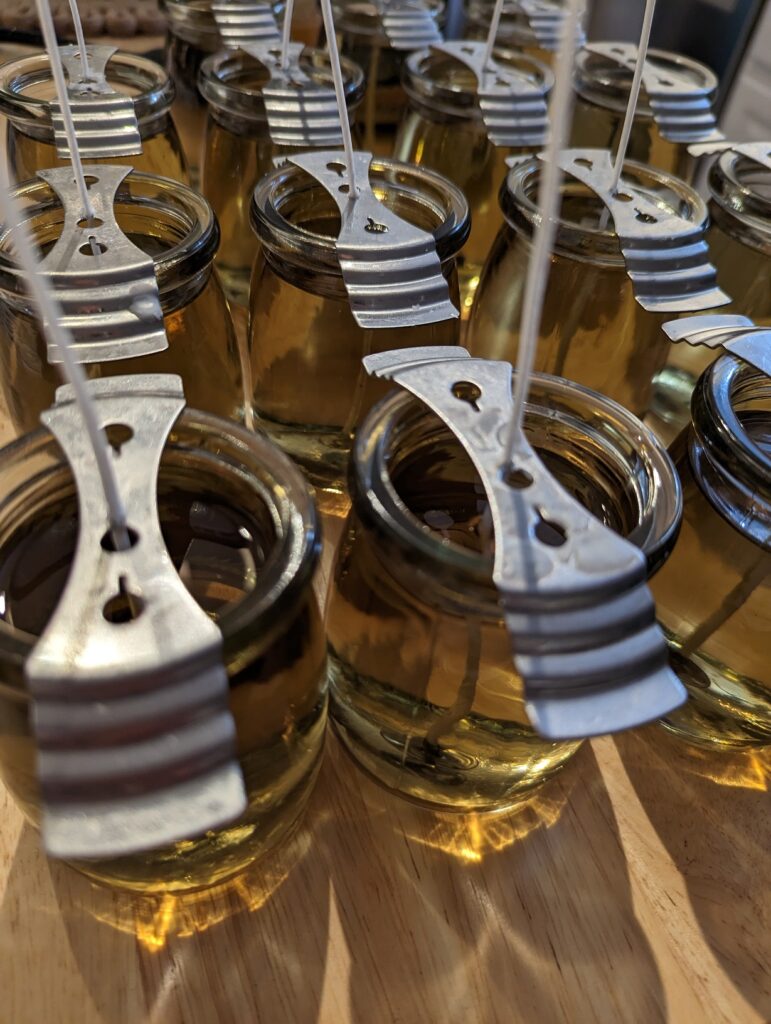
Next, place a metal wick holder onto each wick and secure it onto the jar. Bend the wick a little and have it go through each of the slits found next to the hole on the metal wick holder. They keeps the wicks more secure and prevents them from bending once the hot wax touches the wick (they become very malleable or wiggly when in hot wax).
Using the lever gently pour melted wax into each jar from the side. Fill it up to about an inch below the top (so that there’s enough space to put the cork covers back on). Here were my candles all freshly poured and set aside to cool off:
After the candles were left to cool off for a few hours, it was now time to start decorating them! This is when our Toyota-esque style assembly line of decorating comes into play!

Materials & Tools for Decorating the Candles

Leafy Twine: Burlap Leaf Ribbon, 164Feet/50Meters Natural Jute Twine with Green Leaves
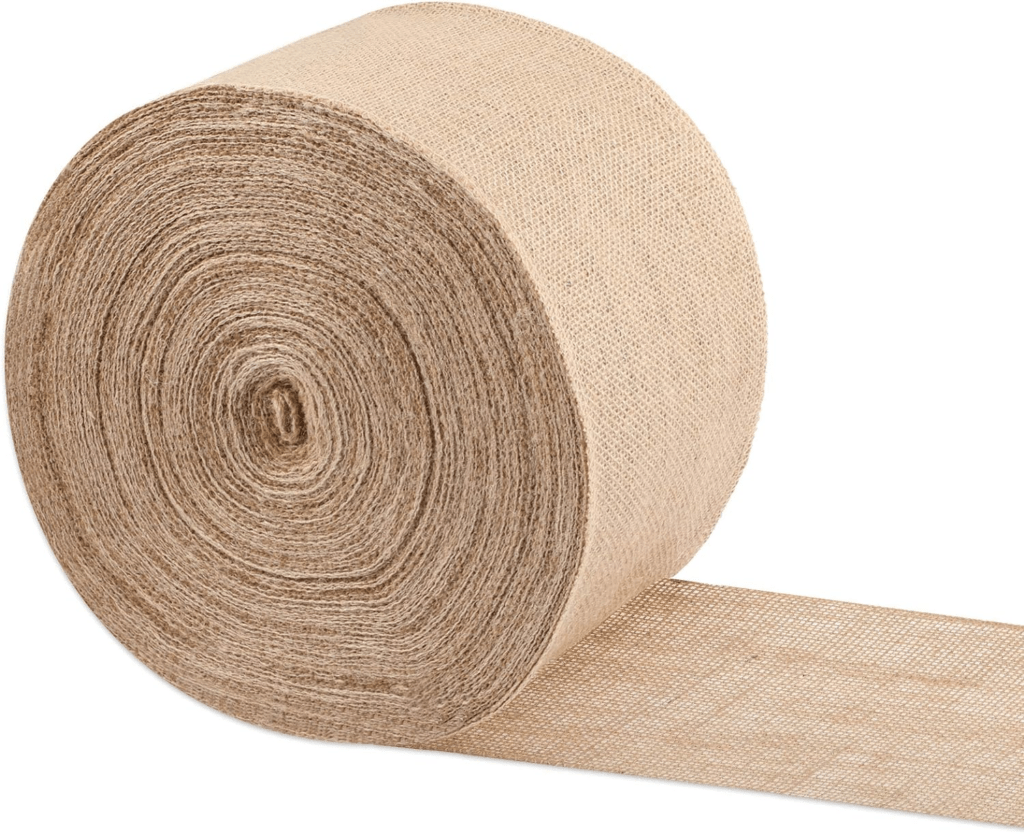
The Ribbon: 49 Yards Burlap Fabric Natural Jute Fabric Ribbon (4 – 6 inches in width is best)
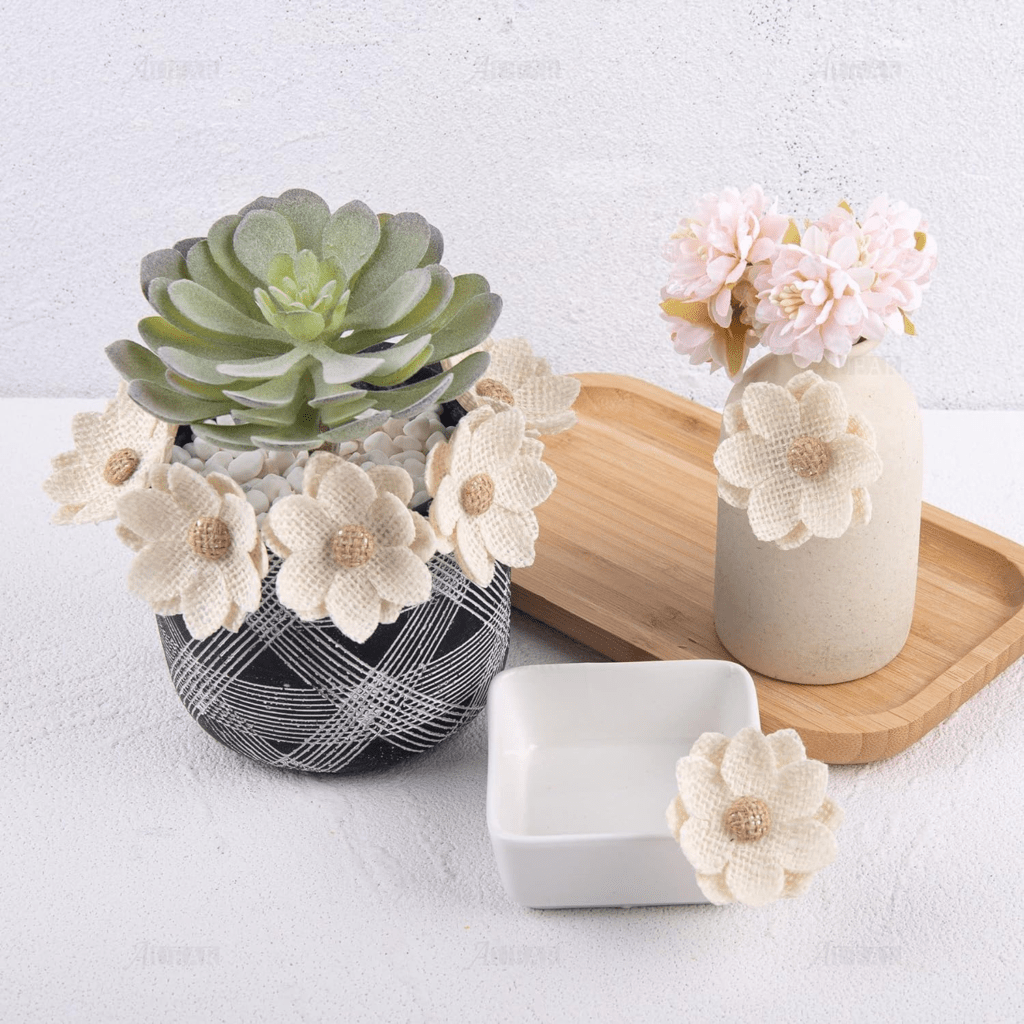
The Florals: 20 Pack Handmade Burlap Flowers Natural Rose Rustic Flower (or any other burlap floral will do!)
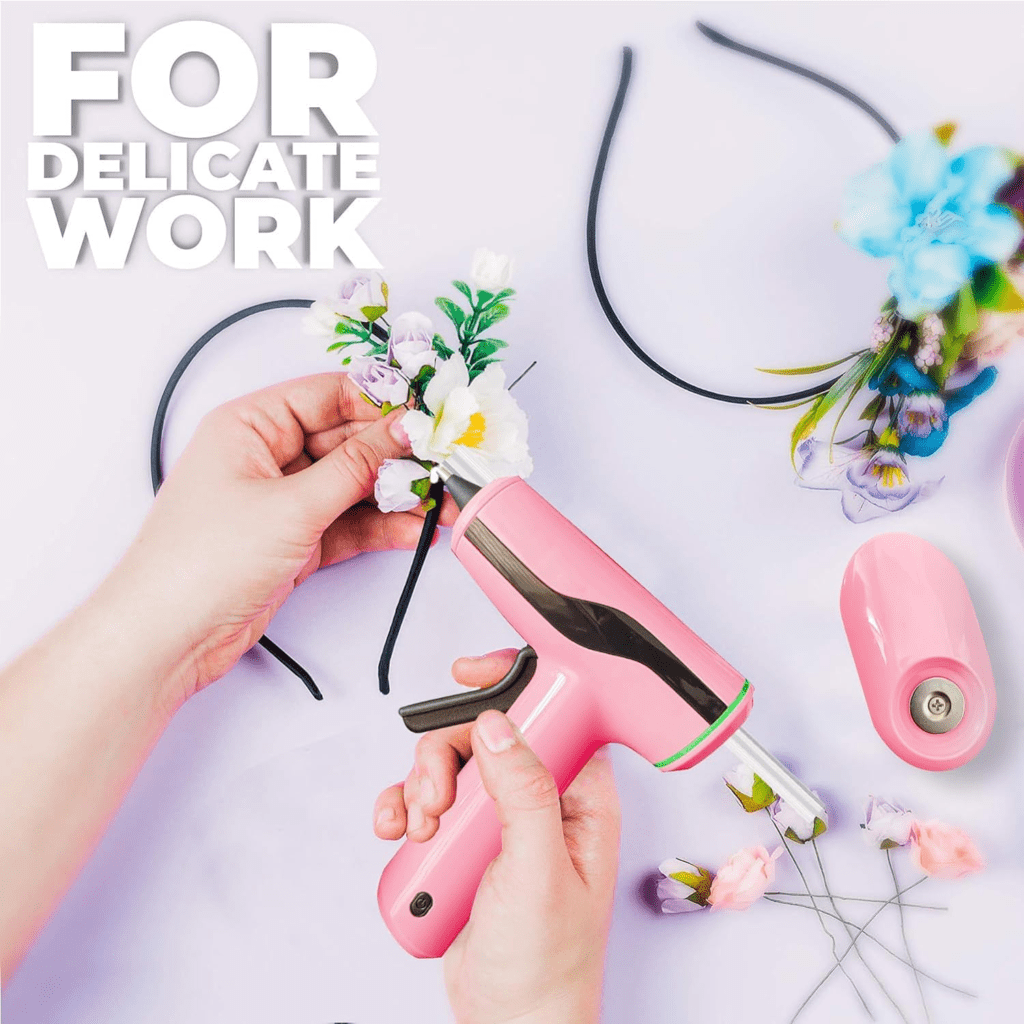
Glue Gun with Glue Sticks: Cordless Hot Glue Gun Kit, USB-C Rechargeable Mini Pink & 10 Pcs glue sticks
I started by cutting square pieces of burlap from the burlap ribbon. I eyeballed this so they did not come out to be perfectly square – more rectangular as I wanted to give a little extra room on each end. If you want to try to make them as close in size to one another as possible, cut one that is sufficient for you and place it on top of the ribbon. Cut at the end of the ribbon where the first piece ends. Keep overlapping the cut pieces back onto the remaining ribbon so you know exactly where to make your cut for the next piece.
These squarish pieces will be used as the top covers – they will cover the cork and tops of the jars. Yet another reason why I love these glass jars is the shape of them. There’s a top lip which allows you to wrap your twine around it to hold down the burlap squares.
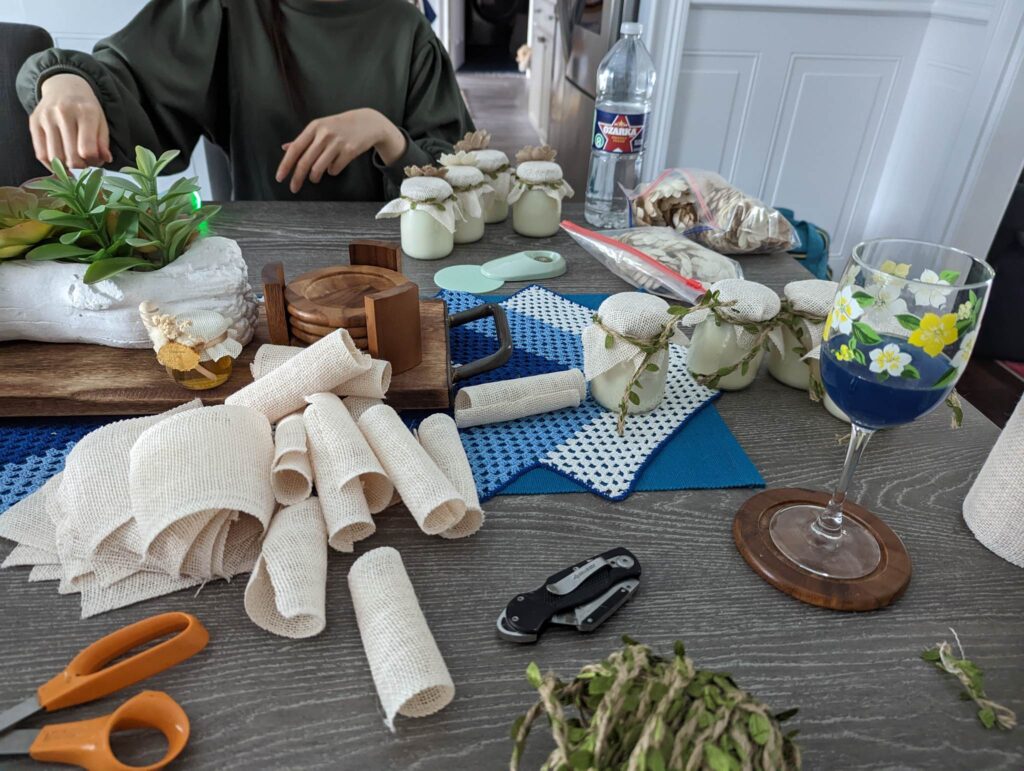
The next part is a little tricky. You’ll want to take the leafy burlap twine and cut about 2 feet in length pieces (I ballparked this as well). You want enough length to either double tie around the candle jar, or to make a bow.
Place the burlap square over the candle jar, then tie the twine around it, making sure the square hugs the lip of the glass jar (over the cork cap). You may want to get someone to help by having him or her hold down the square as your tie the twine around it. Otherwise, if you’re working on this project yourself, create a circle and loosened single tie. Place the burlap square down with one hand, place the twine gently over and around just below the glass lip, and pull both ends to secure it all in place. This may take some practice. I had to make these in batches and there was a point in time I was making and decorating these myself.
Once you’ve secured the twine, start up your glue gun and place the flowers over the twine knot. The reason I chose leaf twine was because it fit well with the flower decor.

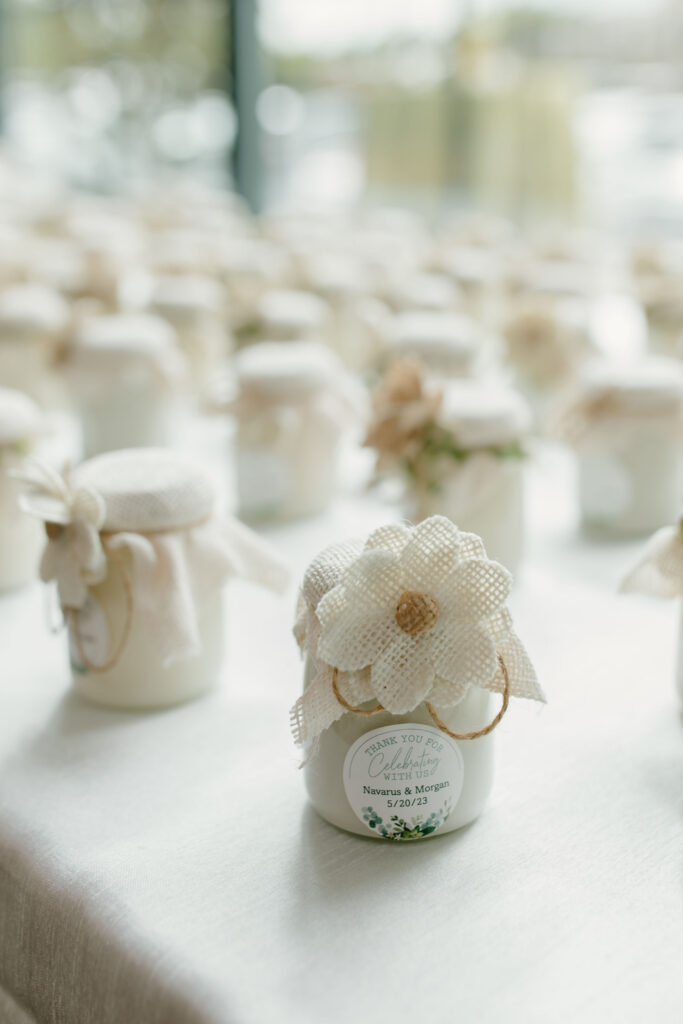
Here’s the finished product! What do you think? Did this give you inspiration to try making some of your own? Let me know in the comments!
Did this craft project inspire you? Check out my birthday gift wrapping floral bag craft project for more inspiration!

