How to start a Candle business
Have you ever thought about kickstarting your very own small candle business? Are you ready to turn your passion for candles into a thriving homemade candle business? This was something I had wanted to do for a while now as one of my favorite crafting hobbies is candle making!
In fact I love making candles so much, I literally needed an excuse to give away my finished candle products! I thought, why not start a small side-hustle selling candles at small vendor events around the city.
In this post I’ll be sharing my top tips and tricks for starting your own small-scale candle-making venture right from the comfort of your own home. From sourcing materials to marketing your creations, I’ve got all the insider info you need to kickstart your journey to candle-making success.

Step 1: Find Your Niche
It’s essential to find your niche within the candle market. Do you want to focus on luxury soy candles, eco-friendly beeswax options, or perhaps novelty-shaped candles? Consider what sets your candles apart from the rest and what type of customers you want to attract.

There’s many candle jars to choose from. I suggest sticking to one or two types so that when you play around with the wax types and wick types, you know exactly what works well and gives the best cold and hot throws. There’s glass jars, frosted, ceramic, even cement jars and pots work well too!
Then there’s the fragrances. There’s a ton of fragrances and categories to choose from. If you haven’t checked out Nature’s Garden Candles, I would recommend taking a look at their catalog of fragrances. They have everything from holiday scents, to fruity, feminine, smoky, etc.


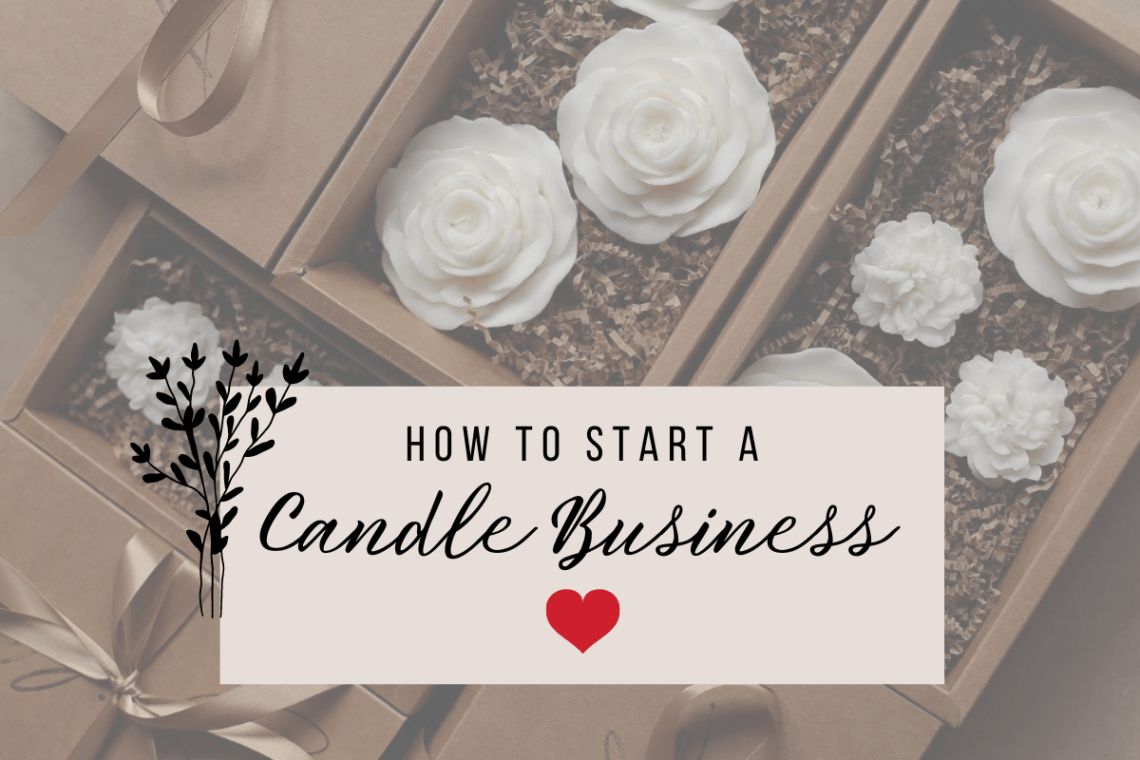
And then finally, once you get comfortable pouring and perfecting your candles, you can add some style to them with molds and other cute and funky designs! This will definitely set your candles apart.


Step 2: Source Quality Materials
Next, it’s time to gather your supplies. Look for high-quality wax, fragrance oils, wicks, and containers that align with your brand and budget. Don’t forget about packaging materials like labels, boxes, and ribbon to give your candles that professional touch.
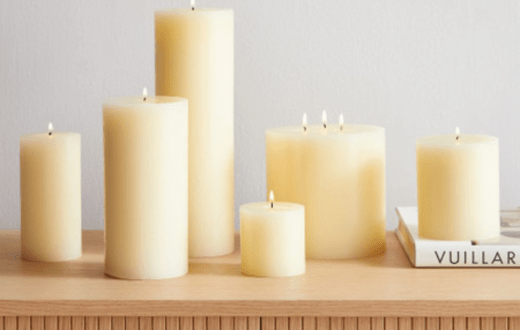
I get my soy wax blend from Amazon for jarred candles. For candle molds, I use a pillar wax as it has a harder consistency and a higher fragrance retention. This is great for stand-alone candles which you’d normally make from using types of silicone molds.
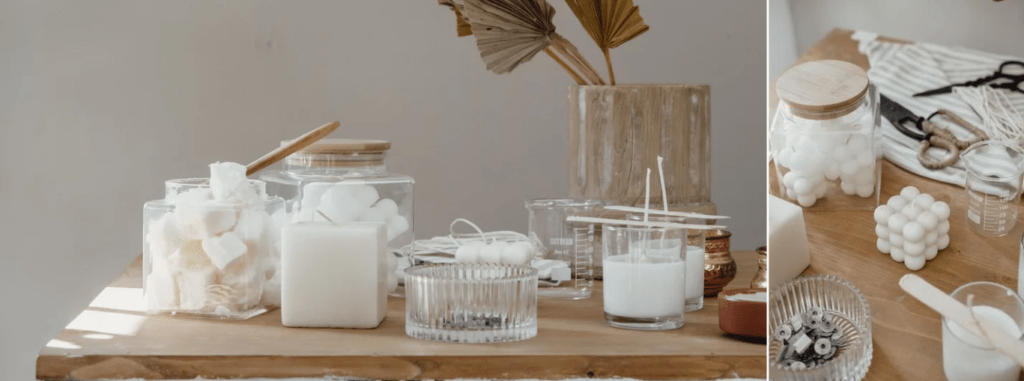
Of course you’ll also need your candle jars, wicks, stickers and all other related materials to actually create them. Here’s a beginner’s essential list you’ll need to get you started:
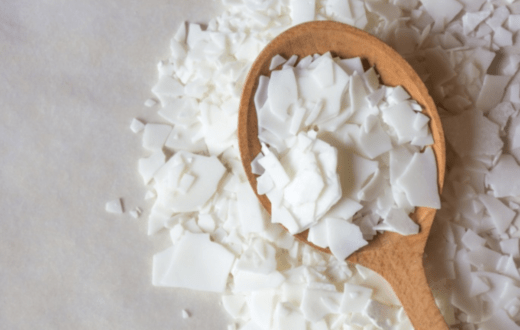
The Candle Wax: American Soy Organics- 45 lbs of Freedom Soy Wax Beads for Candle Making
The jars: Mini Yogurt Glass Jars 30 Pack, 7oz (a personal favorite style of mine)
The Wicks: Light 100 Piece Cotton Candle Wick 6″ Pre-Waxed
The Stickers to hold down the Wicks: 480PCS Candle Wick Stickers, Heat Resistance
The Wick Holders: 20pcs Metal Candle Wick Holders (the more sets you purchase the more candles you can pour and create in a single batch. I recommend buying at least 50 pcs so you can make larger batches in one sitting)
The Wax Melter: Wax Melter for Candle Making, 7 Qts Electric Non-Stick (My favorite, most affordable wax melter!)

Step 3: Experiment and Perfect Your Recipes
This is the fun part – experimenting with different wax blends, fragrances, and wick sizes to create the perfect candle recipe. Be patient and don’t be afraid to tweak your formulas until you achieve the desired scent throw, burn time, and appearance.
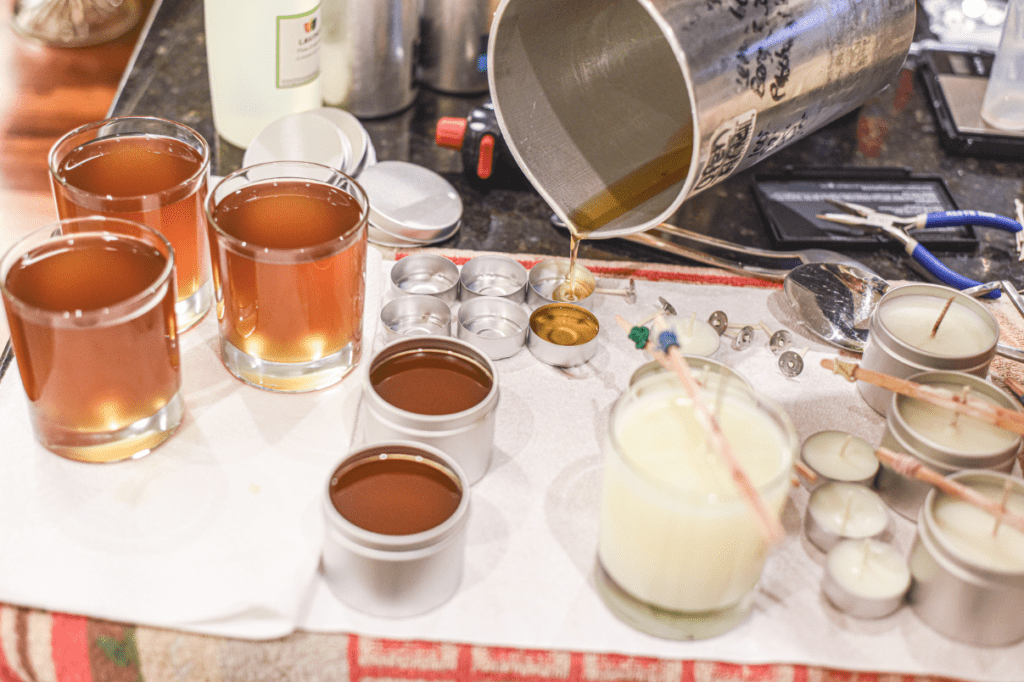
Here you’ll want to focus on making sure that your wick/wax/jar combination creates a good hot throw and that the wick melts the entirety of the candle top. Don’t make the mistake of not experimenting and having your wicks only melt a portion of the candle – leaving holes of melted wax and untouched outer rims in your candles. This is certainly not great for business!
This is why I recommend sticking to one or two jars paired at least one candle wax, so that you can decide which wicks work best. You will also learn how many wicks to add to your jar, and how much they need to be spaced apart in order to melt the top evenly.
I’ve put together a comprehensive list of candle types where I go over each one in some detail. Check out my post for that here!
In addition to the comprehensive list above, I’ve also condensed everything into a simple-to-read chart format to help guide you in selecting the perfect wax for your needs.

Step 4: Set Up Your Workspace
Designate a dedicated workspace in your home where you can safely melt wax, pour candles, and let them cool undisturbed. Make sure you have proper ventilation and invest in essential safety equipment like a large mat (for wax spills) and a large wax melter.
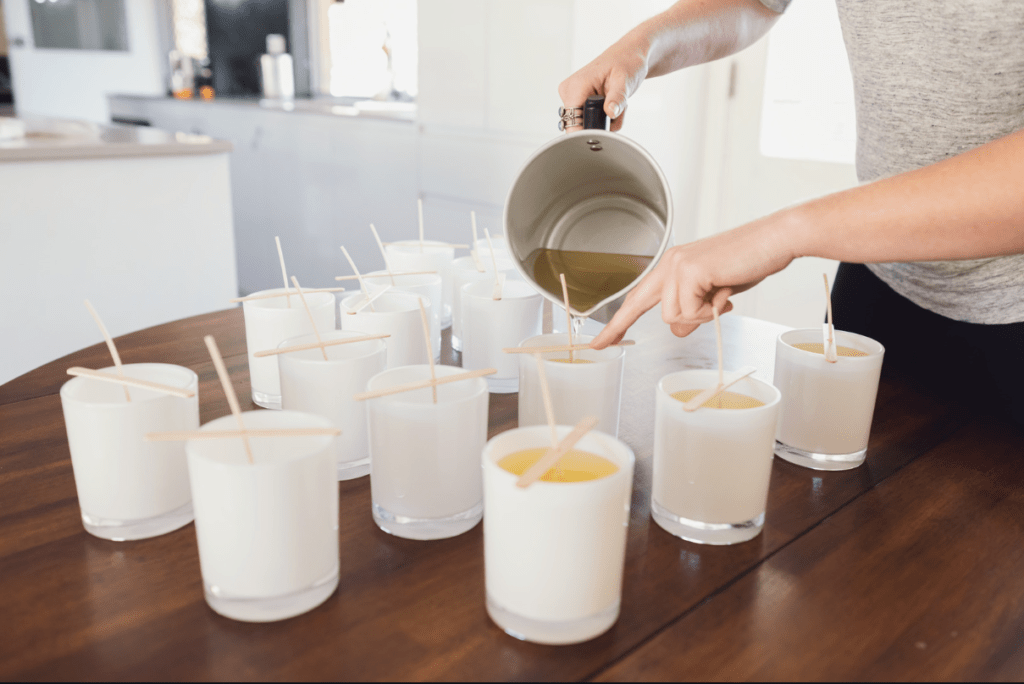
I use my kitchen to pour my candles and my kitchen island to let my finished poured candles cool off. This is plenty of space for me to make a batch of 30 or so candles at a time.

Step 5: Get Legal and Business Matters in Order
Before selling your candles, make sure you comply with local regulations and obtain any necessary permits or licenses. Consider forming a legal business entity, such as an LLC, to protect yourself and your personal assets. Each state is different, so I recommend going to your state’s government website and research LLCs specifically there.
However, an LLC isn’t really necessary especially if you want to start with selling to friends and family first – but it is good to have, and of course there will be a fee to getting your LLC up and running.
At the very least, you should place safety warning stickers at the bottom of your candles. Hopefully, with step 3 above, you’d have been able to get a better sense of what wicks go well with what types of wax and candle jars. Doing these tests will help you streamline making your candles later on and have a lot less disappointed buyers!

Step 6: Develop Your Brand and Packaging
Create a unique brand identity that reflects your personality and resonates with your target audience. Invest in professional branding materials like logos, labels, and packaging to make your candles stand out on the shelf.

I recommend starting small when ordering packaging and branding materials. Unless you are absolutely, 100% in love with your design and color scheme, start ordering your supplies in small batches. You’ll likely change your mind as your start selling and receiving feedback from your customers. It would be such a shame to have all this inventory if you decide to change something about your packaging technique and style.
Here’s a few recommendations of mine to get you started:
Personalized Stickers: Custom Logo Stickers – Business Stickers with Personalized Logo (comes in various shapes)
Candle Craft Boxes: Kraft Paper Boxes with Lids for Gifts, Crafting, Cube, Cupcake Boxes, Easy Assemble Boxes (comes in various sizes)
Gift Bags: Clear Gift Bags with Handles, Small Frosted White Shopping Totes with Cardboard Bottom (also comes in various sizes, frosted are a favorite of mine – simple and elegant!)

Step 7: Market Your Products
Utilize social media platforms, such as Instagram and Pinterest, to showcase your candles and connect with potential customers. Consider hosting pop-up events, collaborating with local boutiques, or selling your candles online through your website or platforms like Etsy.
If you want a platform to sell on that has the option for your customers to make purchases from, a good starting point would be Etsy. Then you can use some marketing outlets like Pinterest & Instagram to showcase your candles.
If you want more flexibility in your platform (but with a higher cost), there are ecommerce options such as Shopify. I personally use Shopify. They make it very streamlined and simple to start an online store.

There’s also a cheaper (even free) option than Shopify. If you’re decent with WordPress, there is a very popular plugin for the blogging platform called WooCommerce. WooCommerce is free to use and set up. Although when you make sales, you’ll be charged a fee through the credit card or whichever servicing provider you make available on WooCommerce (there are several options such as PayPal and Credit Card to name a few).

Step 8: Provide Stellar Customer Service
Last but certainly not least, prioritize excellent customer service to build trust and loyalty with your clientele. Respond promptly to inquiries, address any concerns or issues promptly, and always strive to exceed expectations.
This is so important and I consider this at the top of my list of things I follow by when starting a business! I always strive for very good customer service – your buyers will remember you and recommend you to others. Being nice and accommodating is always worth it!

And there you have it – my beginner’s guide on how to start a small candle business! Remember, Rome wasn’t built in a day, so be patient, stay persistent, and most importantly, have fun along the way. Happy candle-making!

