how to make Whipped Candle wax for Cake Frosting
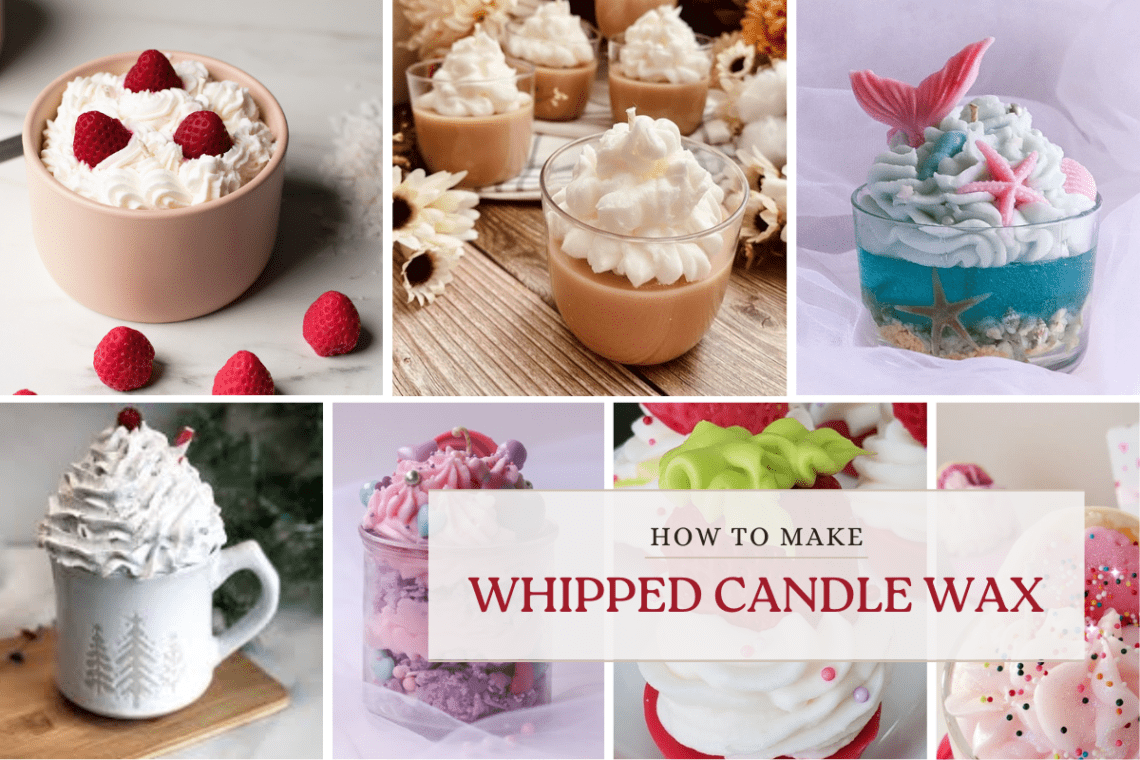
Have you ever seen a frosted cupcake look so delicious and edible only to find out its actually a very realistic cupcake looking candle? I have, and I have always wondered how one could get the wax to form such that it looked like whipped frosting or glaze.
Whipped candle wax with cake frosting aesthetics is a creative and unique way to add a touch of sweetness and charm to your candle collection. In this guide, I’ll walk you through the process of transforming your plain candles into delightful treats that resemble frosted cakes.
To get started, here are some materials You’ll Need:
Candle Wax: You’ll need candle wax to create the “frosting” effect. A blend of paraffin and soy wax. Paraffin wax provides a smooth texture and is easy to whip, while soy wax adds a creamy and natural feel to the mixture. The combination of these two waxes creates a balance between workability and aesthetics, making it ideal for achieving the fluffy, whipped appearance of frosting.

If you are interested in trying out other types of candle wax for frosting-like effects, check out my comprehensive guide on picking the right candle wax for your project!
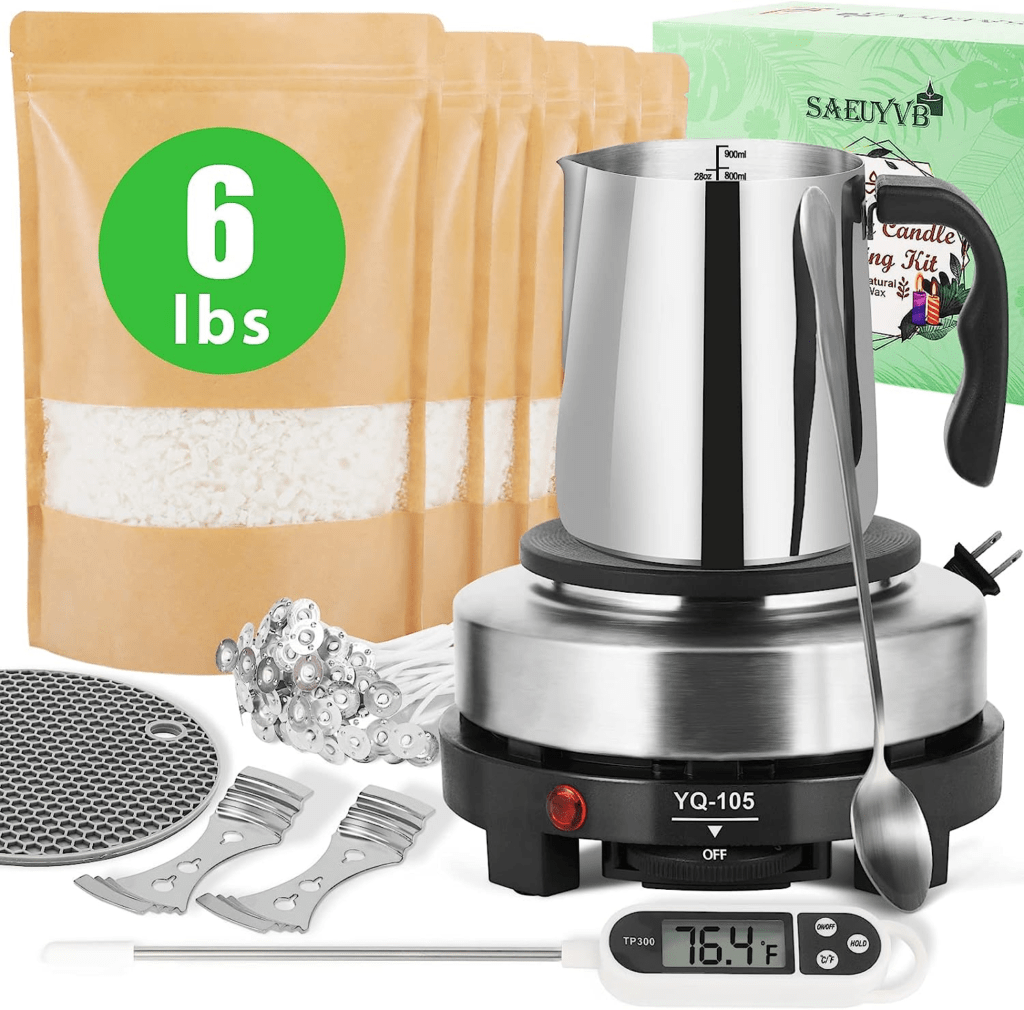
Double Boiler, mini candle melter, or Microwave: To melt the candle wax.
Fragrance Oil (Optional): If you want scented whipped wax, have your preferred fragrance oil on hand.
Mixing Utensil: A spoon or spatula for mixing the wax.
Piping Bag or Ziplock Bag: For applying the whipped wax.
Piping Tips (Optional): To create decorative patterns on the “frosting.”
Candle Thermometer: To monitor the temperature of the wax.
Wax Paper or Newspaper: To protect your work surface.
Lets get started!
Step 1: Prepare Your Work Area
Cover your work surface with wax paper or newspaper to catch any wax drips or spills. This will make clean-up much easier.
Step 2: Melt the Candle Wax
Melt the candle wax using a double boiler or microwave. Be cautious not to overheat the wax; use a thermometer to ensure it reaches around 150-160°F (65-71°C). I personally prefer a small candle hot plate which will melt the wax but keep it at a warm enough temperature to make whipped wax an easier process!
Once it is fully melted, if you are using a hot plate, simply turn off the plate and allow the wax to start cooling.


Step 3: Add Fragrance (Optional)
If you’re using fragrance oil, add a few drops to the melted wax and stir gently to evenly distribute the scent.
Step 4: Whip the Wax
Allow the melted wax to cool slightly until it’s thicker but still pourable. Use a spoon, whisk or spatula to whip the wax vigorously. This will create air bubbles and a fluffy texture, just like frosting. Keep stirring briskly until you see and fee the wax begin to thicken and slightly hold its shape. If you are able to form a peak with the whipped wax, then you’re doing it right and you’re now ready to apply the wax at this consistency!
Step 5: Load the Piping Bag
Transfer the whipped wax into a piping bag or a Ziplock bag. If you’re using piping tips, attach one to the bag. This will allow you to create various patterns on the candles. Here’s a few of my favorite picks when it comes to piping (whether its with candle wax or edible frosting!):


Wilton Cake Decorating Icing Bag Stand, 6-Cavity
Pastry Bag Holder Stand Icing Bag Holder with 8 Icing Tips Holder Slots
Piping Bags and Tips set – 12 Inch 100 Thickened Icing Bags and Tips Set
Step 6: Pipe the “Frosting”
Hold the piping bag above the candle and squeeze gently to release the whipped wax onto the candle’s surface. Start from the center and work your way outward in a spiral motion to mimic the look of cake frosting. You can also experiment with different patterns and designs.
Step 7: Let it Set
Allow the whipped wax to set and harden on the candle’s surface. This might take a few hours, depending on the thickness of the frosting.
Creating whipped candle wax with cake frosting is a fun way to personalize your candle collection and add a touch of whimsy to your space. This technique may take a few tries until you get the hang of it, but if you use a piping bag and holder it does make the process much easier.
TIP: If you want frosting to look more professional as seen on cakes or cupcakes, make sure to use Icing Tips when piping. See the picture below as an example:

TIP: If you want frosting to look more like cake batter just placed on, nix the piping step and use a cake spreading tool. Take spoonful’s of the whipped wax and splatter it on (not too hard) onto the candle to give it a pre-spread look. See the picture below as an example:

I’ve always wanted to make those adorable cupcake or milkshake looking candles but it took me a few tries to get the right temperature and consistency when making my candle creations. Hopefully this step-by-step guide will fuel your creativity and help your candle making process! These make perfect gifts and centerpieces for any place!

