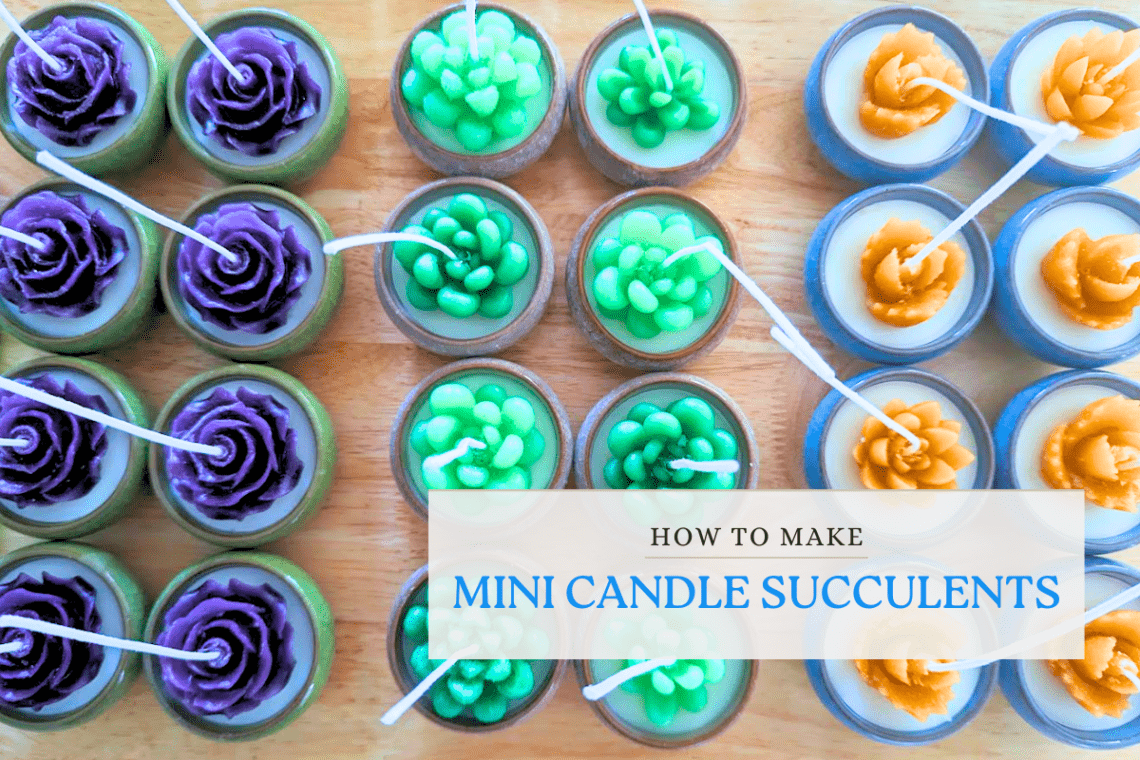
How to make Mini Succulent Candles
Candle making is one of my favorite hobbies to partake. Lately, I’ve been experimenting around with candle shapes and candle jars as I wanted to branch out of my comfort zone a little to making something more unique and cutesy. While filling different types of jars with candle wax is fun, I wanted to try something more difficult and went for making 3D candles using a few silicone molds I purchased recently just for this project. I wanted to make mini succulent candles to give away as little favors or gifts to friends!

Making mini “potted” succulent candles is like making any other jarred candle, except now you add a “pillared” candle into the mix.
What do I mean by pillared? Essentially, you’re making stand-alone candles using a different, harder type of candle wax that is hard enough to keep its shape, and enclosing it in a jar is not necessary.
To make 3D candles shaped in just about anything you want, there are a plethora of silicone molds out there to choose from. In this post I’ll stick to succulent and small floral silicone molds.

Materials You’ll Need:
To start, lets go over the materials I used for this craft project.
Ceramic Jars: These jars are so adorable! I think they’re meant to be small tea drinking cups but I repurposed them for this project specifically. You can buy these individually, or they also come in a pack of 12. They also come in a variety of colors so choose the color you want. Of course, you don’t have to stick with this style, really any small cup or jar will do.


Succulent Plant Mini 2.5 Inch Ceramic Ice Crack Colored Pots
The Wicks: Light 100 Piece Cotton Candle Wick 6″ Pre-Waxed
You’ll need wicks!
The Stickers to hold down the Wicks: 480PCS Candle Wick Stickers, Heat Resistance
These are not really necessary but I HIGHLY advise you get them. They’re very cheap for a pack of nearly 500 stickers and will save you a lot of time and headache when trying to center the wicks in liquid hot candle wax.
The Wick Holders: 20pcs Metal Candle Wick Holders
The more sets you purchase the more candles you can pour and create in a single batch.
The Wax Melter: Wax Melter for Candle Making, 7 Qts Electric Non-Stick
My favorite wax melter and one I use most often for large projects and bulk candle making. It’s the most affordable wax melter in my opinion.
HOWEVER, since you’re working with mini jars and pots, it may be easier to work with a smaller scale candle wax melter, such as this one:
Candle Making Pouring Pot with Electric Hot Plate
The Candle Wax (for the mini pots): American Soy Organics- 45 lbs of Freedom Soy Wax Beads for Candle Making
This is my go-to brand for any jarred candle projects. It’s got a great hot and cold throw and doesn’t create a lot of soot. It’s also very affordable for how much you get!
The Candle Wax (for the succulents): Pillar of Bliss Wax by Nature’s Garden Candle
This is my favorite pillar candle wax and my favorite company to shop at for this specific wax and many other things like their scents and color dyes!
Wax Dyes / Candle Coloring: Check out the selection found at Nature’s Garden Candle’s website
This will be used for coloring your succulent candles.

Silicone Molds perfect for candle projects:
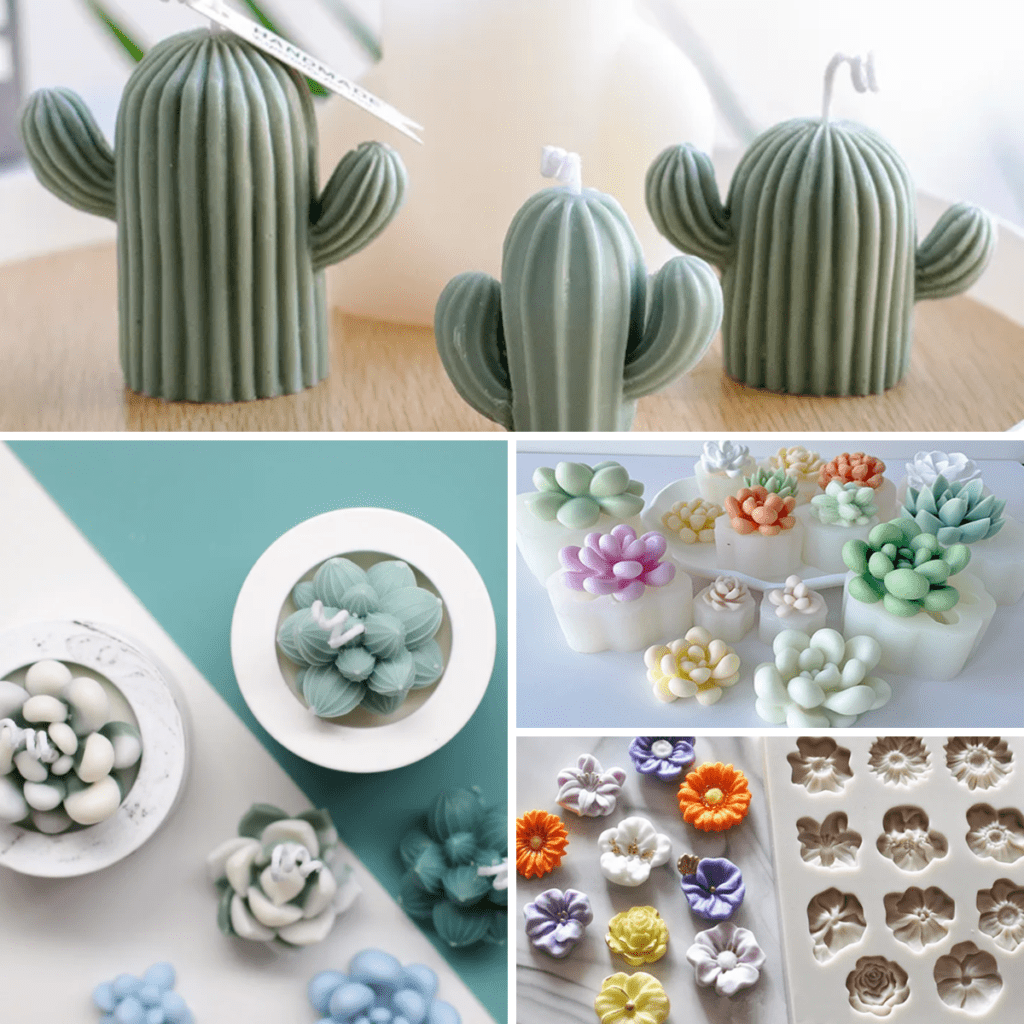
As you can probably guess, there are a ton of silicone molds that come in all shapes, sizes, and elasticity. When working with pillar wax, although it is a hard, stand-alone wax, it is relatively brittle. Therefore, you’ll want to work with molds that stretch well and have a high elasticity.
Another thing to keep in mind is picking molds that do not have many grooves, nooks or thin orders and edges. The reason being that when you take the solidified candle out of the molds, you’ll have to be extra careful not to break off the edges and intricacies. This happens a lot with small molds such as florals and plants with small leaves and branches. It can get pretty frustrating after pouring and carefully removing the candles out of their molds. If they break apart, you’ll have to re-melt them and re-pour. So be sure to choose easy ones.
Here’s a few of my favorite molds I like to work with and that I used for this candle project:


LEFT: 9 Pack Small & Soft Succulent Silicone Molds
TOP RIGHT: 34 Pack Succulent + Flower + Cactus Soft Elastic Molds
BOTTOM RIGHT: 9-15cm Cactus candle silicone mold

Lets get started!
Step 1: Prepare Your Work Area
Cover your work surface with wax paper or newspaper to catch any wax drips or spills. This will make clean-up much easier.
Step 2: Melt the Candle Wax
Melt the soy candle wax (the non-pillar one) into your wax melter. If you’re planning to make a large batch, it may be easier to use the large, 7 quart one I suggested above. Otherwise the hot plate set will do just fine and will make it easy for you to pour into the small ceramic pots.
Step 3: Prep the Pots
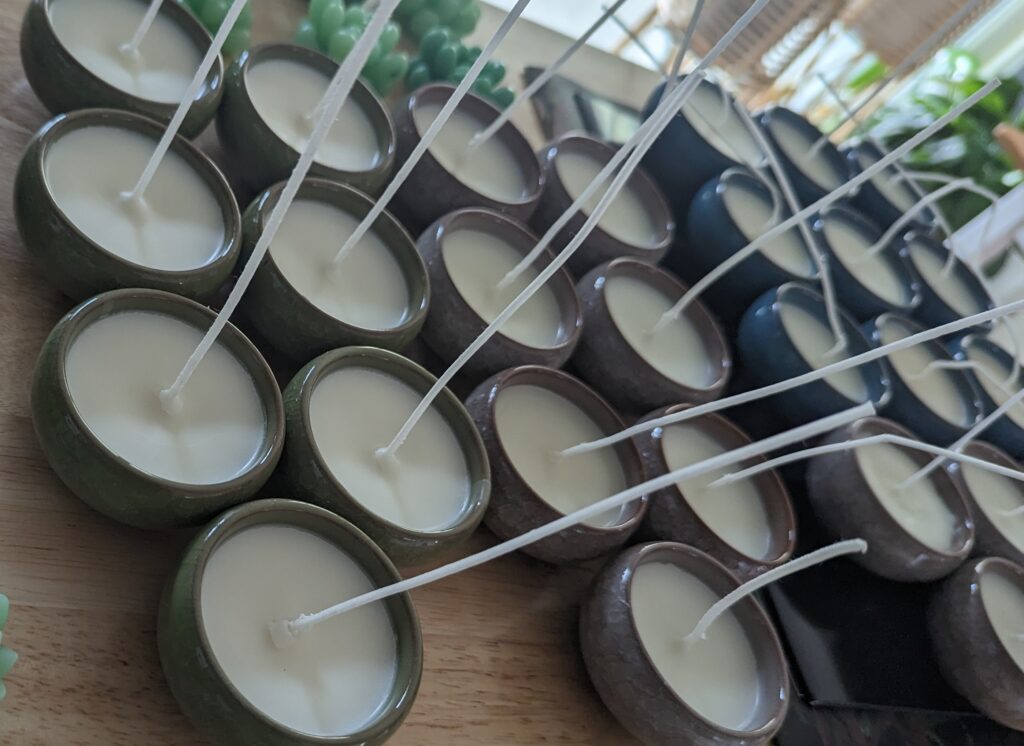
While you’ve got the candle wax melting, prep some of the small pots with candle wicks. Use the wick stickers to hold down the wicks in the center of the pots. Use the metal wick holders to keep the wicks centered.
Step 4: Add Scent (optional) & Pour
Add any fragrance (this part is optional, you can leave the wax unscented if you like) to the melted wax and stir. Once its fully meshed in with the wax, start pouring them slowly into the pots and set them aside to cool and solidify.
Step 5: Melt the Pillar Wax
This time, you’ll be melting the pillar wax in that same wax melter. It’s ok if there’s some remnants of the other wax, very little won’t make a difference. Add any colorants to give your succulents some color..
Step 6: Choose your Mold & Pour
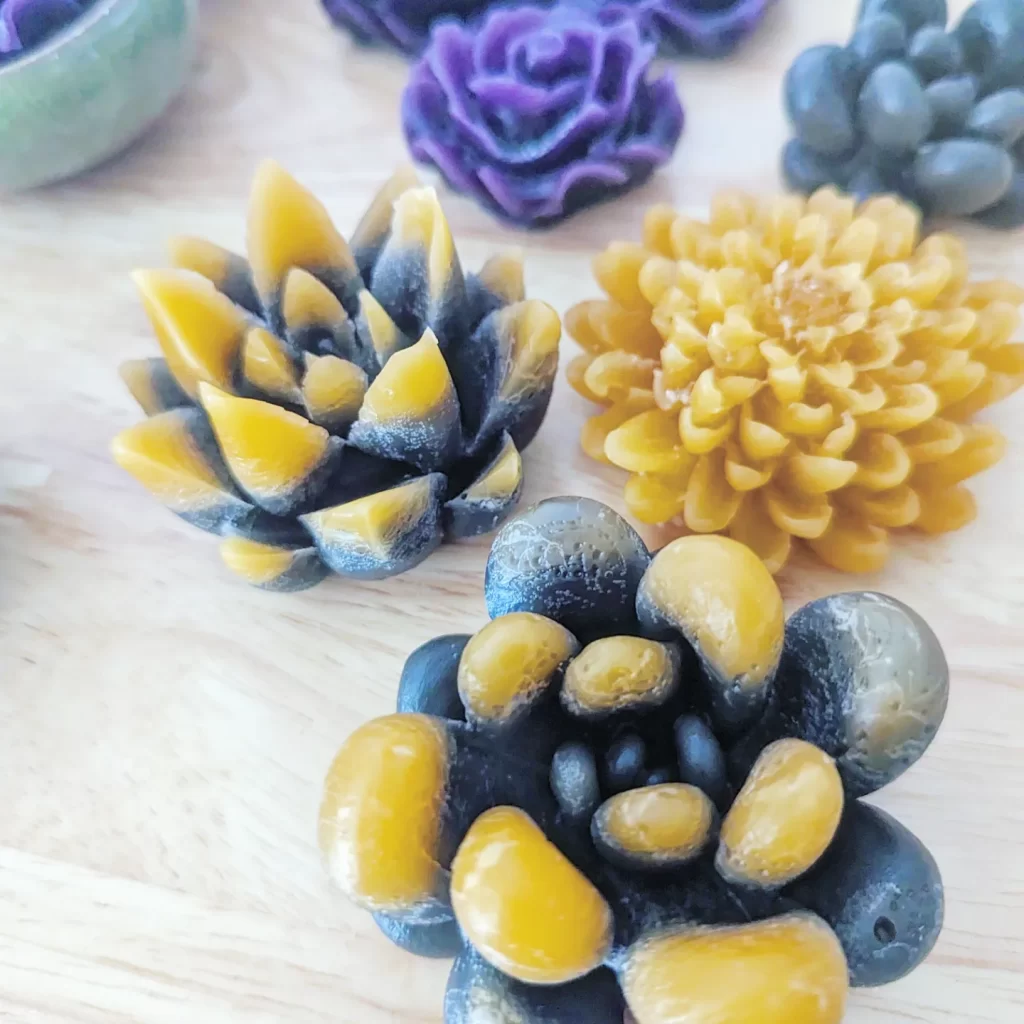
Before you start pouring, I highly suggest you place paper towels or wax paper underneath the molds because there will be a lot of spillage. Also as the wax solidifies, you’ll need to pour in more to fill in the crevices and holes. Depending how many molds you have, and how many you want to create, you’ll need to set them aside to cool off, slowly pull them out of the silicone pieces, and re-pour. Make sure to keep your wax at a melted temperature.
Step 7: “Plant” the Succulents into the Pots
This part may seem difficult, but it actually isn’t if you’ve got the correct tools!
So what you’ll need to do here is have the wicks (which you left uncut) run through the center of the succulents and floral pillar candles and be placed in the center of the small pots.
The easiest way to do this is to use a battery powered drill with a Cobalt drill bit that is slightly larger than the width of the wick. With your drill and attached drill bit, slowly drill from the center of each succulent starting from the top center down to the bottom. Drill slow, and try to stay centered. Drilling into pillar wax is actually very easy if you go slow and steady. Going too fast may result in breaking them into pieces as they are a bit brittle.
Then, thread the wicks from the candle pots into the succulents starting from the bottom going up.
Next you’ll need to somehow “glue” the two together. The easiest way I’ve accomplished this is by using a heat gun (or a hair dryer – but on low setting. Although a heat gun will be a heck of a lot faster) and melt the surface of the wax in the pot. Then gently continue to thread the succulent through the wick until its placed center onto the melted surface wax. Let it sit there for a bit until it all solidifies. Then you can trim the wick to your desired length.
Here’s a few videos of my finished products (before I trimmed the wicks) Don’t they just look so adorable!?
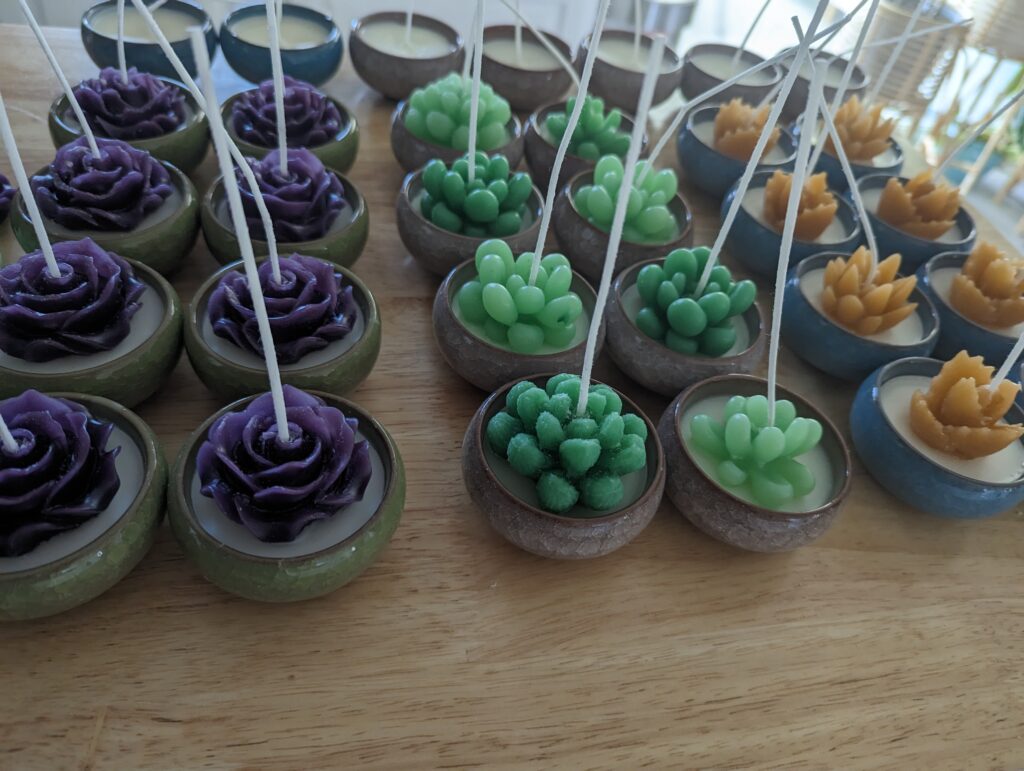
And there you have it! This was my little weekend project. I boxed these bad boys up in a set of 3 (I made three different colors/styles in this batch) and they were ready to be gifted out!

