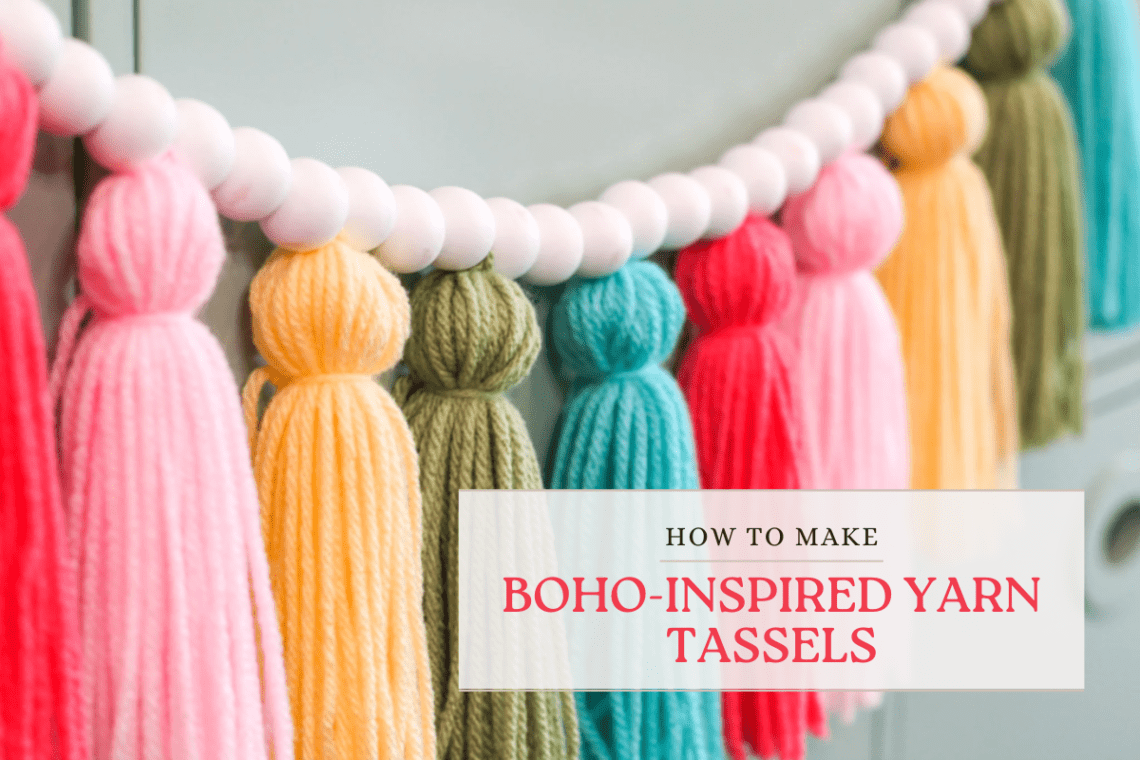
How To make Boho-Inspired Yarn Tassels
Boho chic is all about texture and free-spirited vibes, making yarn tassels a perfect fit. These whimsical and free-spirited adornments can be used to spruce up just about anything, from bags and curtains to keychains and home decor. Best of all, they’re incredibly easy to make, so grab your leftover yarn and let’s dive into crafting some boho-inspired yarn tassels.
What You’ll Need:
- Yarn Scraps: This is the perfect project for those colorful remnants you’ve got lying around.
- Cardboard: A piece of cardboard will serve as the base for your tassel. The size of the cardboard will determine the length of your tassel.
- Scissors: Sharp scissors are essential for precise cutting.
- Ruler: To measure and cut your yarn evenly.
- Optional Embellishments: You can add beads, ribbons, or other decorative elements to your tassels for a unique touch.
How to Make It Overview:
- Cut a piece of cardboard to your desired tassel length.
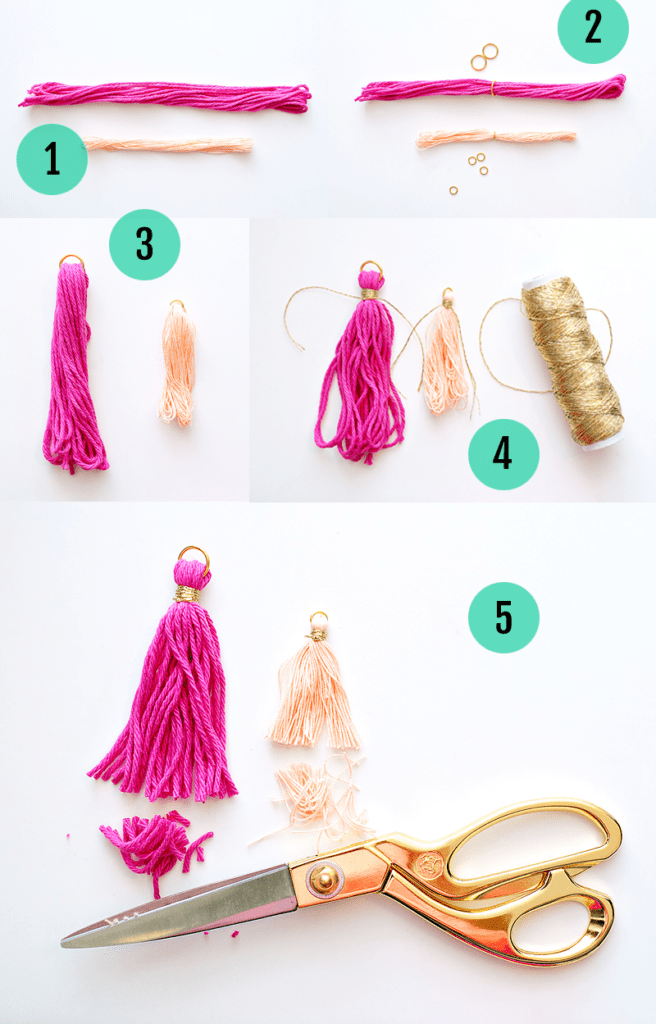
- Wrap your leftover yarn around the cardboard several times, depending on the thickness you want.
- Carefully slide the wrapped yarn off the cardboard and tie a separate piece of yarn around the top to create a tassel head.
- Trim the bottom to even out the tassel, and you’re done!

Let’s Get Started
Step 1: Prepare Your Materials
Gather your materials and pick out the leftover yarn you’d like to use. The great thing about this project is that you can mix and match colors and textures to create a unique look.
Step 2: Create Your Template
Take your piece of cardboard or create a cardboard template. The width of your cardboard will determine the length of your tassel. If you want longer tassels, use a wider piece of cardboard. I usually aim for about 4-6 inches in width for a standard-sized tassel.

Step 3: Start Wrapping
Hold your cardboard or template vertically. Take one end of your chosen yarn and start wrapping it around the cardboard width-wise. You can wrap it as many times as you want, depending on how thick you want your tassel to be. For a fuller tassel, wrap more yarn; for a thinner one, wrap less.
Step 4: Secure the Top
Once you’ve wrapped your yarn to your desired thickness, cut the end, leaving a few inches extra. Take this extra piece and slide it under the wrapped yarn at the top of your template. Tie it in a tight knot to secure all the strands together. This tied section will be the top of your tassel.
Step 5: Cut the Bottom
Now, take your scissors and carefully cut through the loops at the bottom of your wrapped yarn. This will create the fringed tassel look.
Step 6: Add a Hanger (Optional)
If you want to hang your tassel, cut a separate piece of yarn, fold it in half, and loop it through the top of your tassel. Tie a knot to secure it.
Step 7: Trim and Shape
With your scissors, trim any uneven strands to make the bottom of your tassel even. You can also trim the top if needed to make it neat and tidy.
Step 8: Fluff and Style
Gently fluff out the strands of your tassel to give it that boho-inspired, carefree look. You can trim it further if you’d like a neater appearance or leave it a bit wild for a more whimsical feel.
Step 9: Repeat and Enjoy
Repeat these steps for as many tassels as you desire, using different yarn colors and lengths to create a dynamic and eclectic collection of boho yarn tassels.

Don’t let those leftover yarn scraps go to waste – use this tutorial to turn them into useful yarn tassels! Now you can use it to add a playful, free-spirited touch to your bags, curtains, keys, or wherever your creativity takes you. Have fun crafting your tassels and adding that Bohemian charm to your world!


