How to make a DIY Forever Flower Rose Box
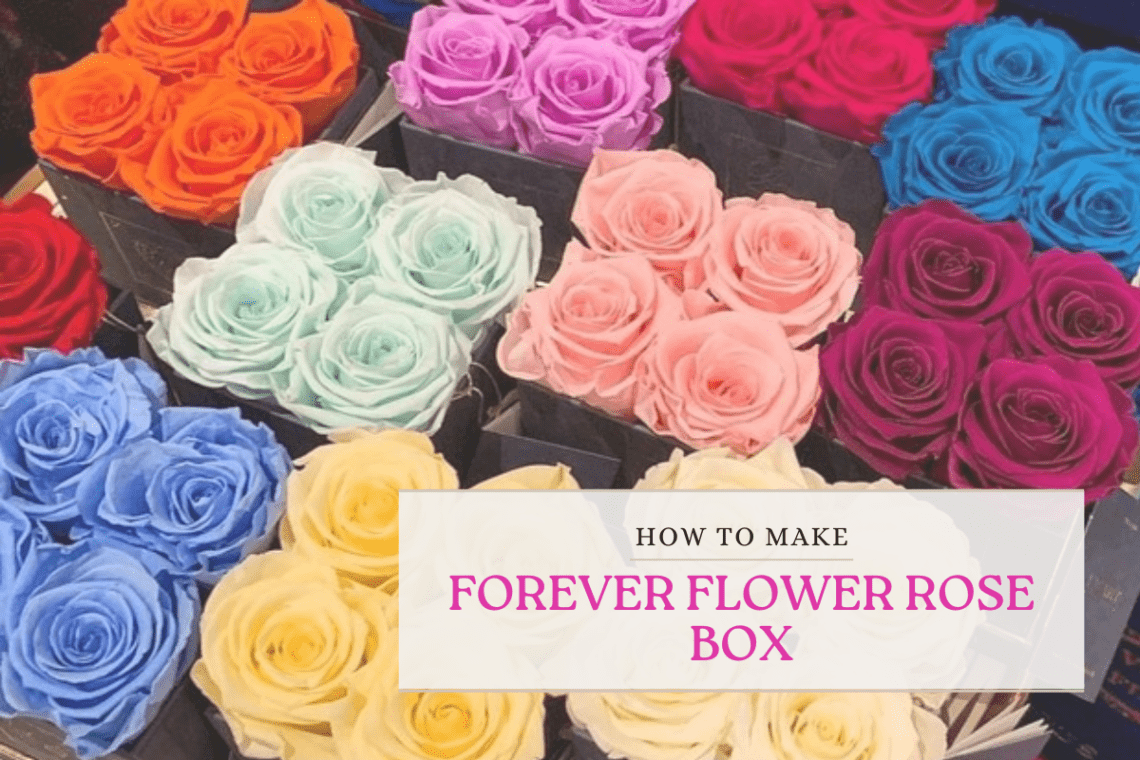
Fresh flowers, as much as I adore them, have a limited lifespan. I’ve always wanted a forever rose box to put in my walk-in closet but after seeing the price tag, and realizing they really only last a year, tops, I decided I’d just rather make my own!
A DIY flower rose box is pretty simple to make and the materials are surprisingly cheap! In this post, I’ll lay out all the materials you need as well as the optional ones. I’ll also point out my favorite places to find those materials for cheap!
Materials You’ll Need:
Faux Latex Foam Roses: Let’s be real, faux roses are the stars of the show here. Opt for your favorite color or mix and match for that lush bouquet effect.
I love getting my faux flowers from Aliexpress or Amazon. If you’re in a rush – stick to Amazon. However, the prices are pretty comparable so I’d stick to Amazon.


100 Pack Colored Artificial Flowers, Bulk Stemless Fake Foam Roses (NO STEMS)
84Pcs Realistic Faux Silk Roses with Baby’s Breath Gypsophila (WITH STEMS)
A Decorative Box: Get creative with this one! You can use a wooden box, acrylic, or even a vintage-style case. Make sure it’s clean and dry before you start.
I personally love a round, velvet storage box. Take a look at some of these:

Floral Foam (Styrofoam): You’ll need some floral foam to keep those roses standing tall.
Hot Glue Gun: Your trusty sidekick for this DIY project.
Green Moss (Optional): To give your rose box that whimsical garden vibe.
Ribbon or Trim: For that added touch of glam.
Step 1: Gather Your Supplies
First things first, let’s get our materials in order. For this DIY, you’ll need:
- A chic, clear acrylic box or any decorative box of your choice.
- Faux roses (faux is the key here for the “forever” part!)
- Floral foam or Styrofoam to fit the box.
- Wire cutters for trimming the stems.
- Hot glue gun and glue sticks.
- Decorative ribbon or embellishments (optional).
Step 2: Prep Your Roses
Now, let’s work our magic on those faux flowers:
- Using the wire cutters, snip the stems of your faux roses to your desired length. You can go for a uniform length or create a cascading effect by trimming some stems shorter than others.
Step 3: Secure the Foam
- Place the floral foam or Styrofoam inside your chosen box. Make sure it fits snugly but doesn’t protrude above the box’s edges. You may need to trim it to size.

Step 4: Arrange Your Roses
Here comes the fun part – arranging your roses!
- Start by inserting the rose stems into the foam one by one. You can create a symmetrical look or go for a more organic, cascading design.
- Feel free to mix and match different colored faux roses or stick to a single color for a classic look.

Step 5: Secure with Hot Glue
- To keep your roses in place, add a dab of hot glue to the bottom of each stem before inserting it into the foam. This ensures they stay put and look flawless.
Step 6: Add Some Pizzazz (Optional)
- Want to take your DIY Forever Flower Rose Box to the next level? Consider adding decorative ribbon, a personalized message, or even some faux greenery for that extra wow factor.

Your DIY Forever Flower Rose Box is ready to grace your favorite spaces with its timeless beauty. These rose boxes are a chic and casual addition to any room, and the best part is they require minimal maintenance. Just place them wherever your heart desires, and they’ll keep looking fresh and fabulous for years to come. It’s the perfect way to add a touch of romance and elegance to your home, and you can proudly say you crafted it yourself.


