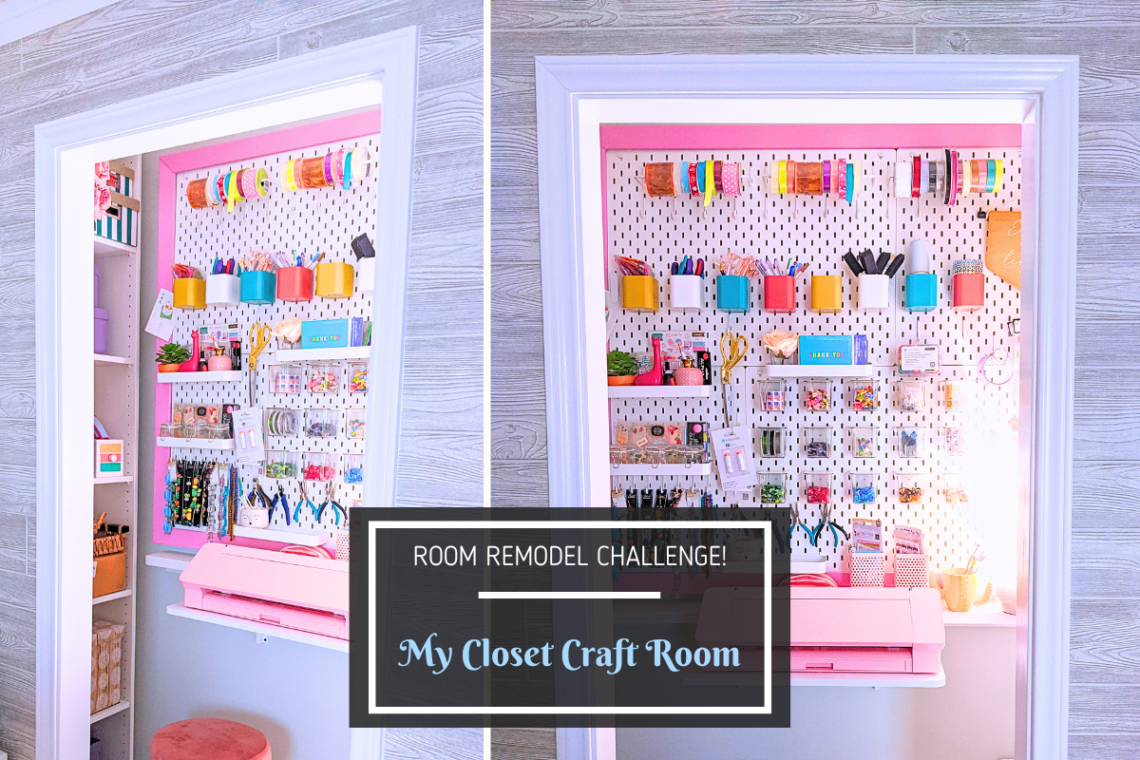
How I Transformed my Office Closet into a Sit-Down Closet Craft Room
I’ve always been a crafting enthusiast, dabbling in everything from scrapbooking to sewing. But as much as I love my hobbies, I realized that my scattered supplies and makeshift workspaces weren’t cutting it. So, I decided to turn my underutilized office closet into a cozy, sit-down closet craft room.
It was the perfect solution to keep everything organized and have a dedicated space to get creative. In this post, I’ll walk you through how I transformed a boring closet into a charming and functional crafting haven. Let’s dive into the step-by-step process that made it all come together!

The Space
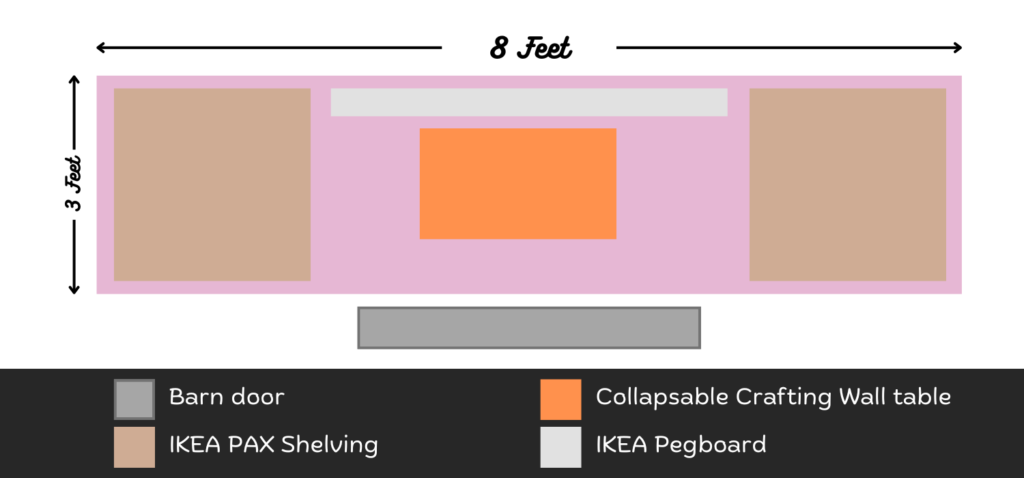
My closet isn’t large nor is it a walk-in closet, although I suppose you can walk into it and bit to the left and right. Dimensions-wise, it is about 8 feet wide and maybe 3 feet deep. It was wide enough to put a long pole for hanging clothes and it had a top shelf right above the pole. So if your closet space sounds similar, then maybe this post can give you some ideas if you’re looking to do something simlar!
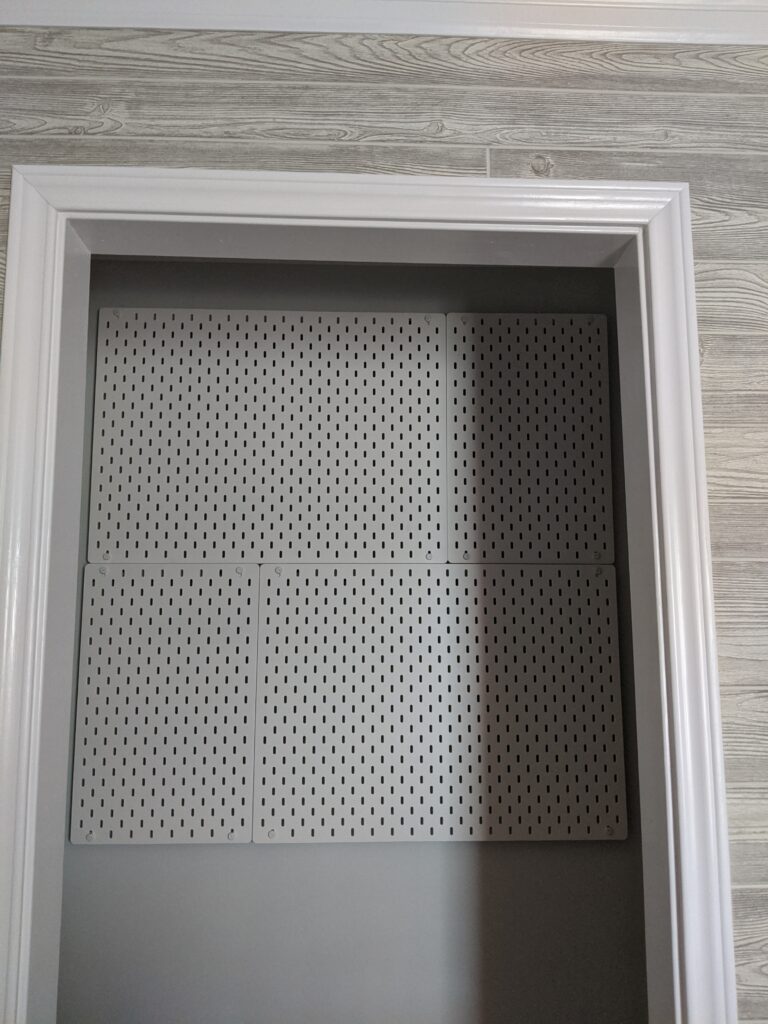
I had to figure out the best way to maximize my use of the space but also be comfortable enough to work in. I started by taking out the door during my office remodel. In the photo below, you can see that I added this wood-look MDF paneling on just one side of the room and wainscoting paneling along the other remaining sides.
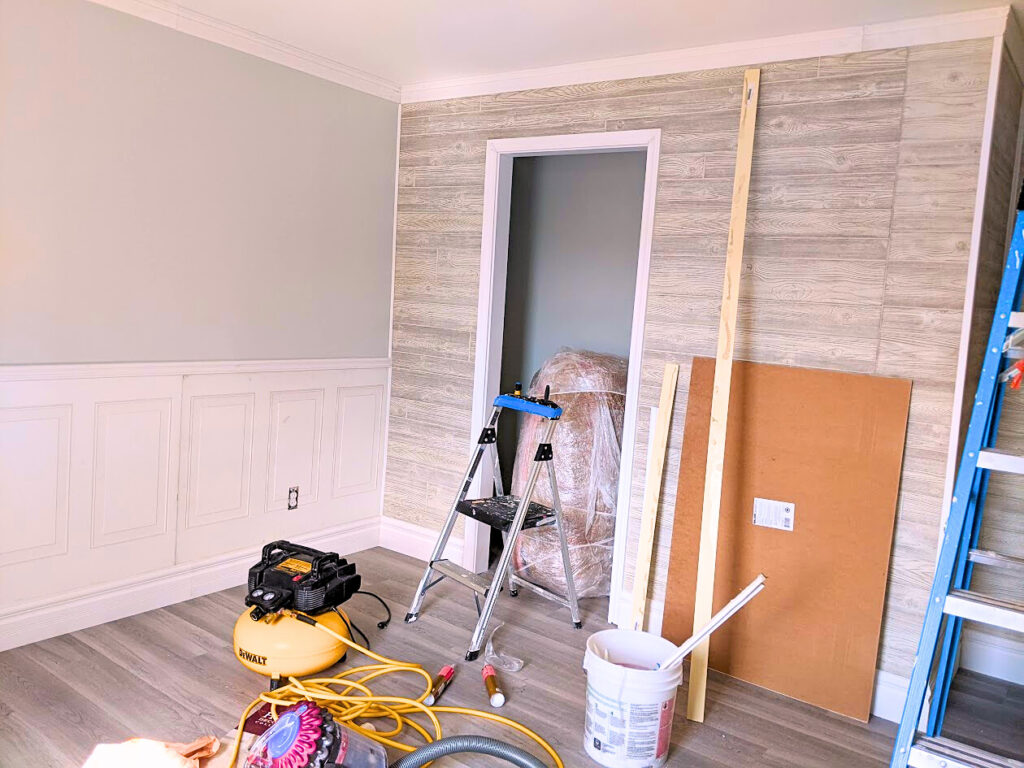
I removed the existing door, gutted the inside of the closet by removing the clothing pole and any existing shelving. I then smoothed out the closet walls, gave it a fresh coat of paint and added baseboard and crown molding on the inside. Since I had removed the existing swing door, I ended up replacing it with a smooth door jamb because I wanted to add a barn door here.

The Installation
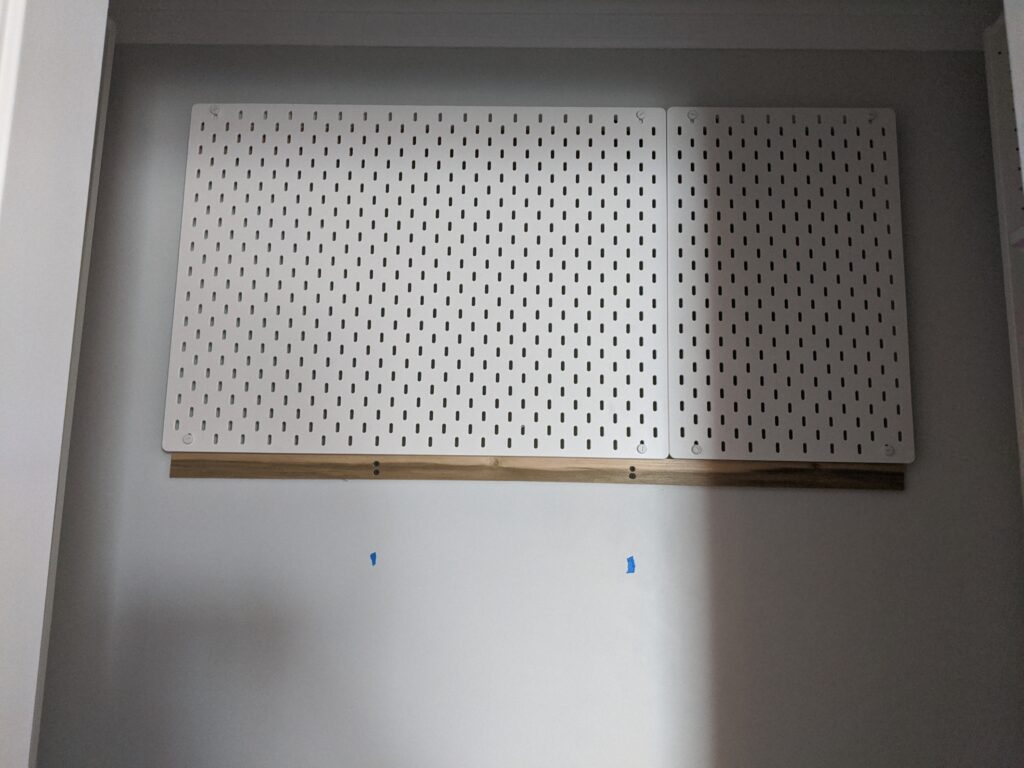
Up next, I took measurements and put markers up on where I wanted to set up my pegboard. As for the ends of the closet, I went with two IKEA PAX Shelving units.
The Pegboard set up is also from IKEA along with all the accessories such as hooks and shelves.
When it comes to installing anything on a wall that will likely bear a lot of weight, I always use thin wood pieces as the backing before I install the actual item (i.e., a picture frame, shelving, wall cabinets, etc.). This is because sometimes the item doesn’t align perfectly with the studs on a wall, or the studs aren’t located in the area I want to hang something at. So in this case, I use long wood pieces to reinforce from the studs that way I can hang whatever it is I’m hanging off of the wood instead of limiting myself to specific locations on the wall. Make sure the wood isn’t so thin – I normally go with 1/8 – 1/4 thick hobby wood!
In the video, you can see I use a stud finder and mark them. Then install the wood pieces. And finally the pegboards installed on top of the flat wood pieces.
Now for the goodies, here’s everything I used so far up to this point:
IKEA PAX White Wall-Mount Shelving Unit Storage Frame 92 7/8 inches tall
IKEA SKADIS White Pegboard 30″ x 22″ (2x)
IKEA SKADIS White Pegboard (14″ x 22″ (2x)
IKEA SKADIS Accessories: Shelves, Hooks, Containers With Lids

Making it Functional
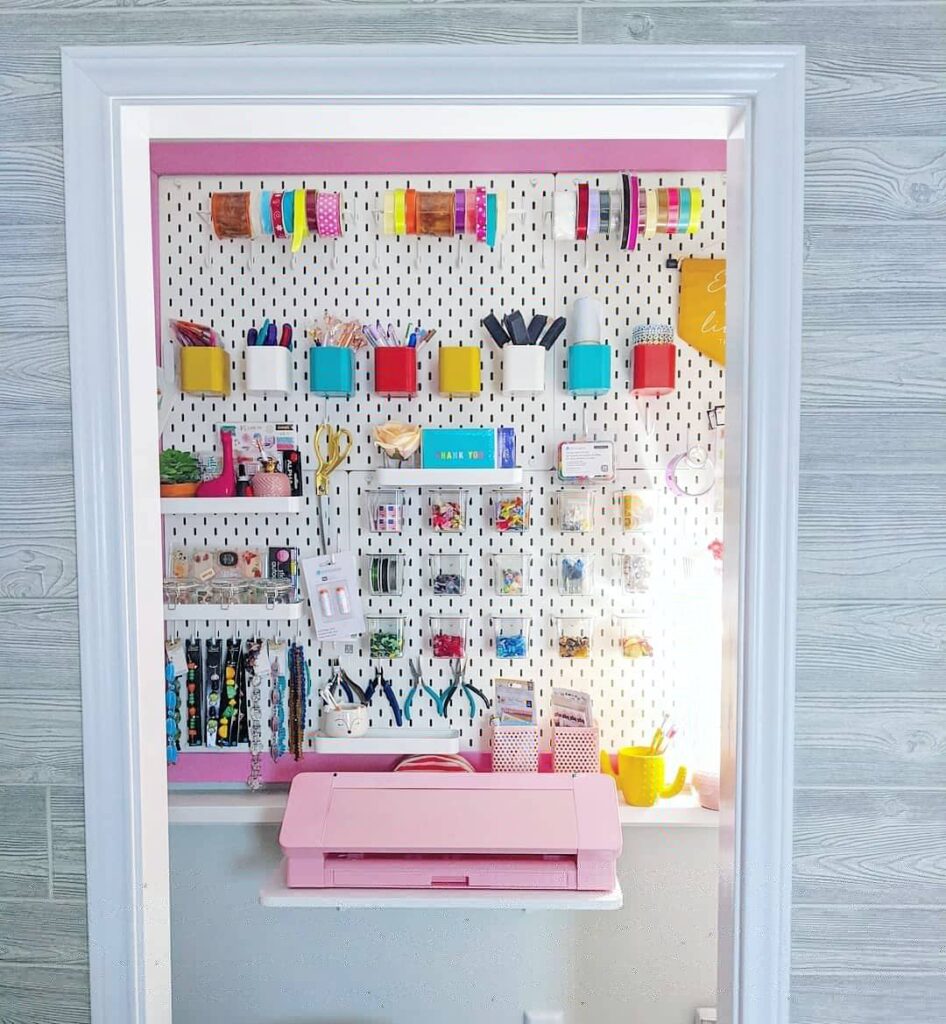
I was so eager to decorate my pegboard once it was all up and sturdy against the wall. I loaded up the side shelves with all my craft supplies and spent some time figuring out how i wanted to place the hooks, shelves and canisters.


I actually hired an electrician to install an outlet against the wall so that I can plug in a small lamp and anything else that would require electricity (like my Silhouette Machine or my Label Printer).
Just below the pegboard, I repurposed a picture ledge (also from IKEA) into a shelf by installing it upside-down so that the ledge faces down.
Picture Ledge: IKEA MOSSLANDA Picture Ledge 45 1/4″
As for the small accent lamp I placed on the right corner of the shelf, I got that a few years ago from At Home (and its still available!)


LEFT TO RIGHT:
Pink Ceramic Mini Accent Lamp with Shade, 12″
Traditional Mini Modern Ceramic Texture Pastel Accent Bedside Table Desk Lamp
Mini Studded Texture White Ceramic Bedside Table Lamp, Pink
Obviously, I couldn’t fit a normal sized desk in my closet craft room so I needed to get creative here. I looked at foldable and stowaway desk options to see what was out there. I looked for a plain white desk that I could fold down when I wasn’t using it, and one that was wide enough for me to actually find it useful!
This one in particular fit my needs really well. First, it was wide and long enough to fit the space. I could also leave it upright with the barn door closed. And secondly, the hinges can be installed anywhere on the desk board, which allowed me to place and install them directly onto the studs. It may look a tad bit off (not really centered if you’re staring at it directly), but it got the job done. And honestly as long as it was sturdy and the weight equally distributed, I didn’t mind much the slight uneven placements of those hinges.
You can buy the foldable wall desk here: Wall Mounted Floating Folding Desk Wooden PC Dining Drop Leaf Table 24″x16″ 50lbs Weight Capicity for Study White
And that stool you see there is just some pink and gold hardware vanity stool I also bought at At Home. Unfortunately, I think this one’s sold out on their website, but I did find some adorable alternatives!


LEFT TO RIGHT:
Modern Ottoman Foot Rest Stool with Adjustable Golden Legs
Velvet Round Ottoman Modern Dressing Stool -Upholstered Footrest Stool
Upholstered Make up Foot Stool with Gold Metal Legs and Padded Seat

Adding the finishing touch
With my foldable desk and sitting pink velvet stool in place, it just felt like something was off – like I was missing something!
I think I felt that it was too bland and too white despite my craft supplies put out on display. Eventually I went with a fun and simple pink wooden border around the pegboard to give it more color.
I got some trim boards from home depot, measured and cut them at 45 degree angles, and painted them pink before I installed them as the border around my pegboard.
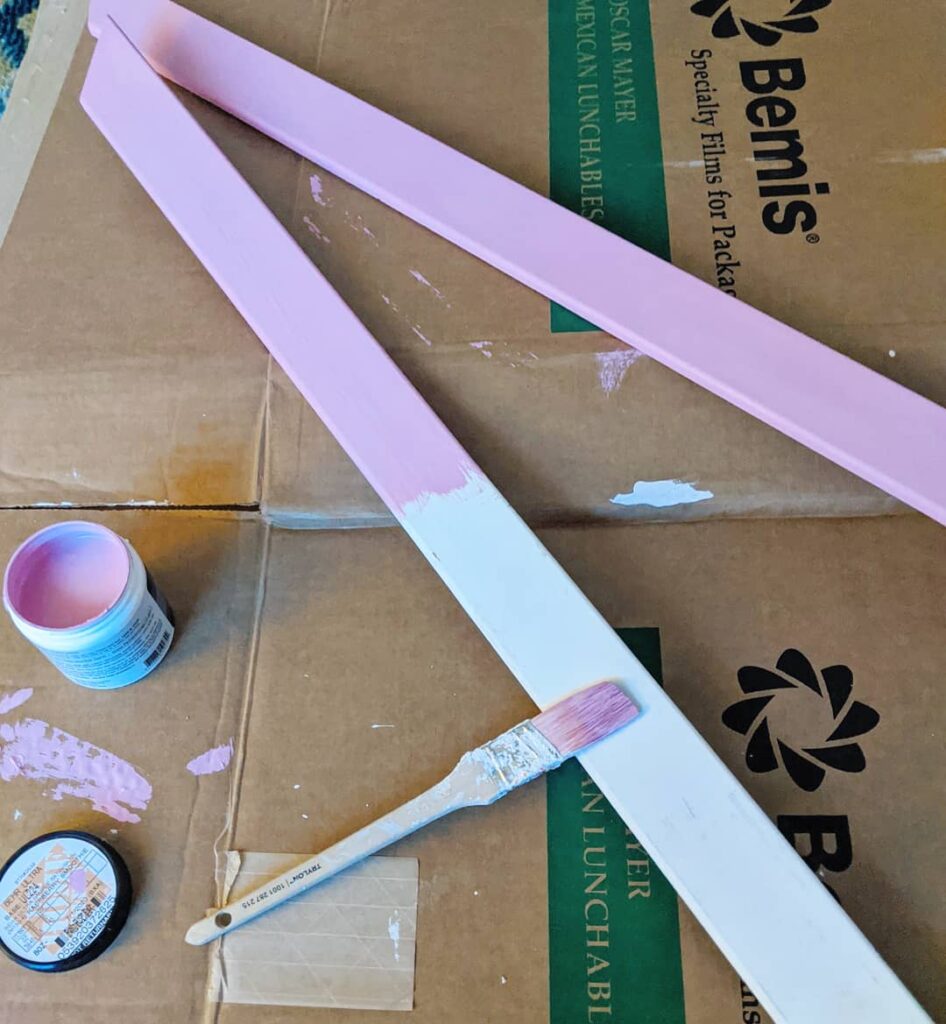
Because the IKEA pegboard has an inch or so backing (so that you can place hooks without scratching your walls or getting them stuck), I had to get square 1 inch thick wood boards and drilled them along the perimeter of the pegboard before I could actually install my pink border trim. That way the trim sat just over and around the pegboard work station.
Here’s my final result:
Hopefully this post brought you some inspiration to build a small craft haven of your own! If you’ve got a room that you dedicate as an office like I do, there’s plenty of ways to incorporate a small craft space with your office! For me, it was a no brainer converter my old closet to a small crafting station I’d enjoy for the long term!


2 Comments
Ellasandra
Bravo!! Phenomenal job Cristina! The best craft closet ever!
Cristina
Thank you Sandra!! 🙂