Bee-utiful Springtime Candle Party favors Ideas!
As spring is rolling on by, I can’t help but get crafty again. The weather motivates me to want to experiment and work on hobbies I enjoy the most. This time I had some ideas for spring candle party favors and I wanted to work with some left over glass and cork cover jars I had stored away but ready to use!
I was back at it again making candles in bulk in my kitchen. But I think a good portion of my candle making activities is uniquely decorating them.
I love working with glass candle jars that come with lids. These are the easiest and most fun to work with because you’ve got a smooth surface (lid) to decorate with cutest things.
What you’ll need
Here’s a list of all the things I used for this project. I couldn’t find the exact same glass candle jars but I found some very similar ones. Although any glass jar with a sizeable opening will do!
In photos:
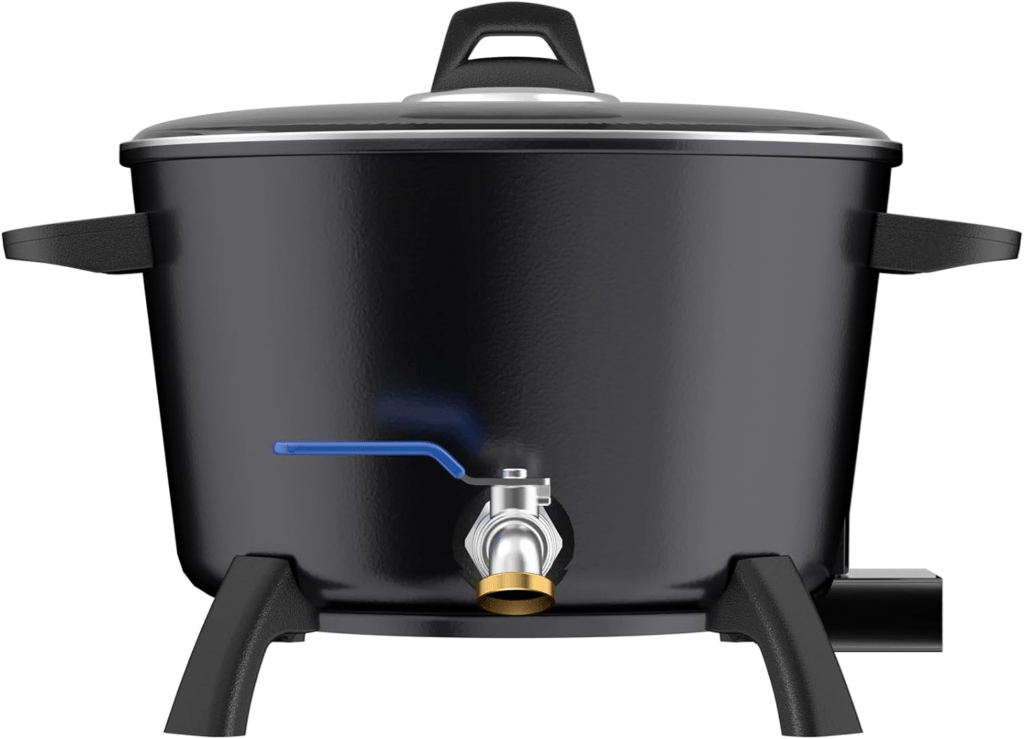
Wax Melter for Candle Making, 7 Qts Electric Non-Stick
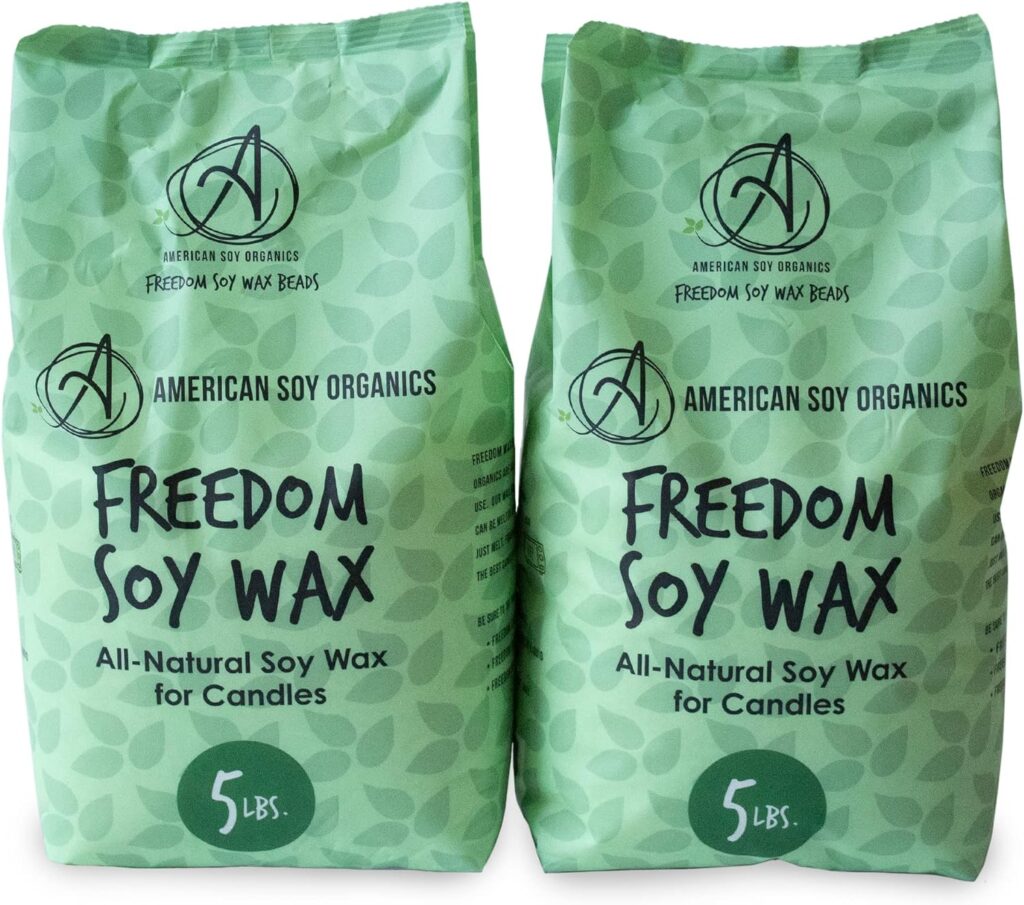
American Soy Organics- 45 lbs of Freedom Soy Wax Beads for Candle Making
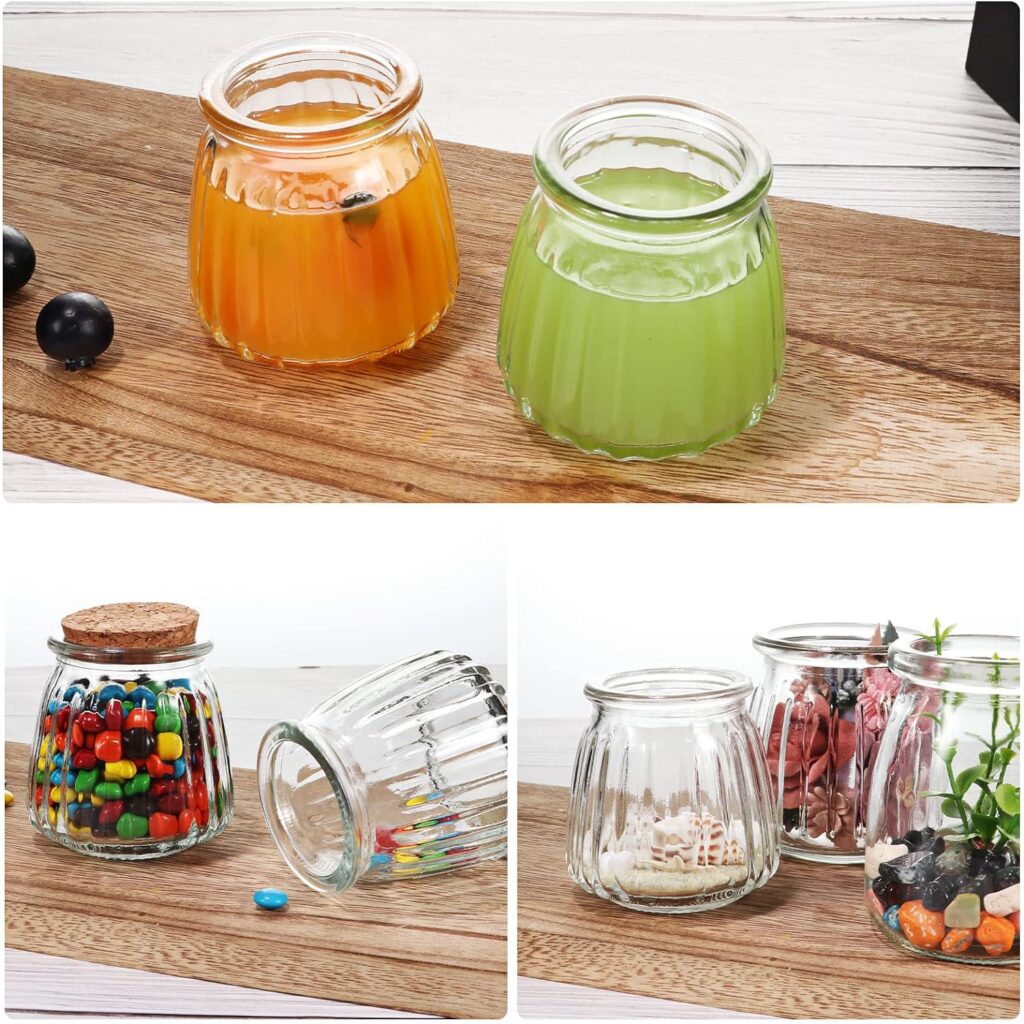
4oz Glass Yogurt Jars 24 Pack with PE Lids and Cork Lids
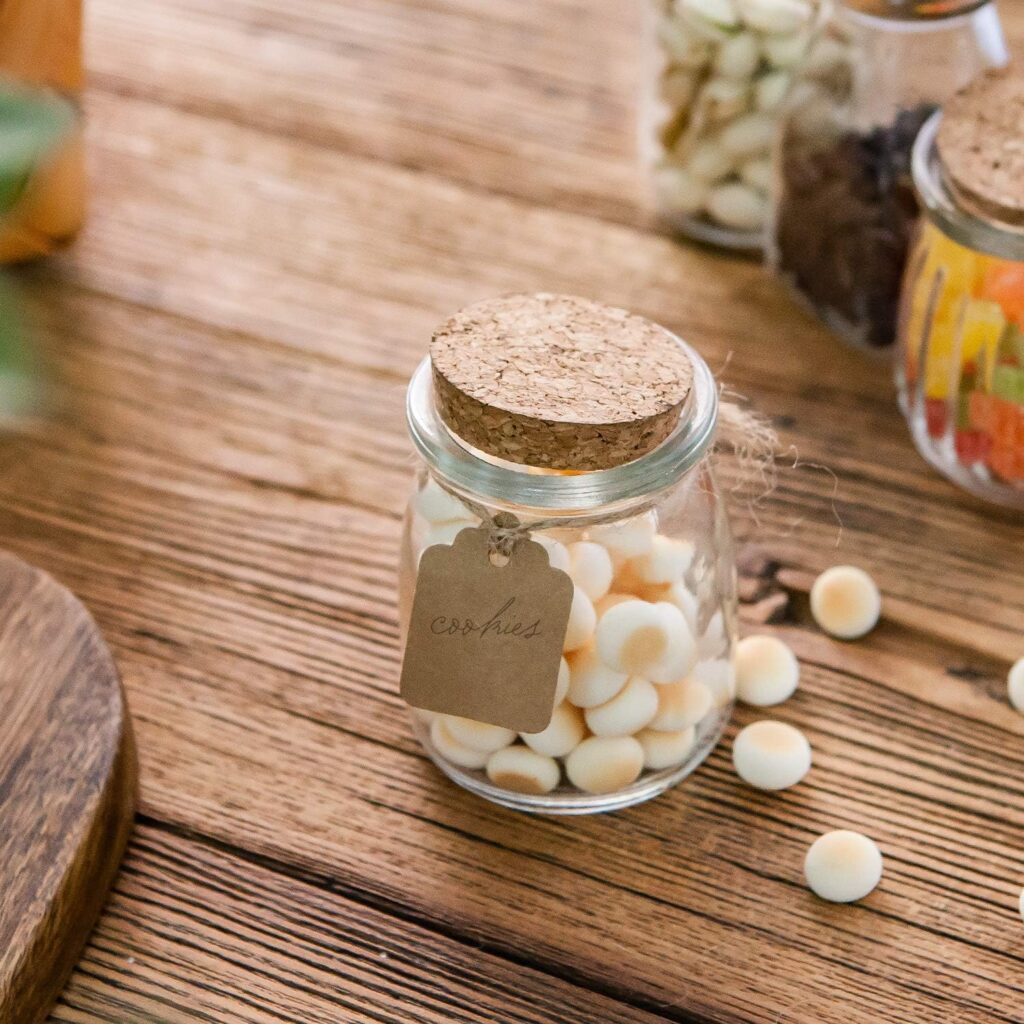
Mini Yogurt Jars 30 Pack, 7 oz Glass Favor Jars with Cork Lids
The Wax Melter: Wax Melter for Candle Making, 7 Qts Electric Non-Stick (Shown Above)
My favorite wax melter and one I use most often for large projects and bulk candle making. It’s the most affordable wax melter in my opinion.
HOWEVER, since you’re working with mini jars and pots, it may be easier to work with a smaller scale candle wax melter, such as this one:
Candle Making Pouring Pot with Electric Hot Plate
The Candle Wax (for the mini pots): American Soy Organics- 45 lbs of Freedom Soy Wax Beads for Candle Making (Shown Above)
This is my go-to brand for any jarred candle projects. It’s got a great hot and cold throw and doesn’t create a lot of soot. It’s also very affordable for how much you get!
The Wicks: Light 100 Piece Cotton Candle Wick 6″ Pre-Waxed
You’ll need wicks!
The Stickers to hold down the Wicks: 480PCS Candle Wick Stickers, Heat Resistance
These are not really necessary but I HIGHLY advise you get them. They’re very cheap for a pack of nearly 500 stickers and will save you a lot of time and headache when trying to center the wicks in liquid hot candle wax.
The Wick Holders: 20pcs Metal Candle Wick Holders
The more sets you purchase the more candles you can pour and create in a single batch.
Glass Jars (also called Yogurt Jars): 4oz Glass Yogurt Jars 24 Pack with PE Lids and Cork Lids OR
Mini Yogurt Jars 30 Pack, 7 oz Glass Favor Jars with Cork Lids
These were the closest I could find to the ones I used (I think for my project I used a slightly larger oz sized jars. But anything above 3 oz is perfect for any sort of candle party favor to give out.
Craft Materials to decorate the lids
And here’s what I used to decorate the lids. You can get creative here! You can use felt or fabric flowers as a great alternative!
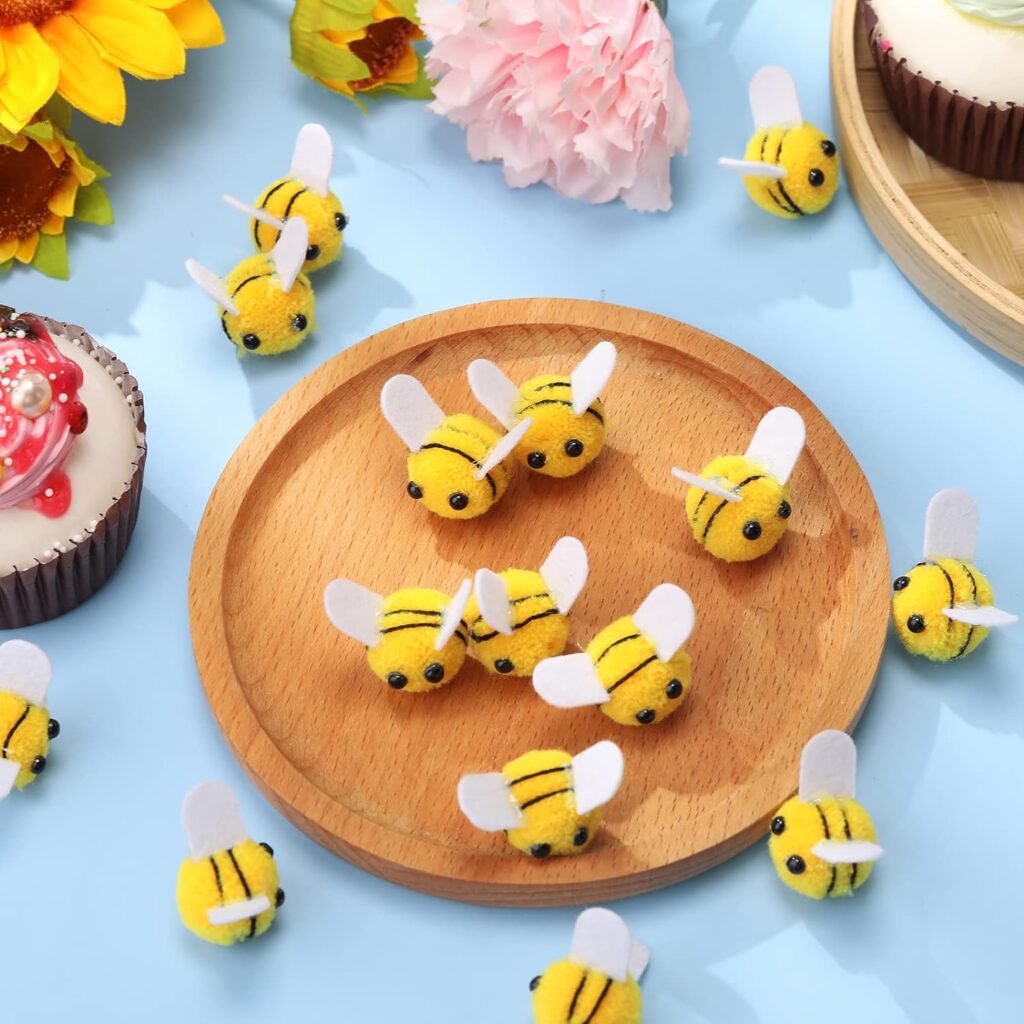
Felt Bees: Felt Bees Bulk Craft Ball Bees Cute Plush Bees for Crafts (100 pcs) (Shown Above)
These are so adorable! They’re very easy to work with as well.
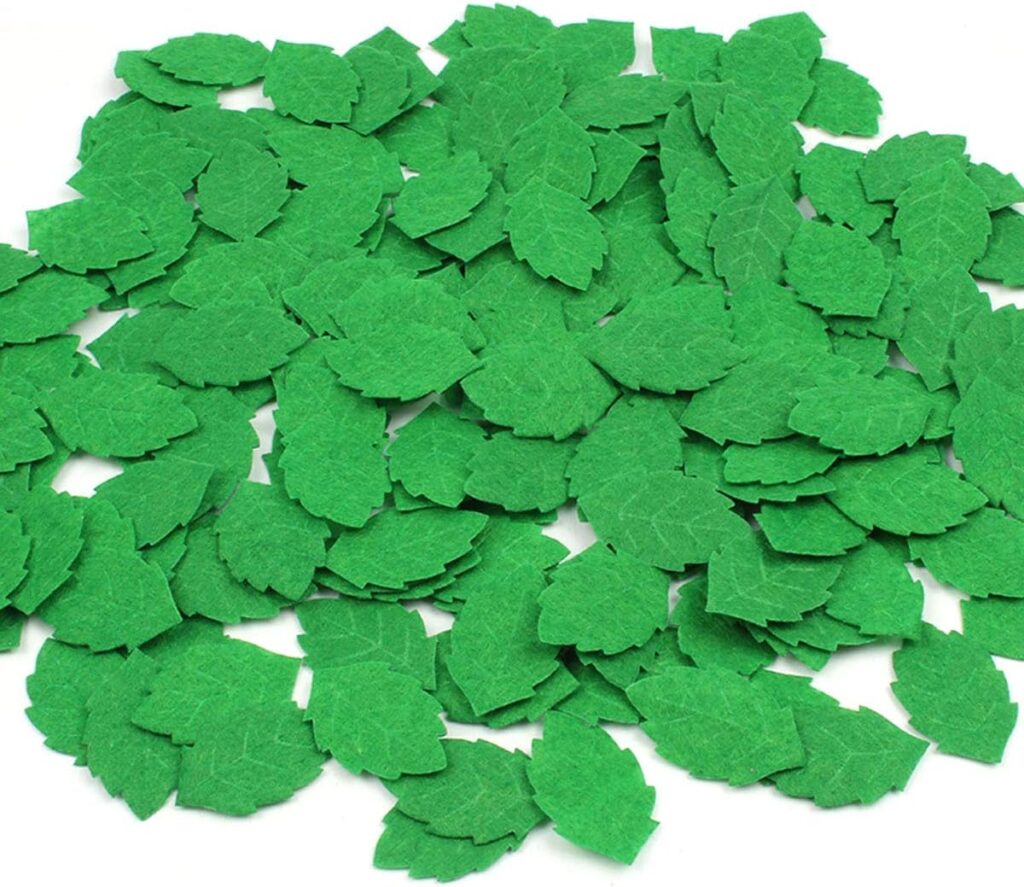
Felt leaves: 100pcs Green Leaves-Shape Felt Card Making Decoration Sewing Crafts (Shown Above)
So this is where I decided to get a little more creative and make my own arrangement of leaves and pom poms.
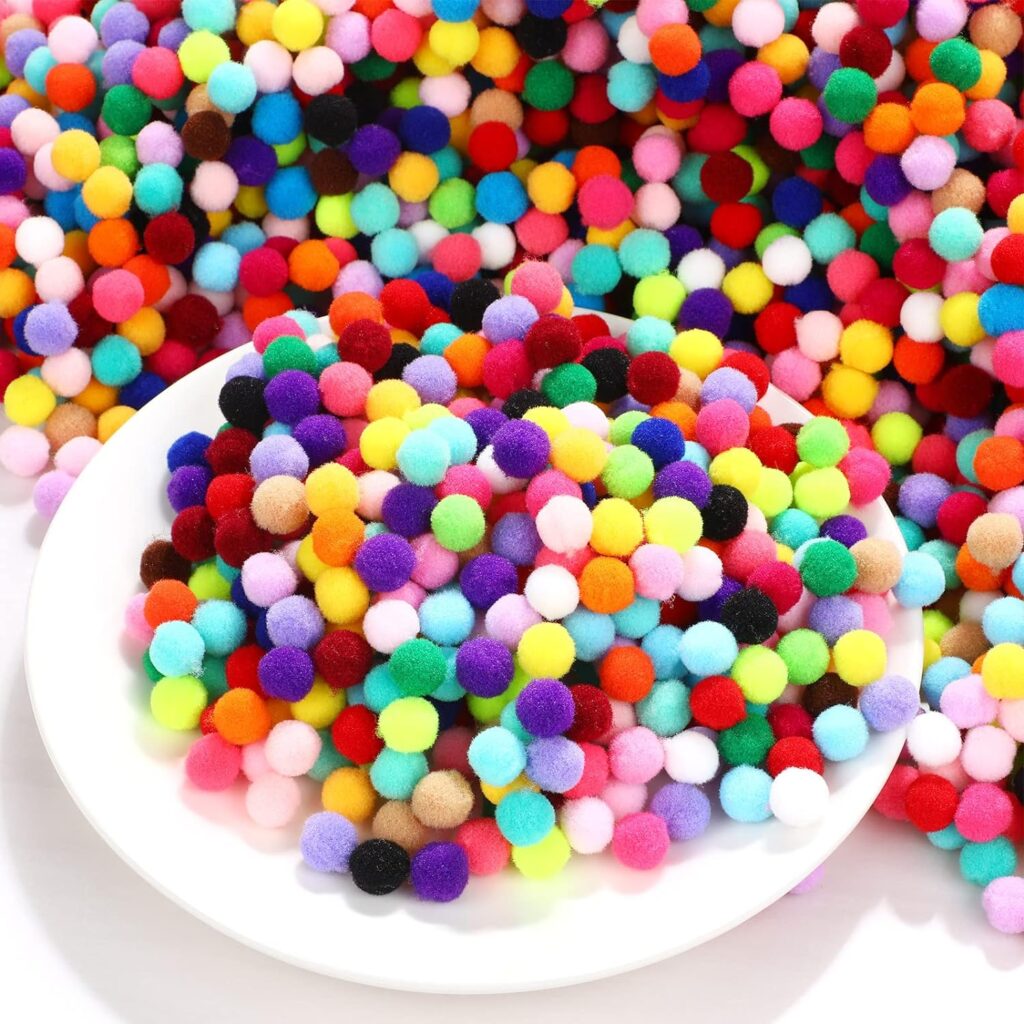
Felt Pom Poms: 4000 Pcs Pom Poms for Crafts, Assorted 1cm (Shown Above)
I chose white in my project because my candle scents were “Vanilla” so I figured white was very fitting.
Glue: E6000 565000 Fabri-Fuse Adhesive, 2 fl oz Hang Bottle
This is one of my favorite glues to use. While it does take some time to dry, its actually very sturdy and holds well. It’s especially great for crafting projects that involve fabric of any kind, beading/jewels on fabric, and other felt or yarn type material.
Lets get crafting!
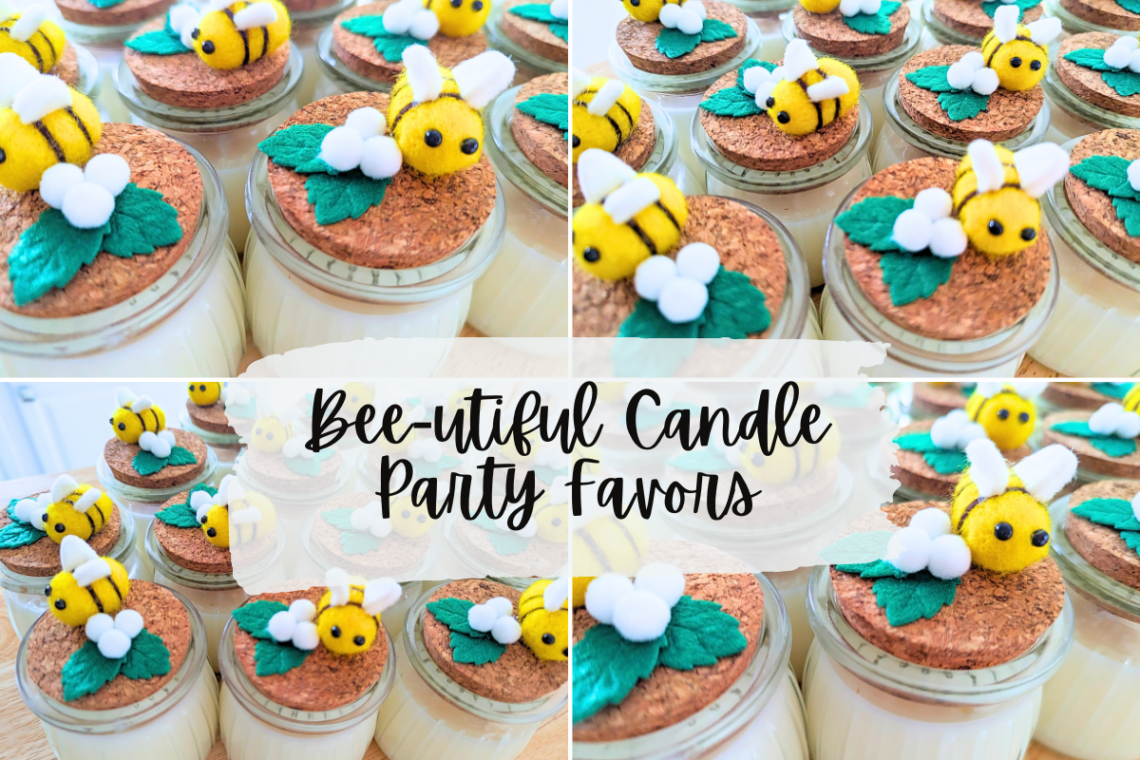
I had pre-decorated the cork lids a while back but stored them because I hadn’t had time to also pour wax. Decorating the lids was actually really easy to do. All I did was take two felt leaves and placed them adjacent to one another. Then I glued them together at an angle using the Fabri-Fuse glue. I then added a few of the small pom poms on top of the leaves so that it resembled a small flower bunch. Next to it, I glued on a felt bee. They came out so adorable! Have a look:


Next was time to start melting the wax. I love using my large 7 qt wax melter. I can easily pour several dozen jars in just a matter of minutes. This melter heats up and melts the wax pretty evenly too. I had to make about 15 jars so I used a portion of the 5 lb bag of American Soy wax.
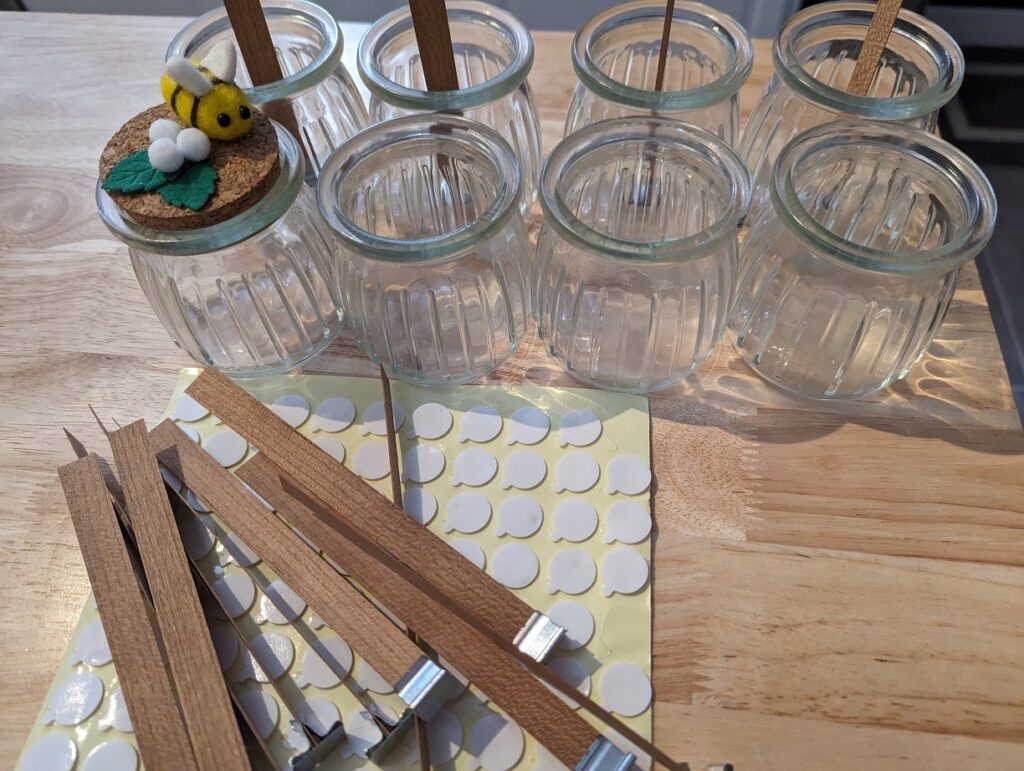
While the wax is melting, prep the glass jars by adding wick stickers and the wick. For this project I used wood wicks. You can also use regular string wicks, just keep in mind if you do, I recommend using wick holders so that they stay centered while the wax solidifies. With wood wicks, I didn’t have to use any holders. Another thing to keep in mind with wood wicks is that they do give off a bit of soot (they’re wood, after all), plus they don’t give off as big of a flame that string wicks do. If you’re a beginner, I recommend sticking to string wicks and prep ahead of time with wick holders.
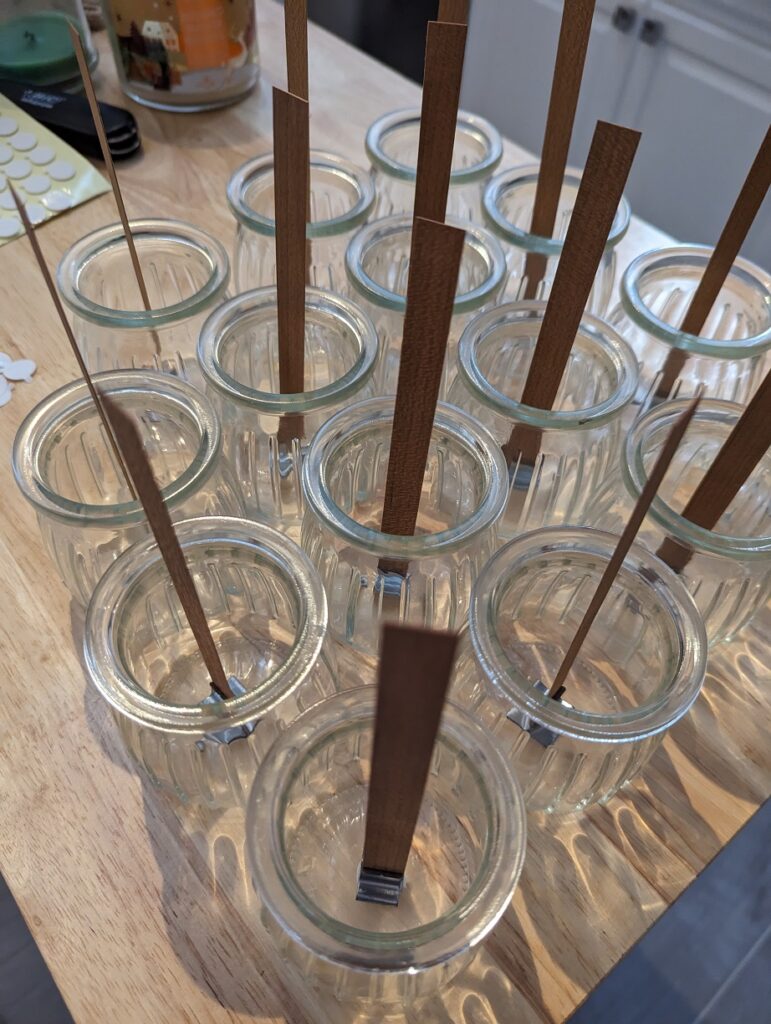
These wood wicks normally come with metal stands. You simply slide the wood between the metal slit and then hold the T shaped metal piece down with a wick sticker. Try to center them as best you can!
Next comes pouring the candle wax! If you’re making scented candles like I have, make sure the put the appropriate amount of fragrance into the melted wax and stir (make sure all wax is melted to evenly distribute the fragrance). I personally chose Nature’s Garden Candle Company’s Vanilla Spectacular fragrance which is one of my favorite scents to work with! It’s a big favorite amongst my friends and family!
I poured each of the jars with about a half an inch of space from the opening to leave room for the cork tops. Then I simply set them aside and let them cool off.


Once they dried, all that was left to do was cut the wicks down short enough that they did not get in the way of the cork lids.
And there you have it! My lovely little party favors ready to be gifted out! What do you think?
If you loved this crafting idea, check out some of my other how-to and step-by-step crafting projects I’ve done:
Gift Wrapping on a budget: My dollartree gift wrapping hack to unique looking presents
How to make mini succulent candles
My fun candle wedding favors craft project

