10 minute DIY Farmhouse-style Floral Planters
This year, farmhouse decor and furniture has been all the craze. With the bright, airy colors, the brown & beige hues and the rustic-type woods, I can see how people are drawn to this new day of decorating. Its a way of showcasing a bit of the country into ones home.
Perhaps we’re in the midst of another fad that will come and go just as the JNKO jeans did from the 80s and faded out by the late 90s.
But there’s something to be said about this style of interior decor. If warmth, practicality, comfort, and a relaxed approach to pulled together design are on your agenda, modern farmhouse decor is a great option to consider.
This style has certainly been growing on me. I see it as walk into my local HomeGoods or At Home stores. And while I haven’t done a complete transition to modern farmhouse, I have incorporated a few ideas for my home.
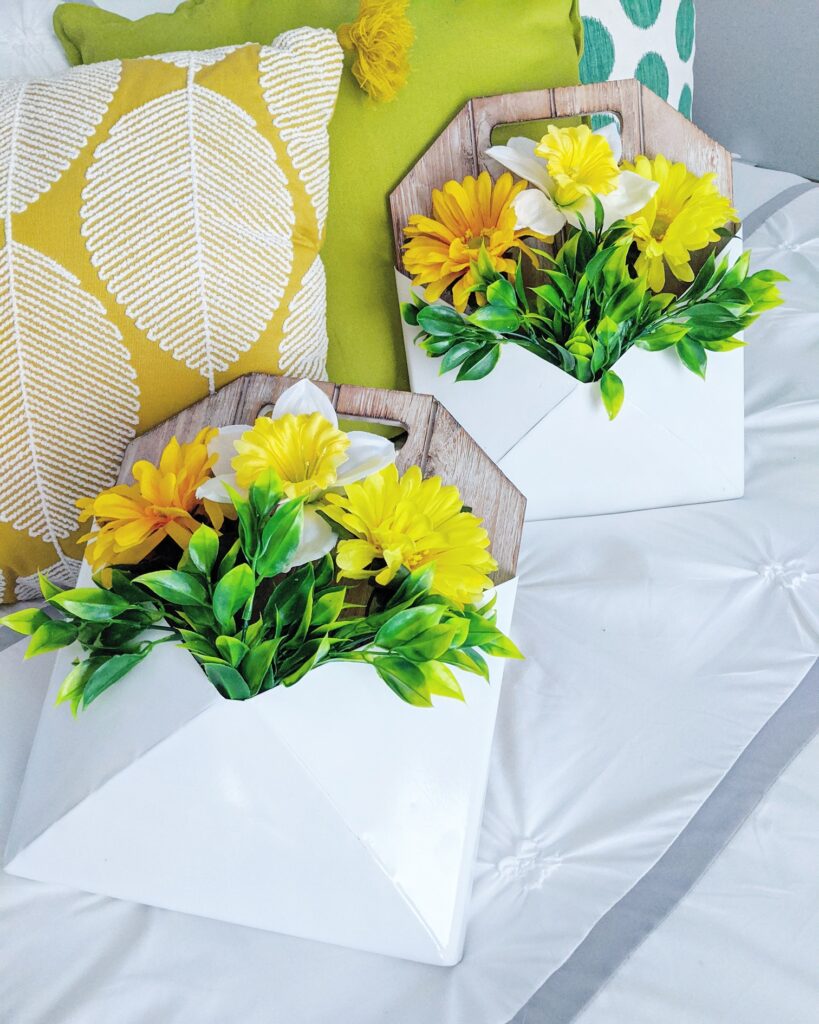
For today’s post, I’m going to go over how I styled these adorable Farmhouse-style planters I found while browsing the aisles at At Home. I’m going to go over where and what materials I used and the steps I used to decorate them.
Step 1. Finding the perfect farmhouse planter that suits your taste
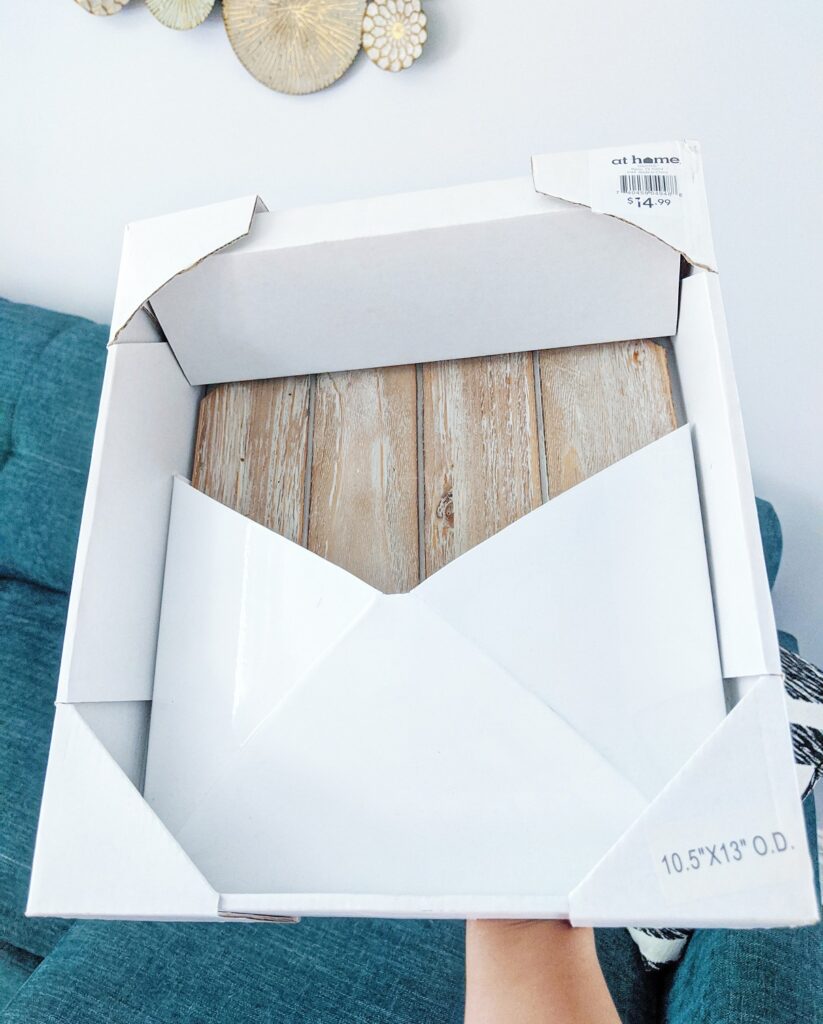
First, head on over to your nearest At Home store and pick up these envelope-inspired wall planters

BUY HERE
But if you don’t have an At Home stores near you, I found a few similar ones that you can purchase online:

BUY HERE

BUY HERE
Step 2. Styrofoam for the flowers & planter fitting
Next, you’ll need some green Styrofoam used specifically for flower arrangements. I like to get my Styrofoam at Michael’s Store and I usually buy in bulk. In fact, if you purchase their Styrofoam online, it usually comes in a pack of 3 anyway. Micheal’s almost always has a 30% to 40% off sale going on so you can get the Styrofoam for super cheap.
Another place to get the green Styrofoam is at Hobby Lobby, however, it’s a bit more expensive.

BUY HERE

BUY HERE

BUY HERE
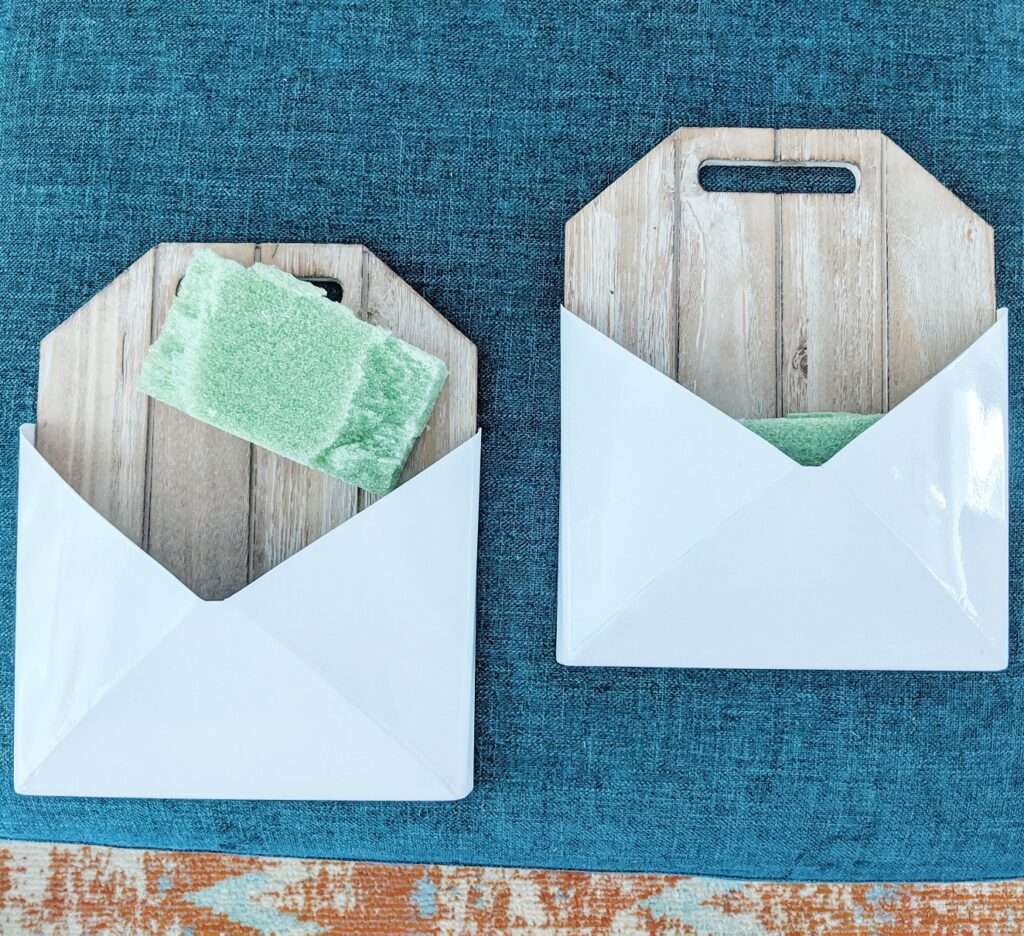
Cut the Styrofoam so that it fits into your planter snug. Do not cut it smaller than the hole itself otherwise your flowers will sway and cause the Styrofoam itself to fall out from the weight.
Step 3. Florals and greenery to style your planters
This step is very open ended and each person has their favorite flower of choice. For me personally, I wanted white, yellow and green tones to match the room I was going to place these in. And when I think of farmhouse, I think of fields of sunflowers and daffodils. So these are the flowers I chose to fill my planters with 🙂
If you’re looking for places to purchase faux flowers and green leaves, I can recommend a couple of places that sell quality items that won’t break the bank.
NOTE: I would avoid purchasing flowers from the Dollar Tree or General Dollar. Why? Well, you get what you pay for. Most times, the flowers are small, have very little detail to them, and they’re cheaply made. You can tell from seeing them up close that they’re poorly made. They’re essentially cheap cotton with slight imprints. Do yourself a favor and invest in a higher quality flower that will last longer, will not fade over time, and will look great in any vase or planter!
Here I’ll list a few stores where one can purchase flowers from cheapest to most expensive but still offer quality products.
1. Amazon ($ – $$)

BUY HERE


2. Michael’s ($ – $$)

BUY HERE

BUY HERE
3. At Home ($ – $$)


1. Hobby Lobby ($$$ – $$$$)


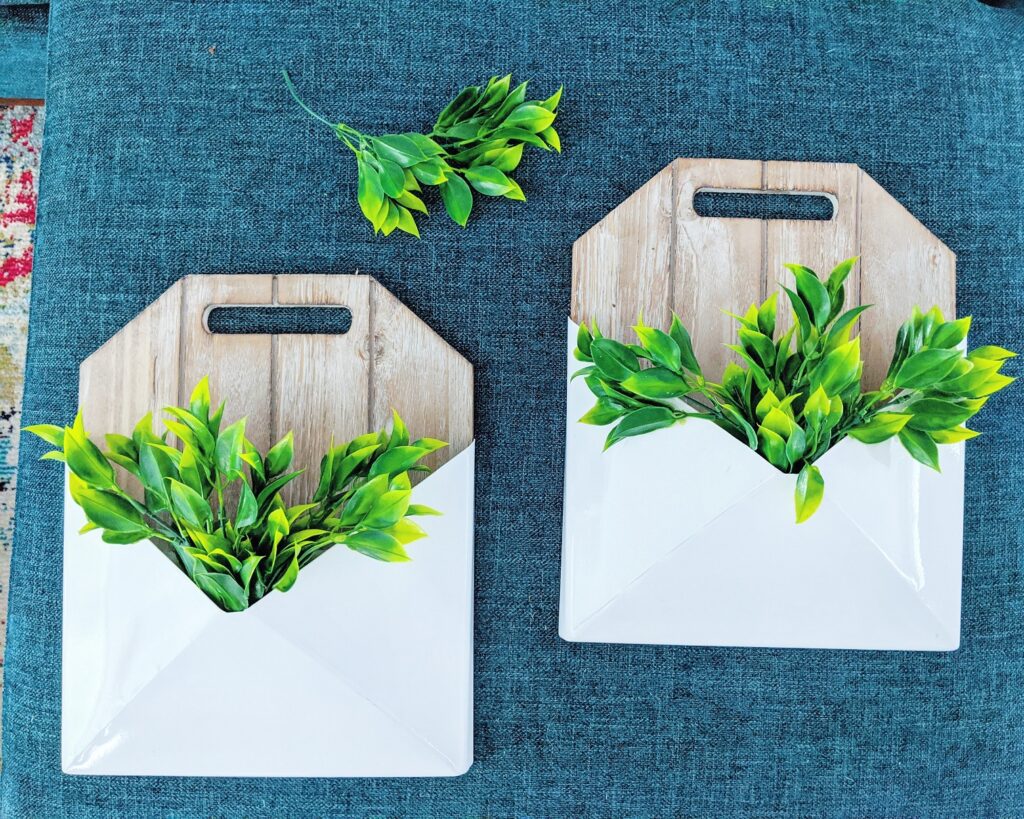
And once you’ve selected the flowers of your choice, start arranging! I normally like to start with the greenery first. Here I added them towards the bottom and had them slightly overlap planter opening giving it the impression that its overgrown.
I didn’t need too many of the flowers, actually. For this arrangement I chose three different styles and one apiece per planter. They were pretty big in size which covered a lot of the Styrofoam. You may need to finagle the petals a bit so that all the Styrofoam’s completely covered. Otherwise, add a few more leaves into the mix until you’re satisfied with the look.
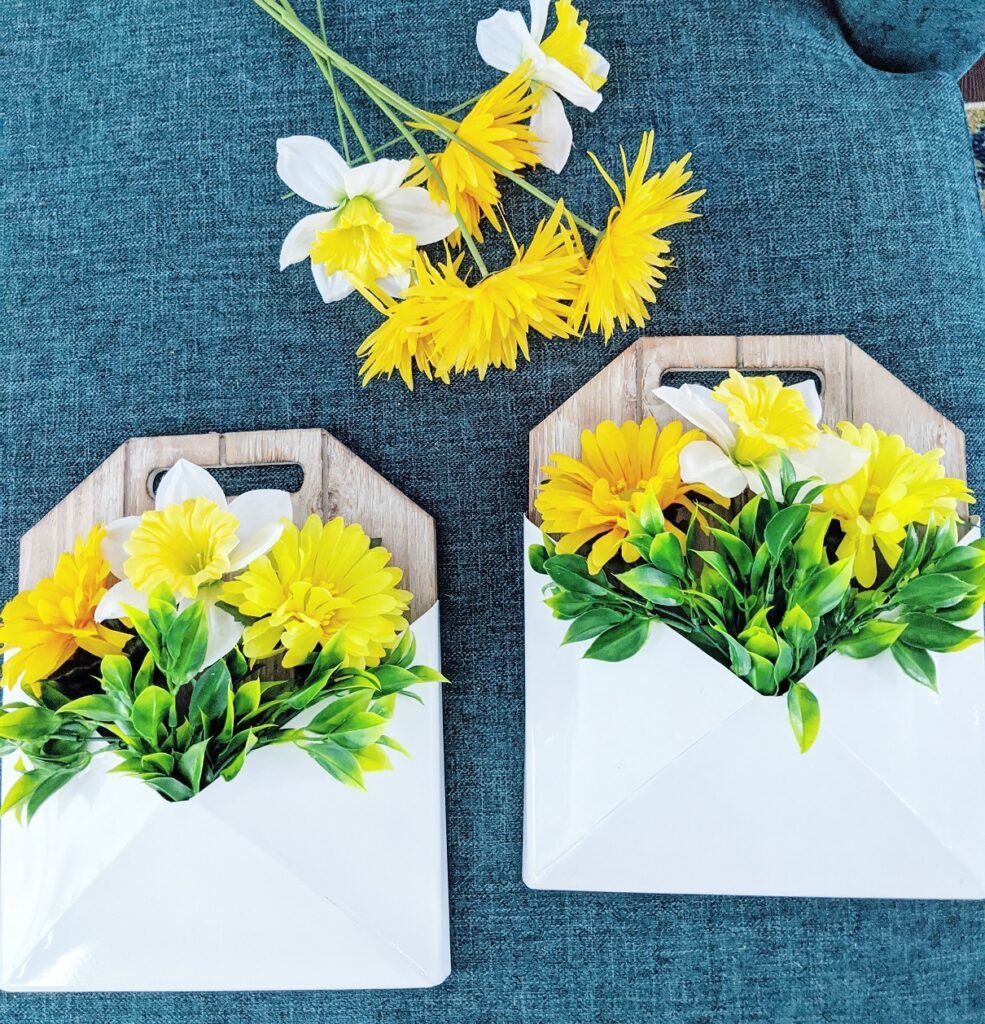
Here’s my finished product! I wanted something small yet bright to put on either end above the nightstands of our guest bedroom. This way it didn’t take up too much real estate above the lamps.
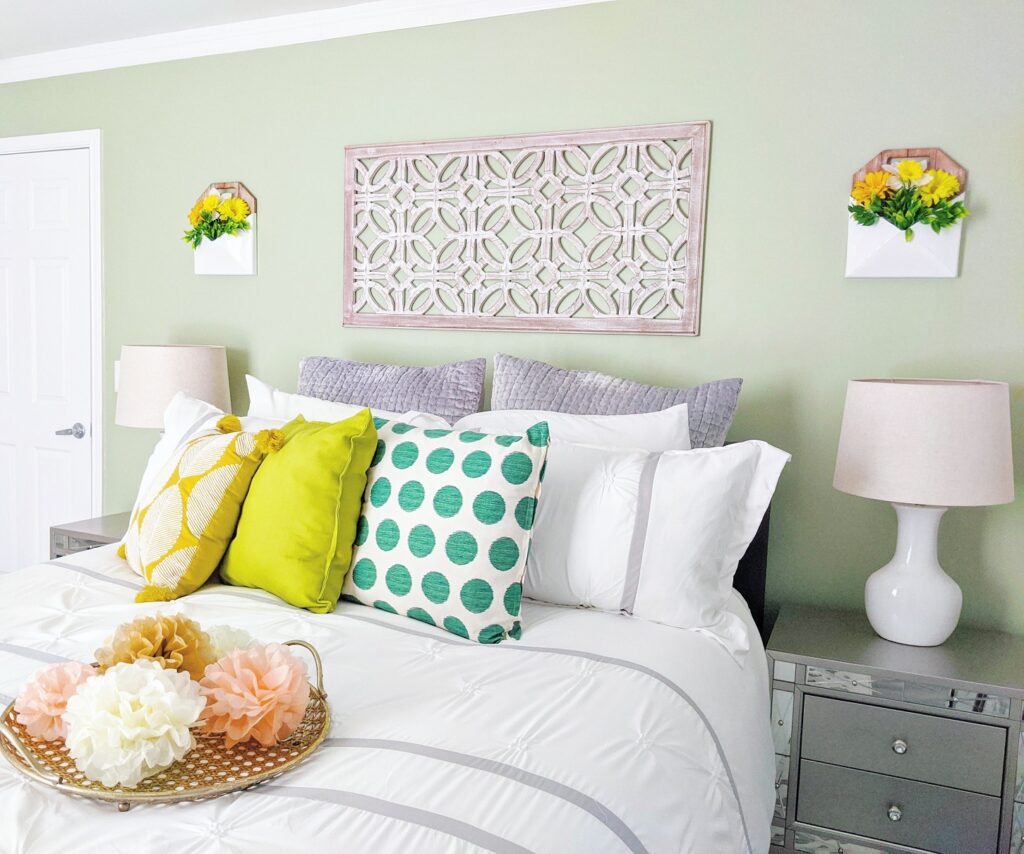
What do y’all think? Did they turn out well?
If you took on a similar project, feel free to share below in the comments section! Would love to see your creation!
Thanks for reading and happy decorating!

